
What do you do when your kid breaks their $2 toy? Toss it in the bin and buy a new one? When you own a 3D printer I would say challenge accepted.
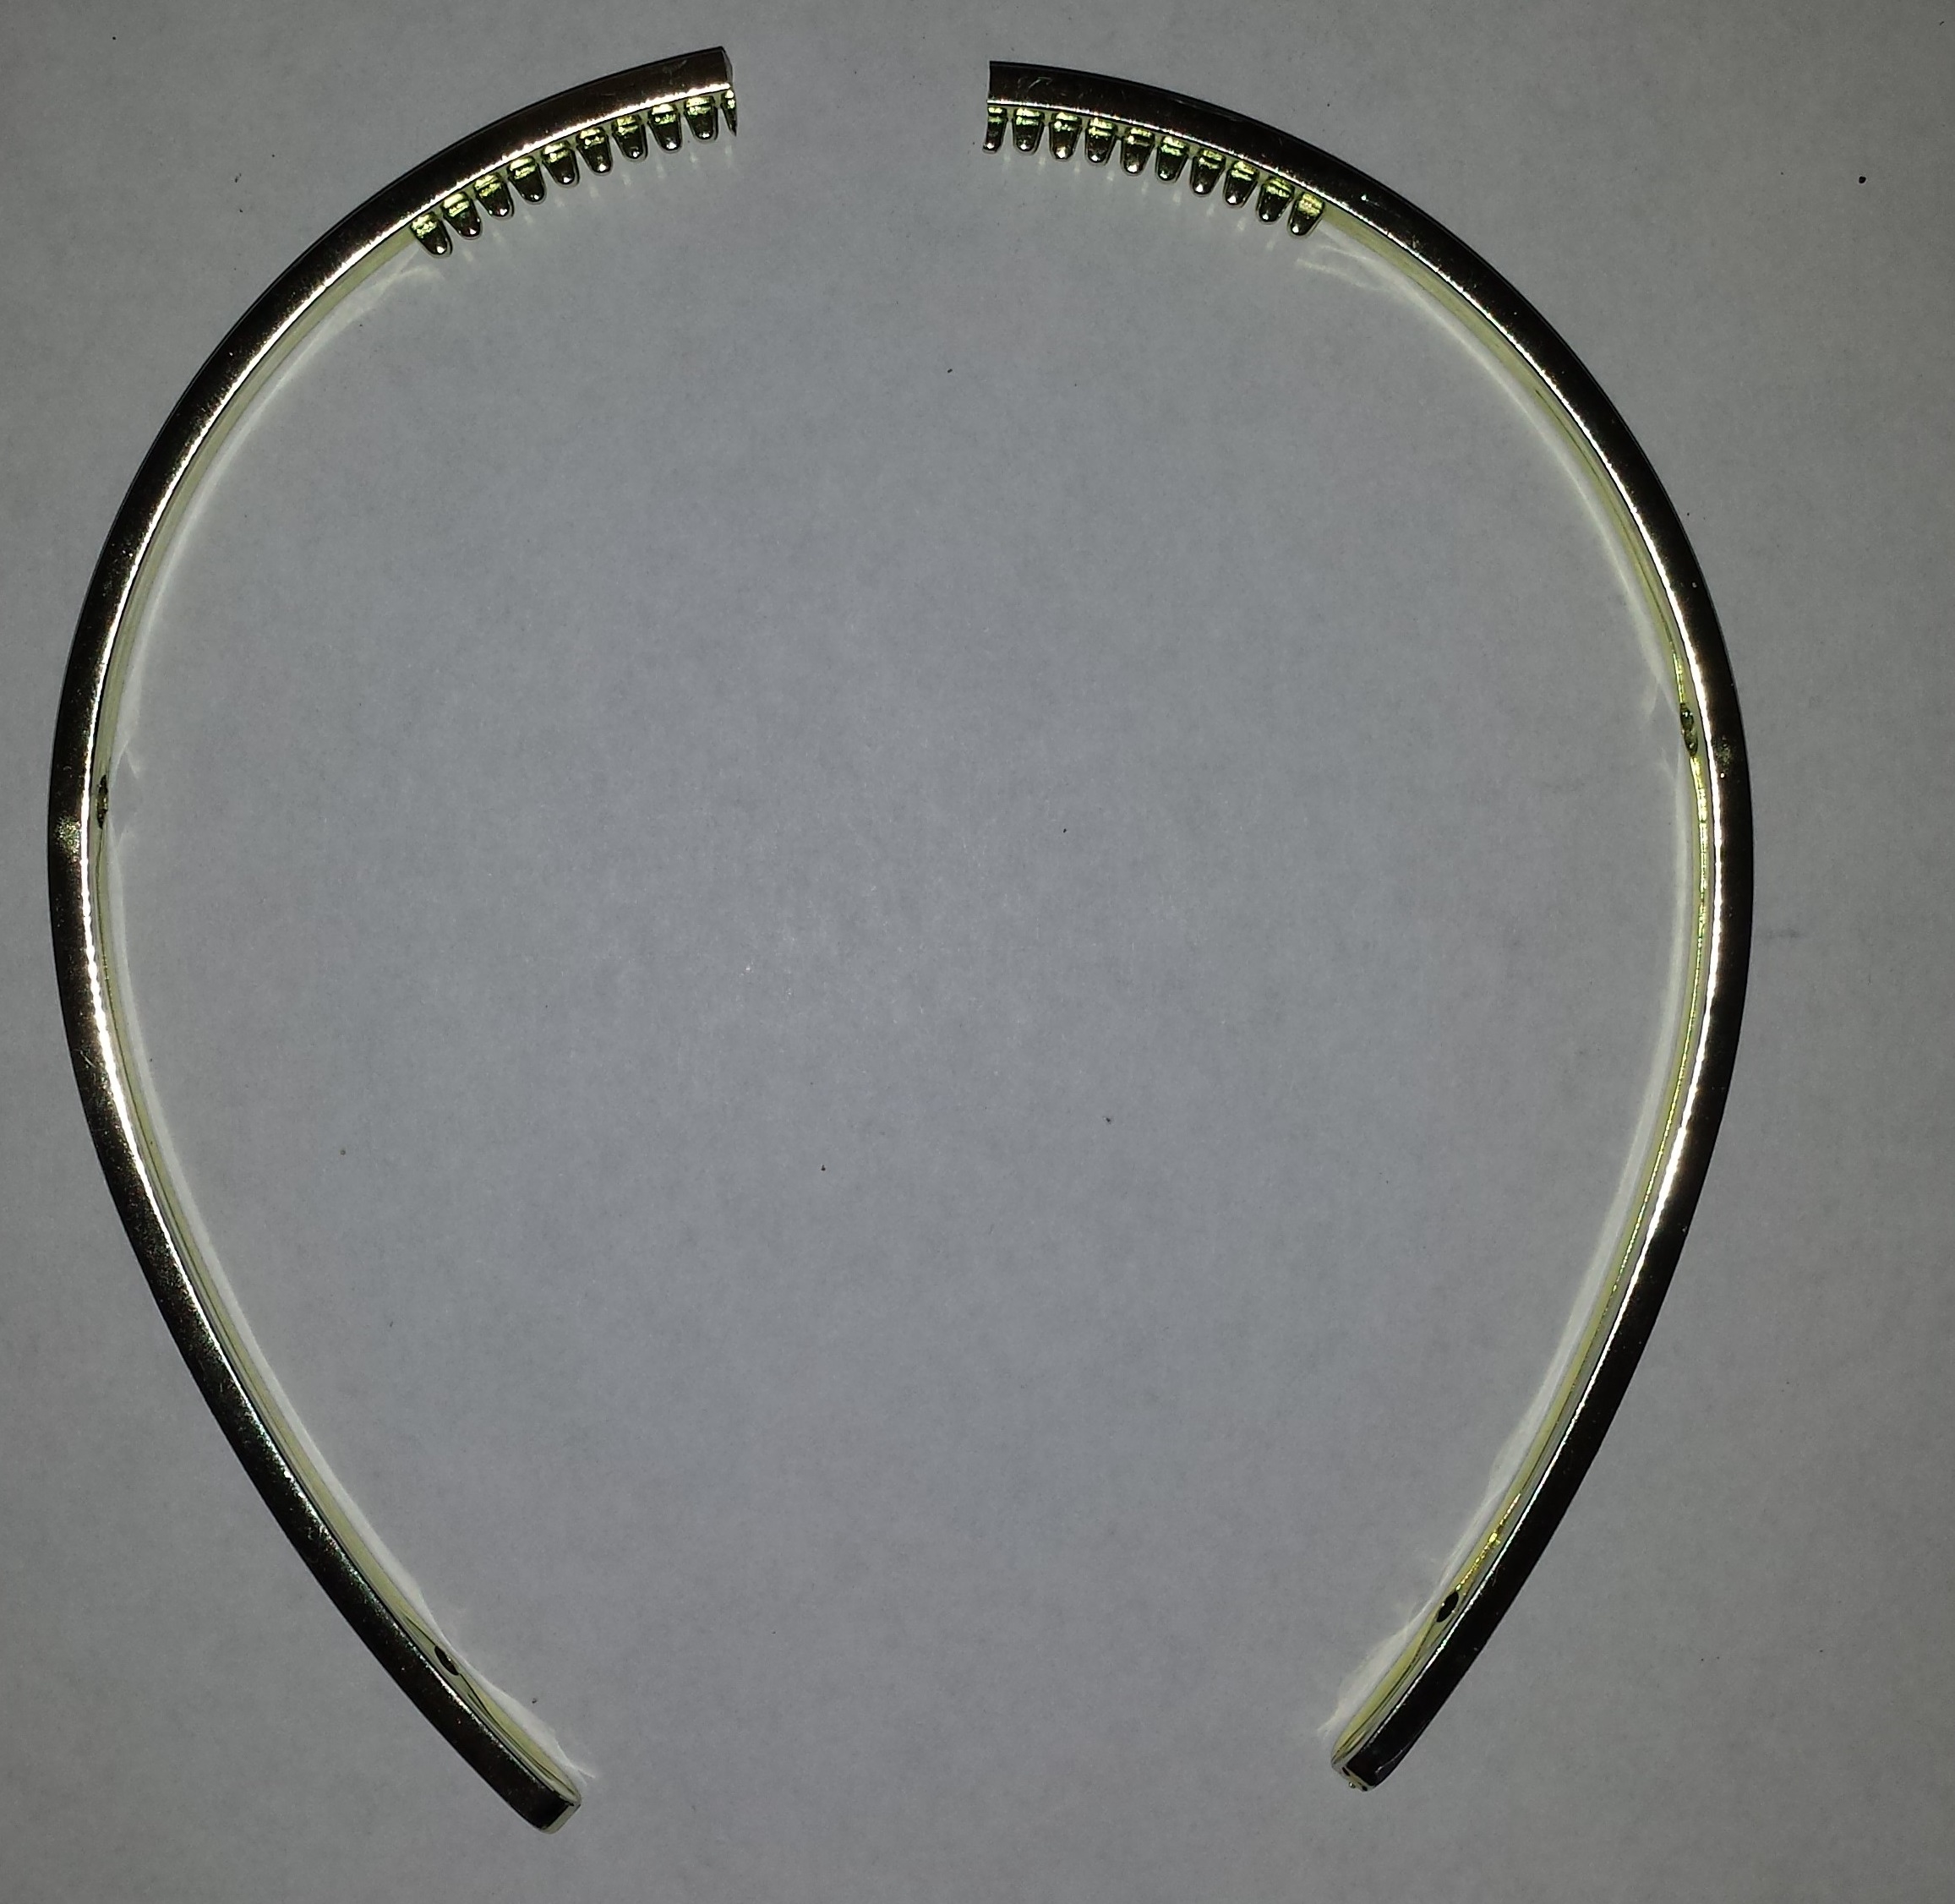
Looks like it just snapped under the strain. Its not surprising it snapped here as it appears that the injection mold closed there.
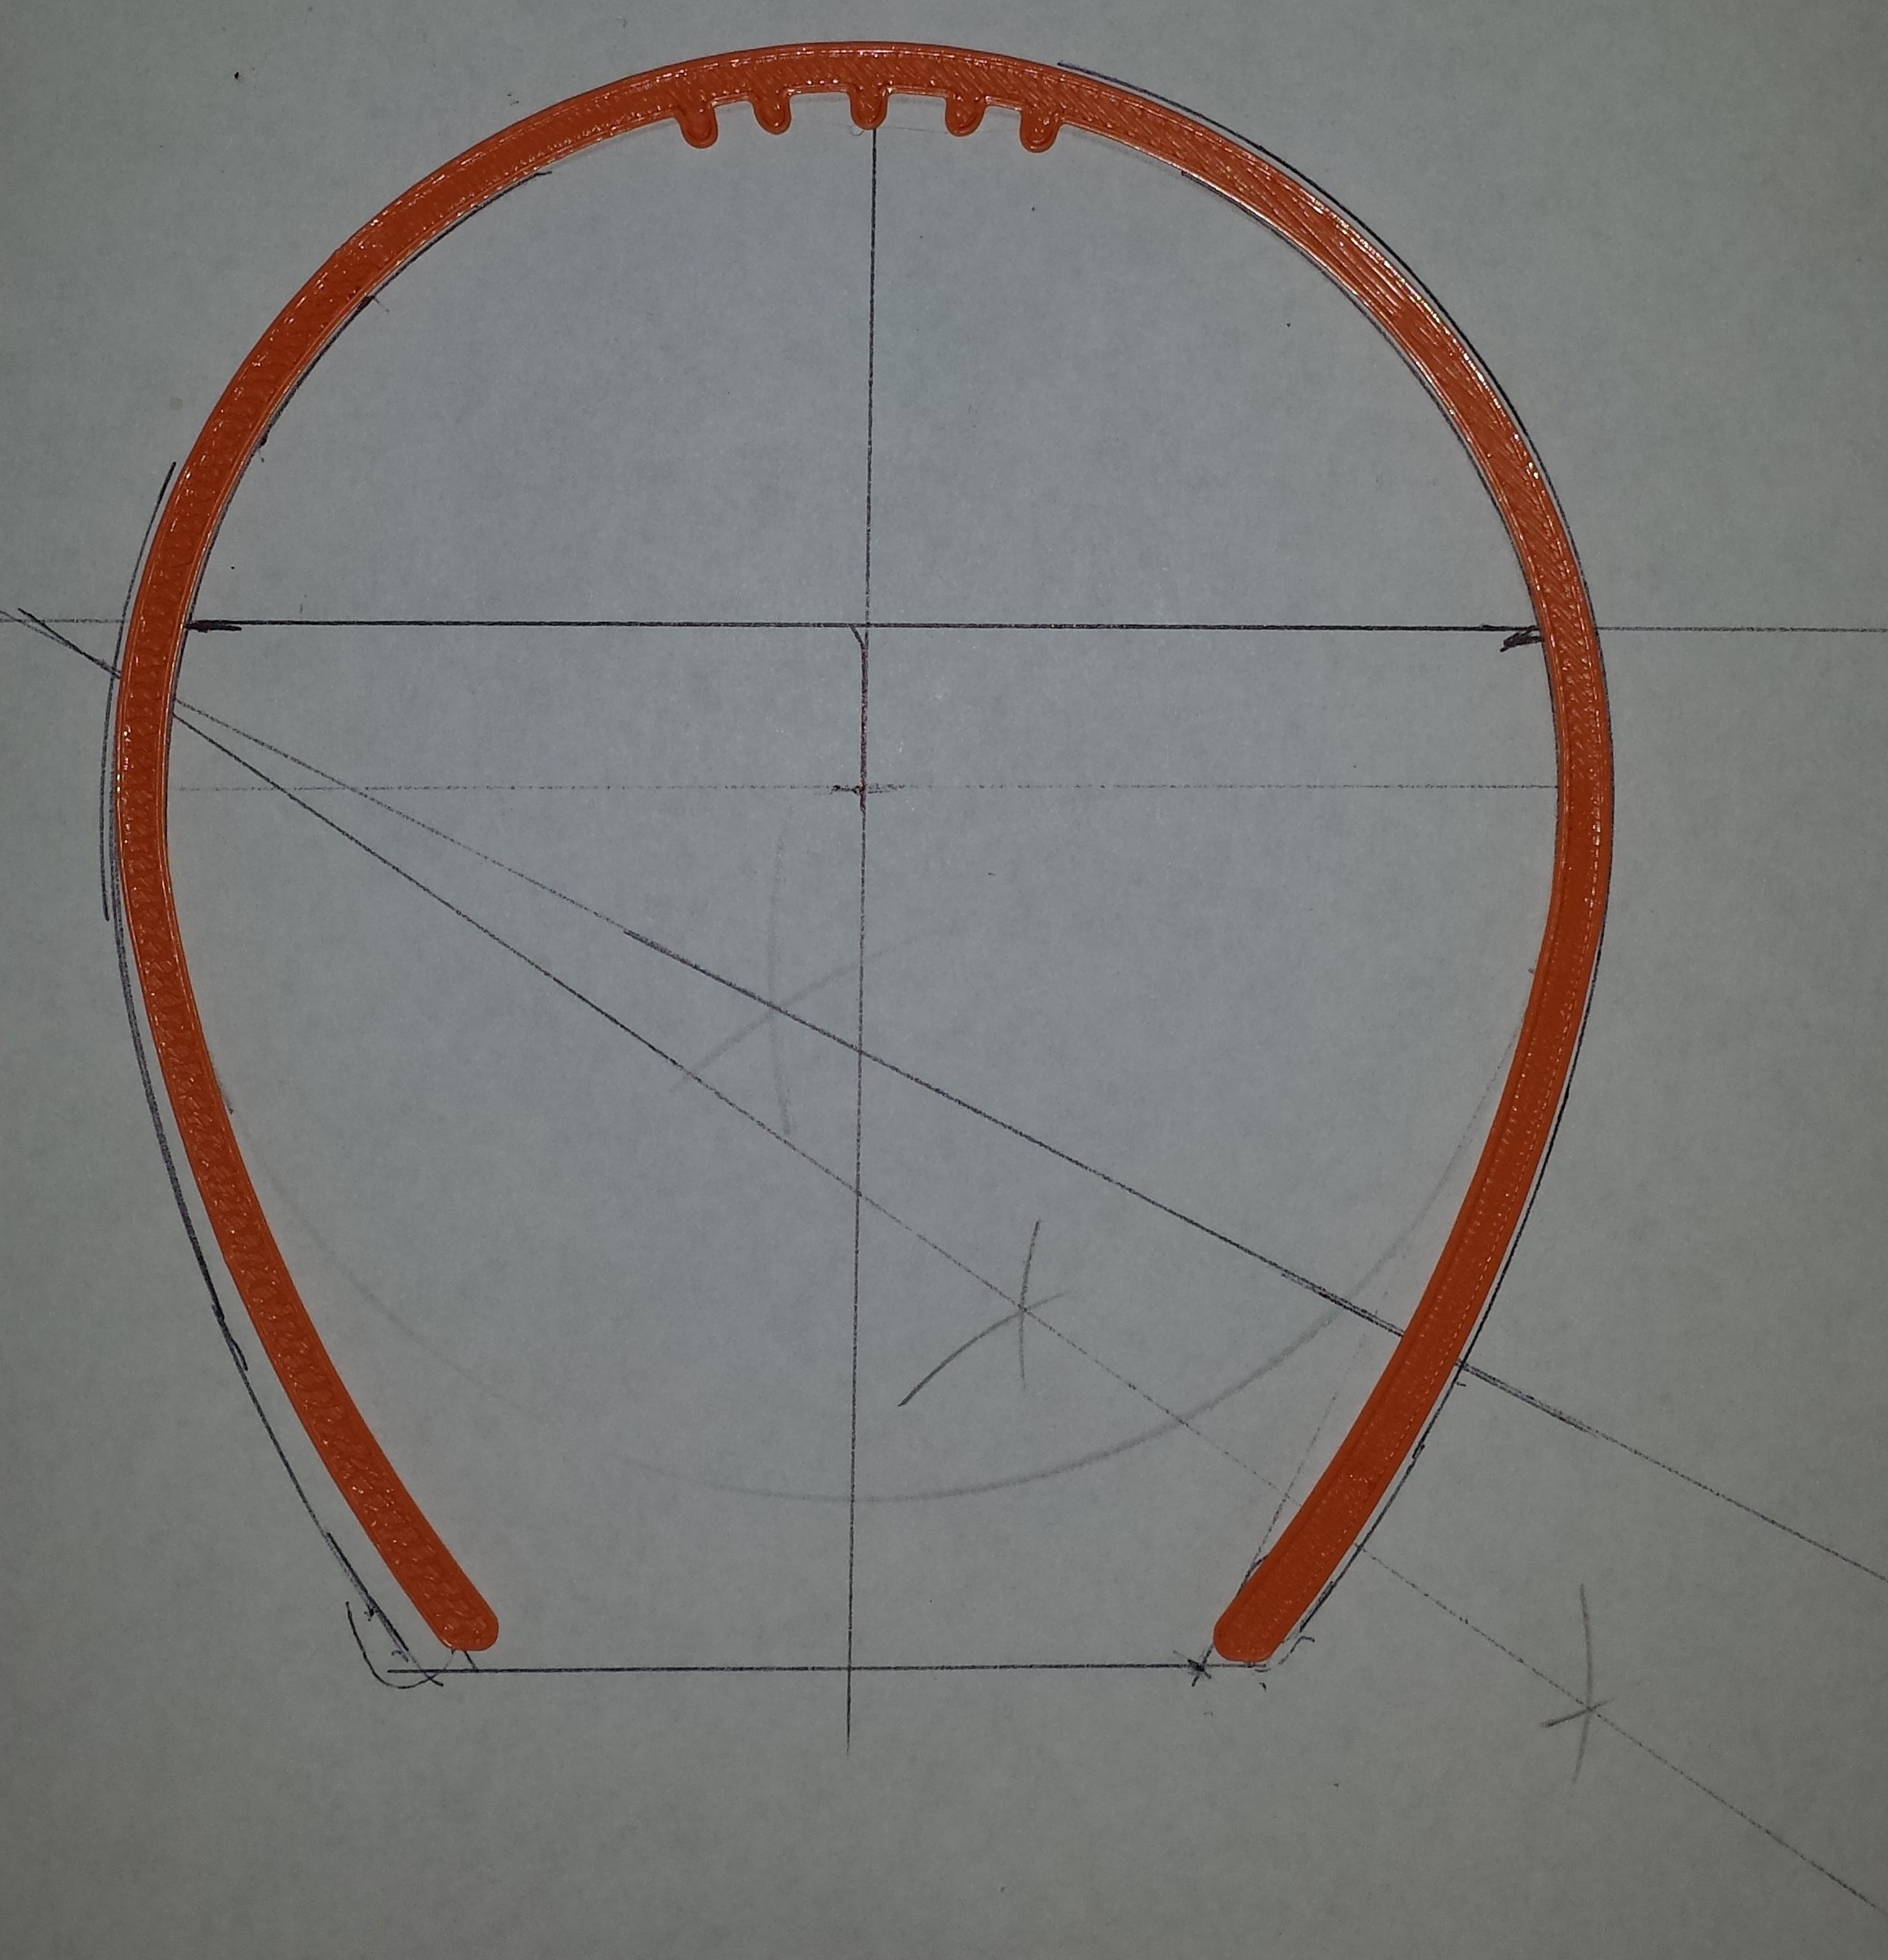
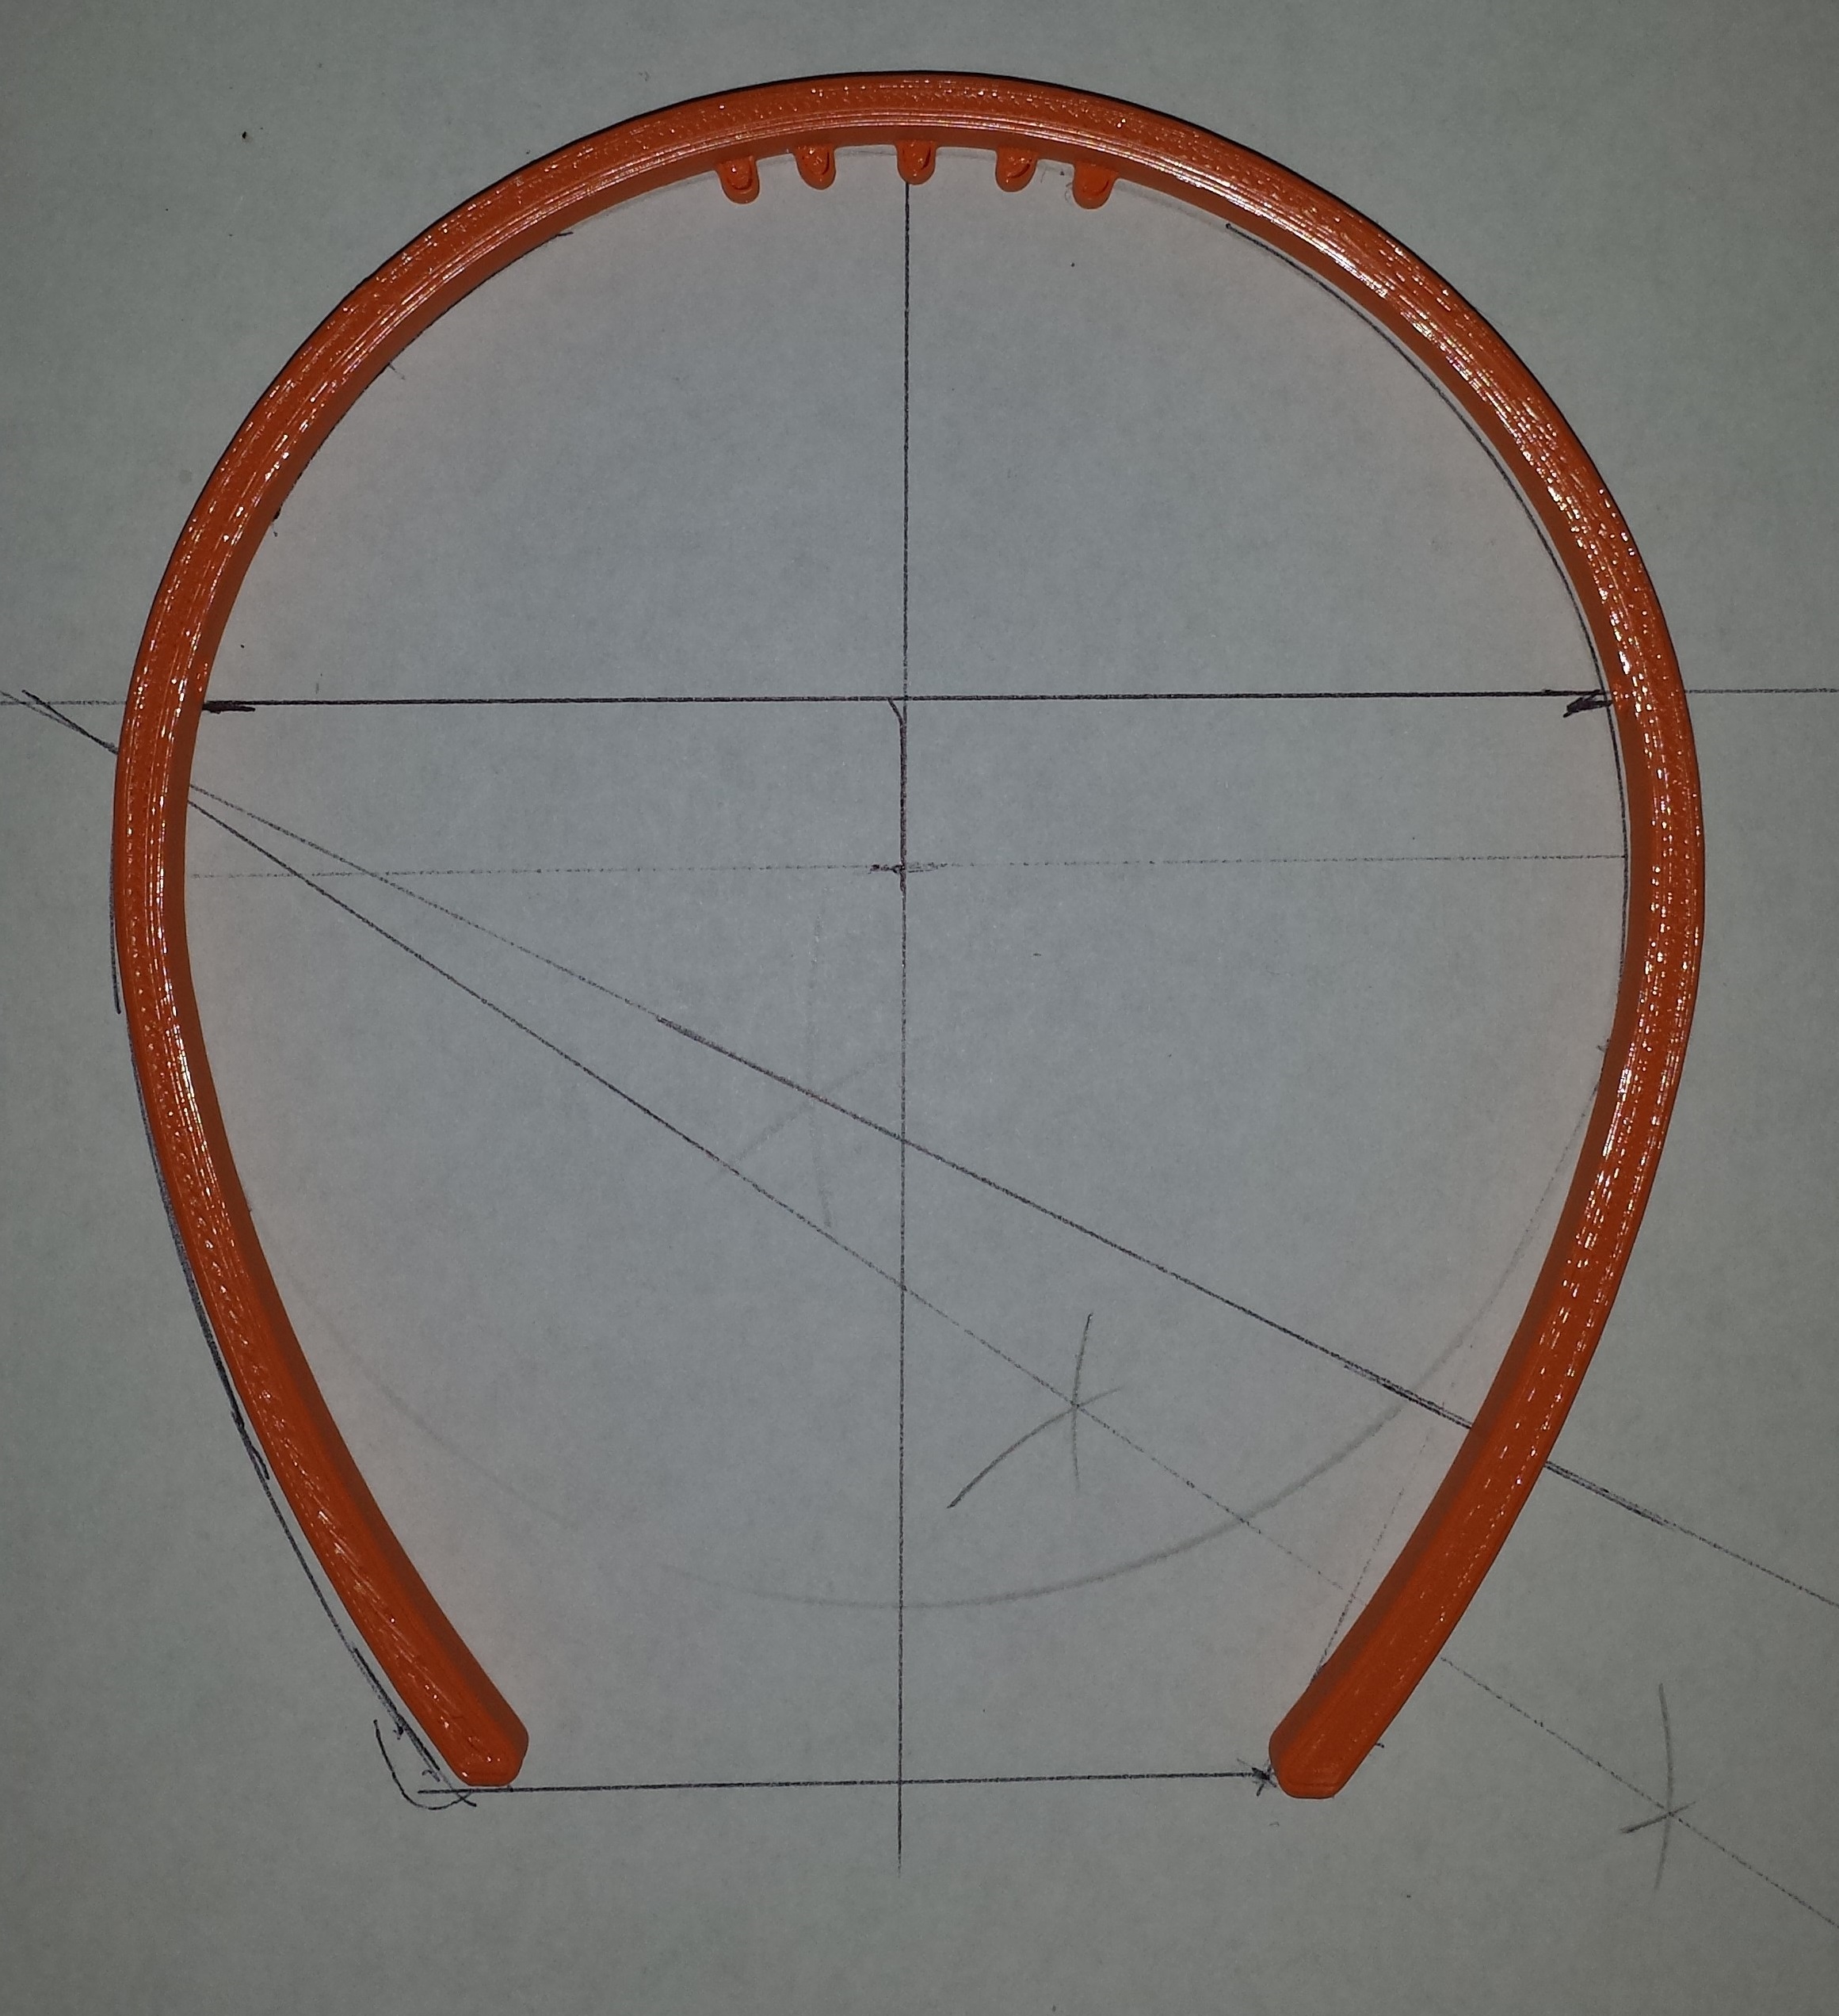
Step one is to trace the original onto paper so we can get a better idea of the shape. To start I drew the main circle at the top by measuring the radius. This way I would know where the center point is which I will use as a reference point later. I aligned the original part to the circle and traced the rest.
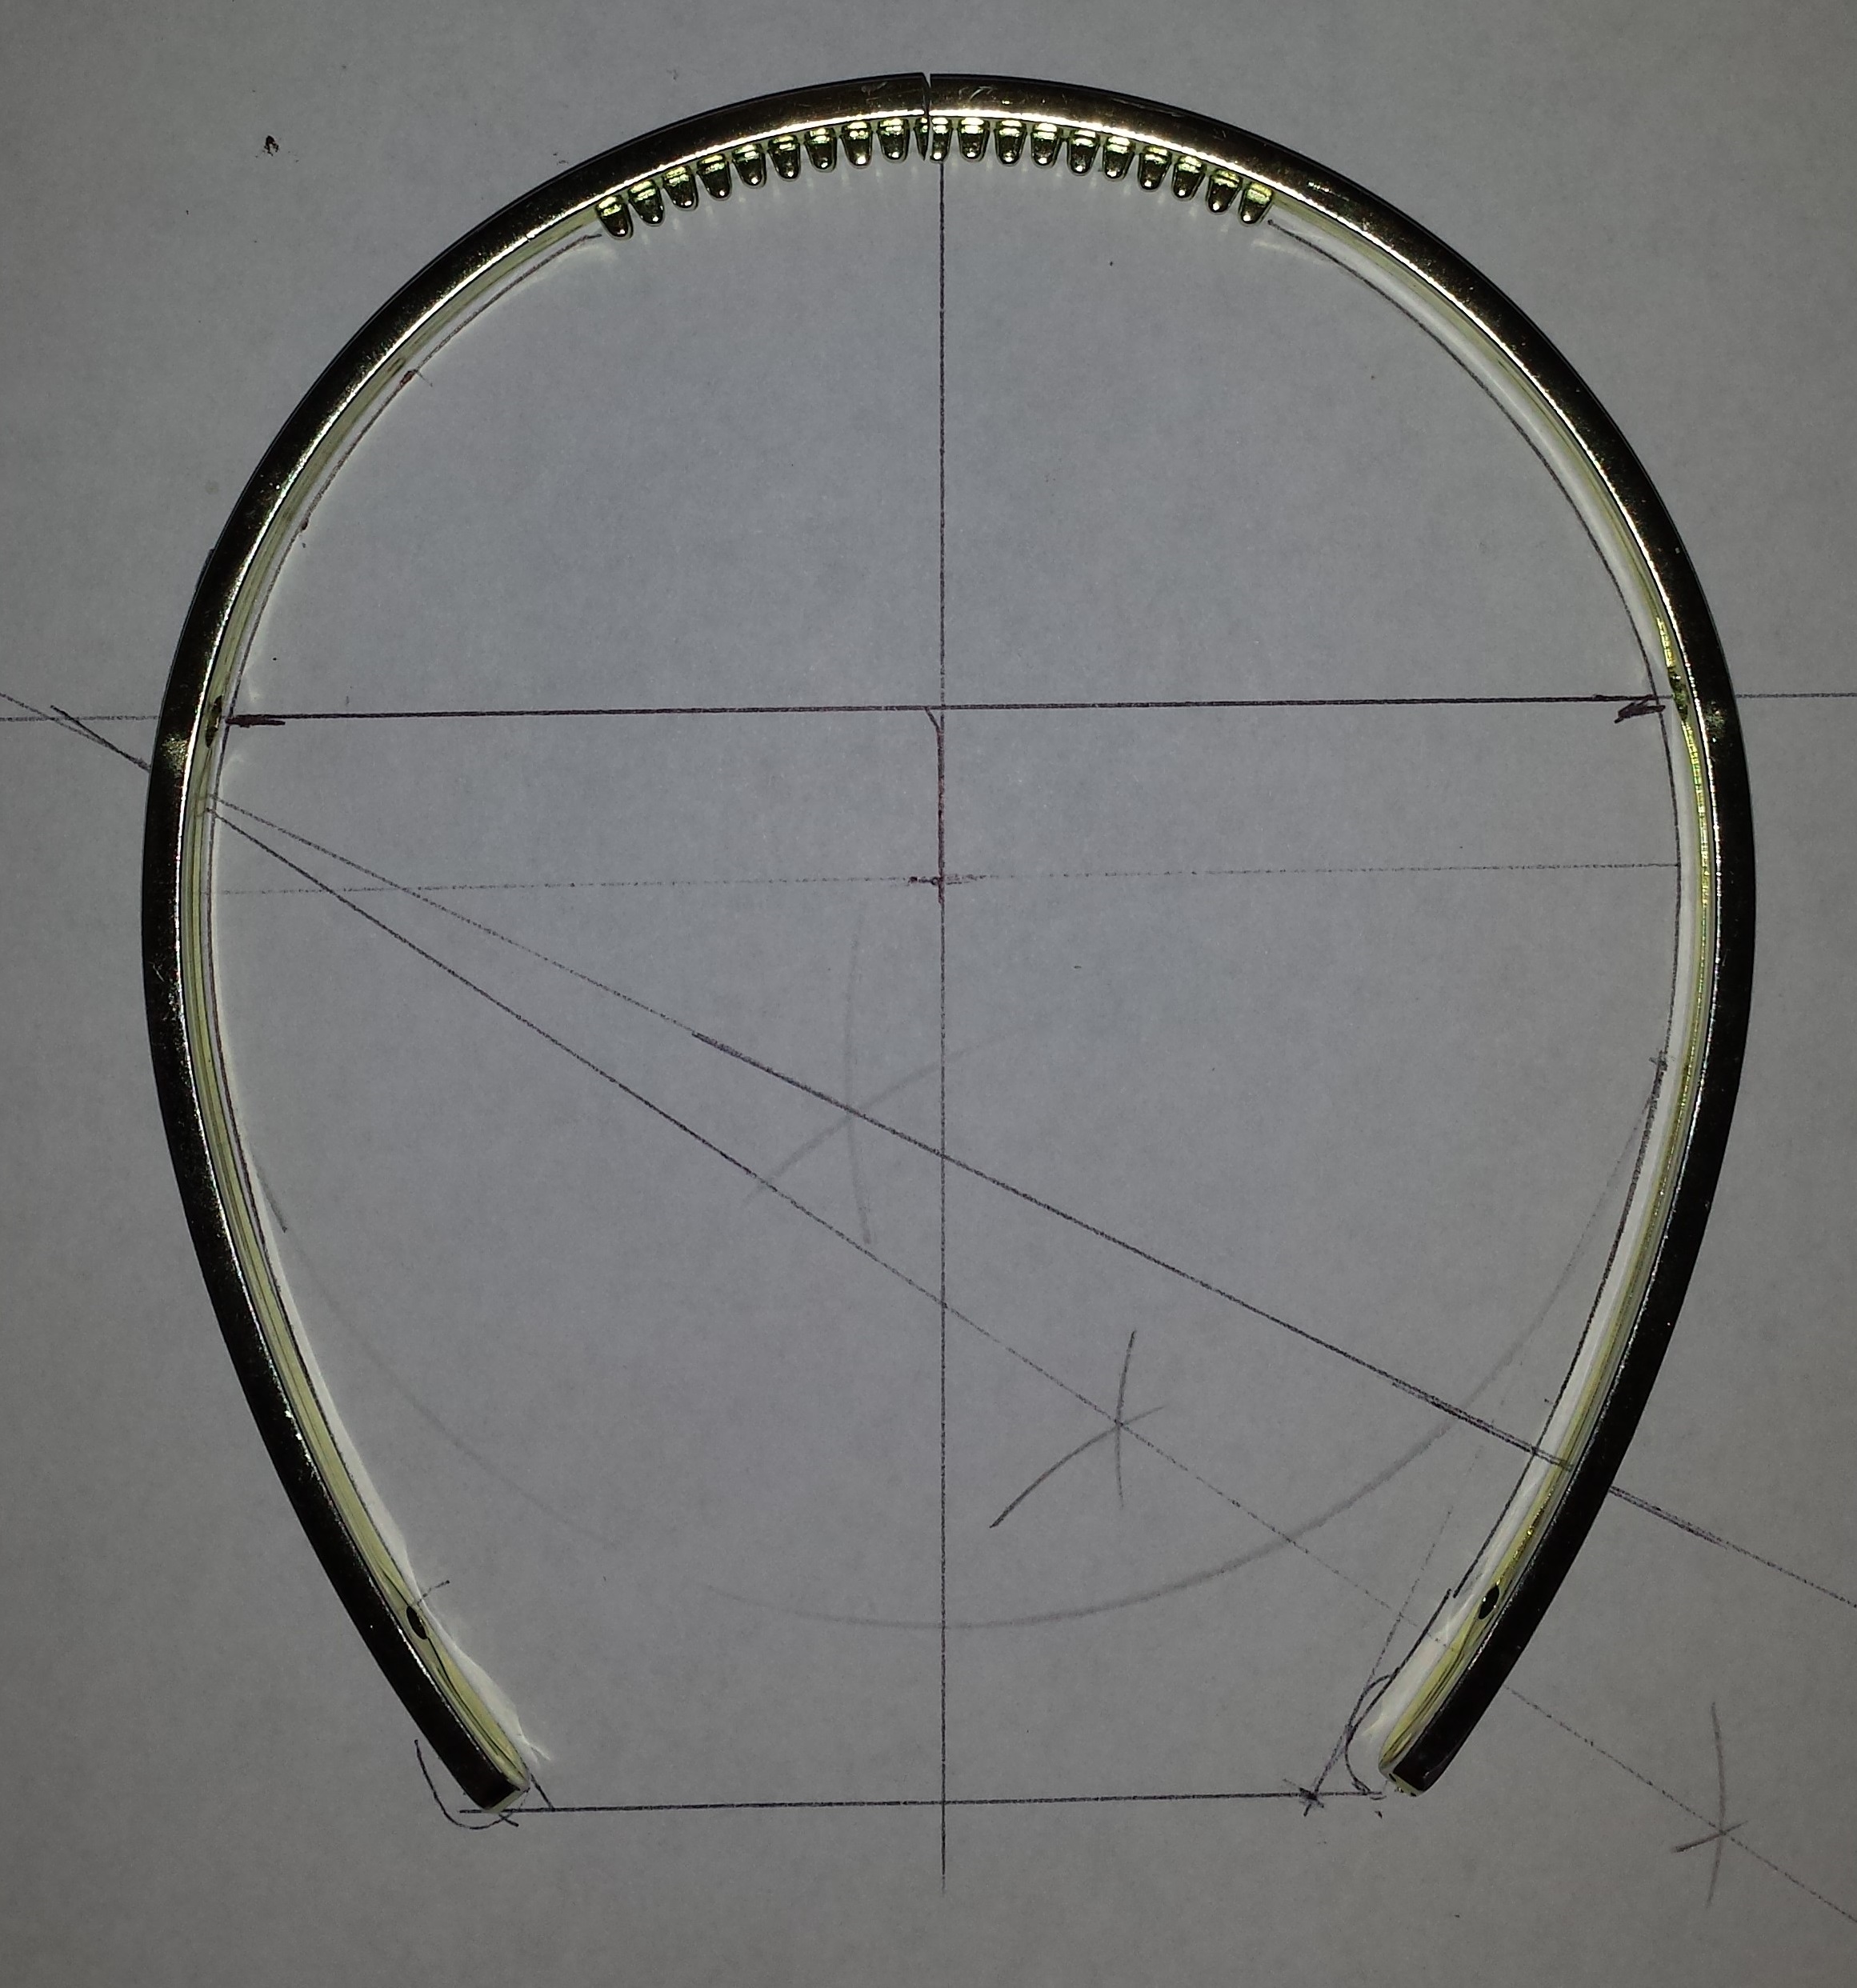 It turns out the shape is just one large circle and two arcs where it flares out. Getting the diameter and center point for the arcs was a bit tricky but nothing some simple geometry can solve. To find a center point of a arc all you need is two lines that are perpendicular to the curve and where those lines meet is the center. A quick google search will yield great results if you don’t know how to do this.
Now we have to draw it up. I used my favorite 123D Design.
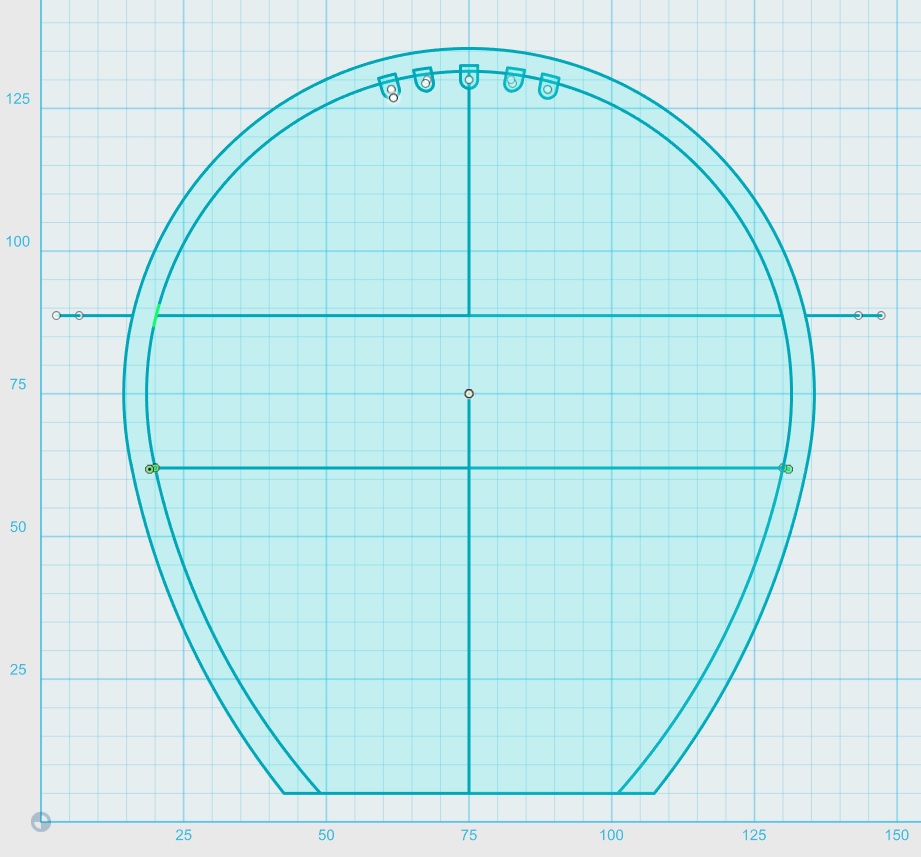
I used the large circle center point as a reference to place the center points of the arcs. I added some bumps at the top to make it stay put. I did not add a ton like the original mostly because I am lazy and they are mostly unnecessary. There are two small holes that are used to screw the band to the original upright piece as signified by the top horizontal line.
Then its a matter of extruding and rounding the edges.
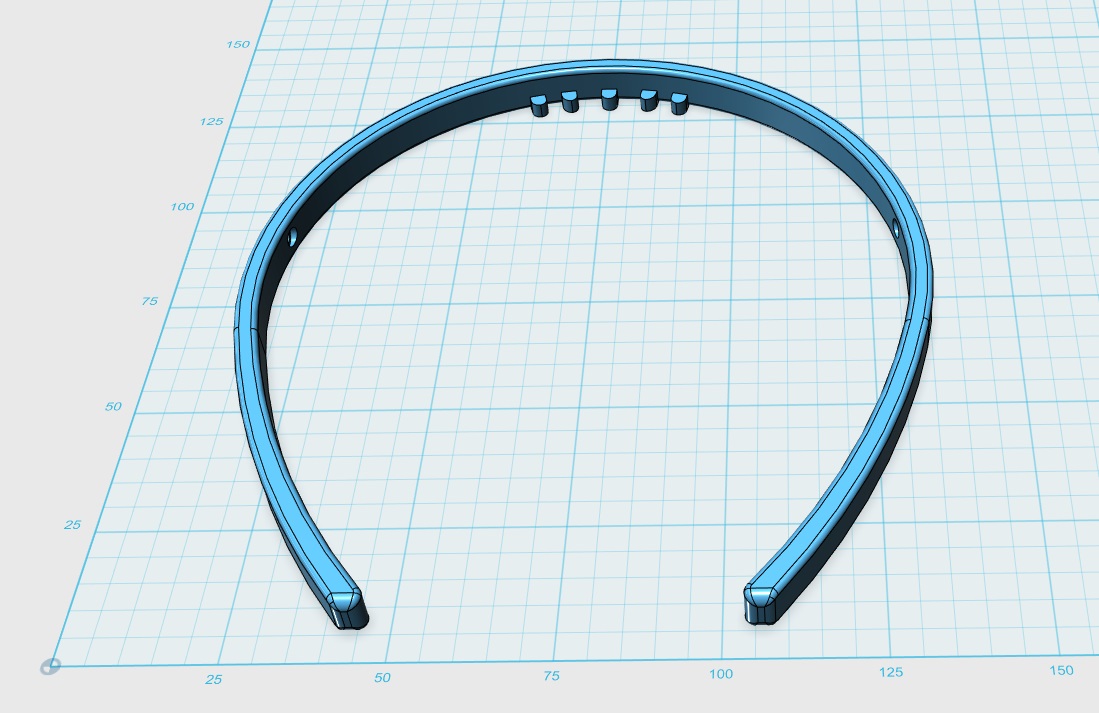
Export and test print to make sure everything looks good.
 Close enough. Now the full print.
Assemble
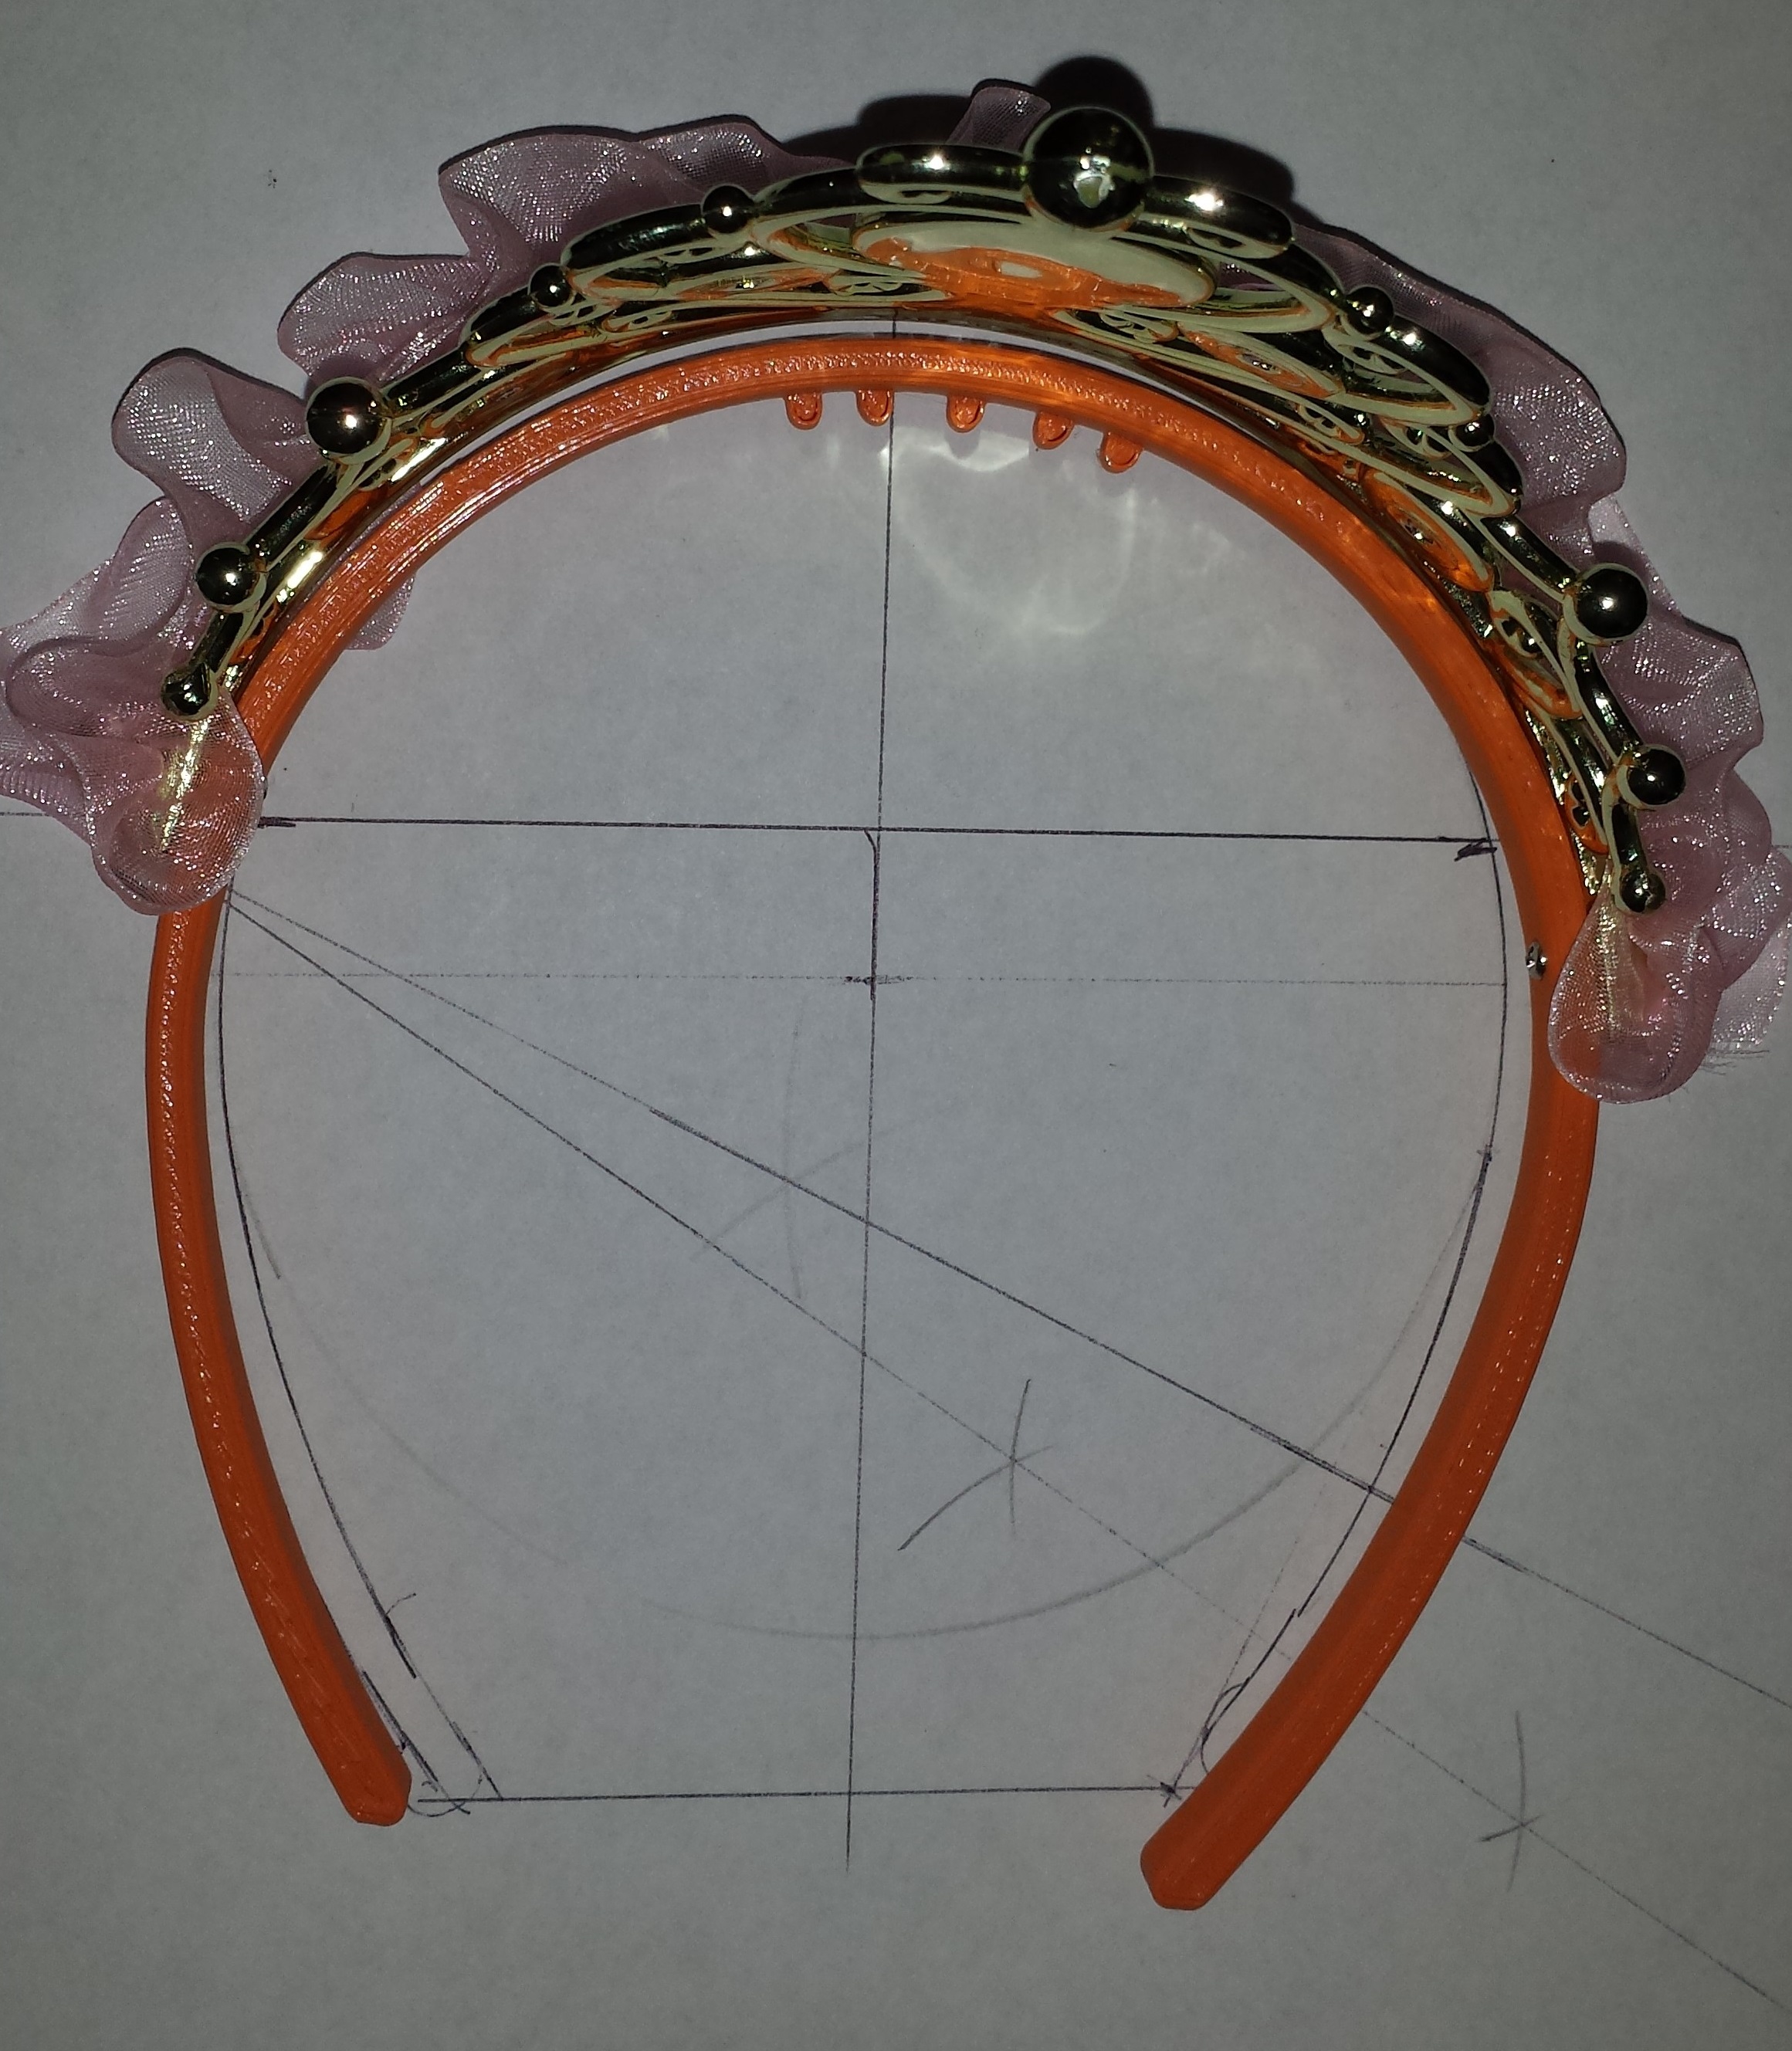 And finally profit.