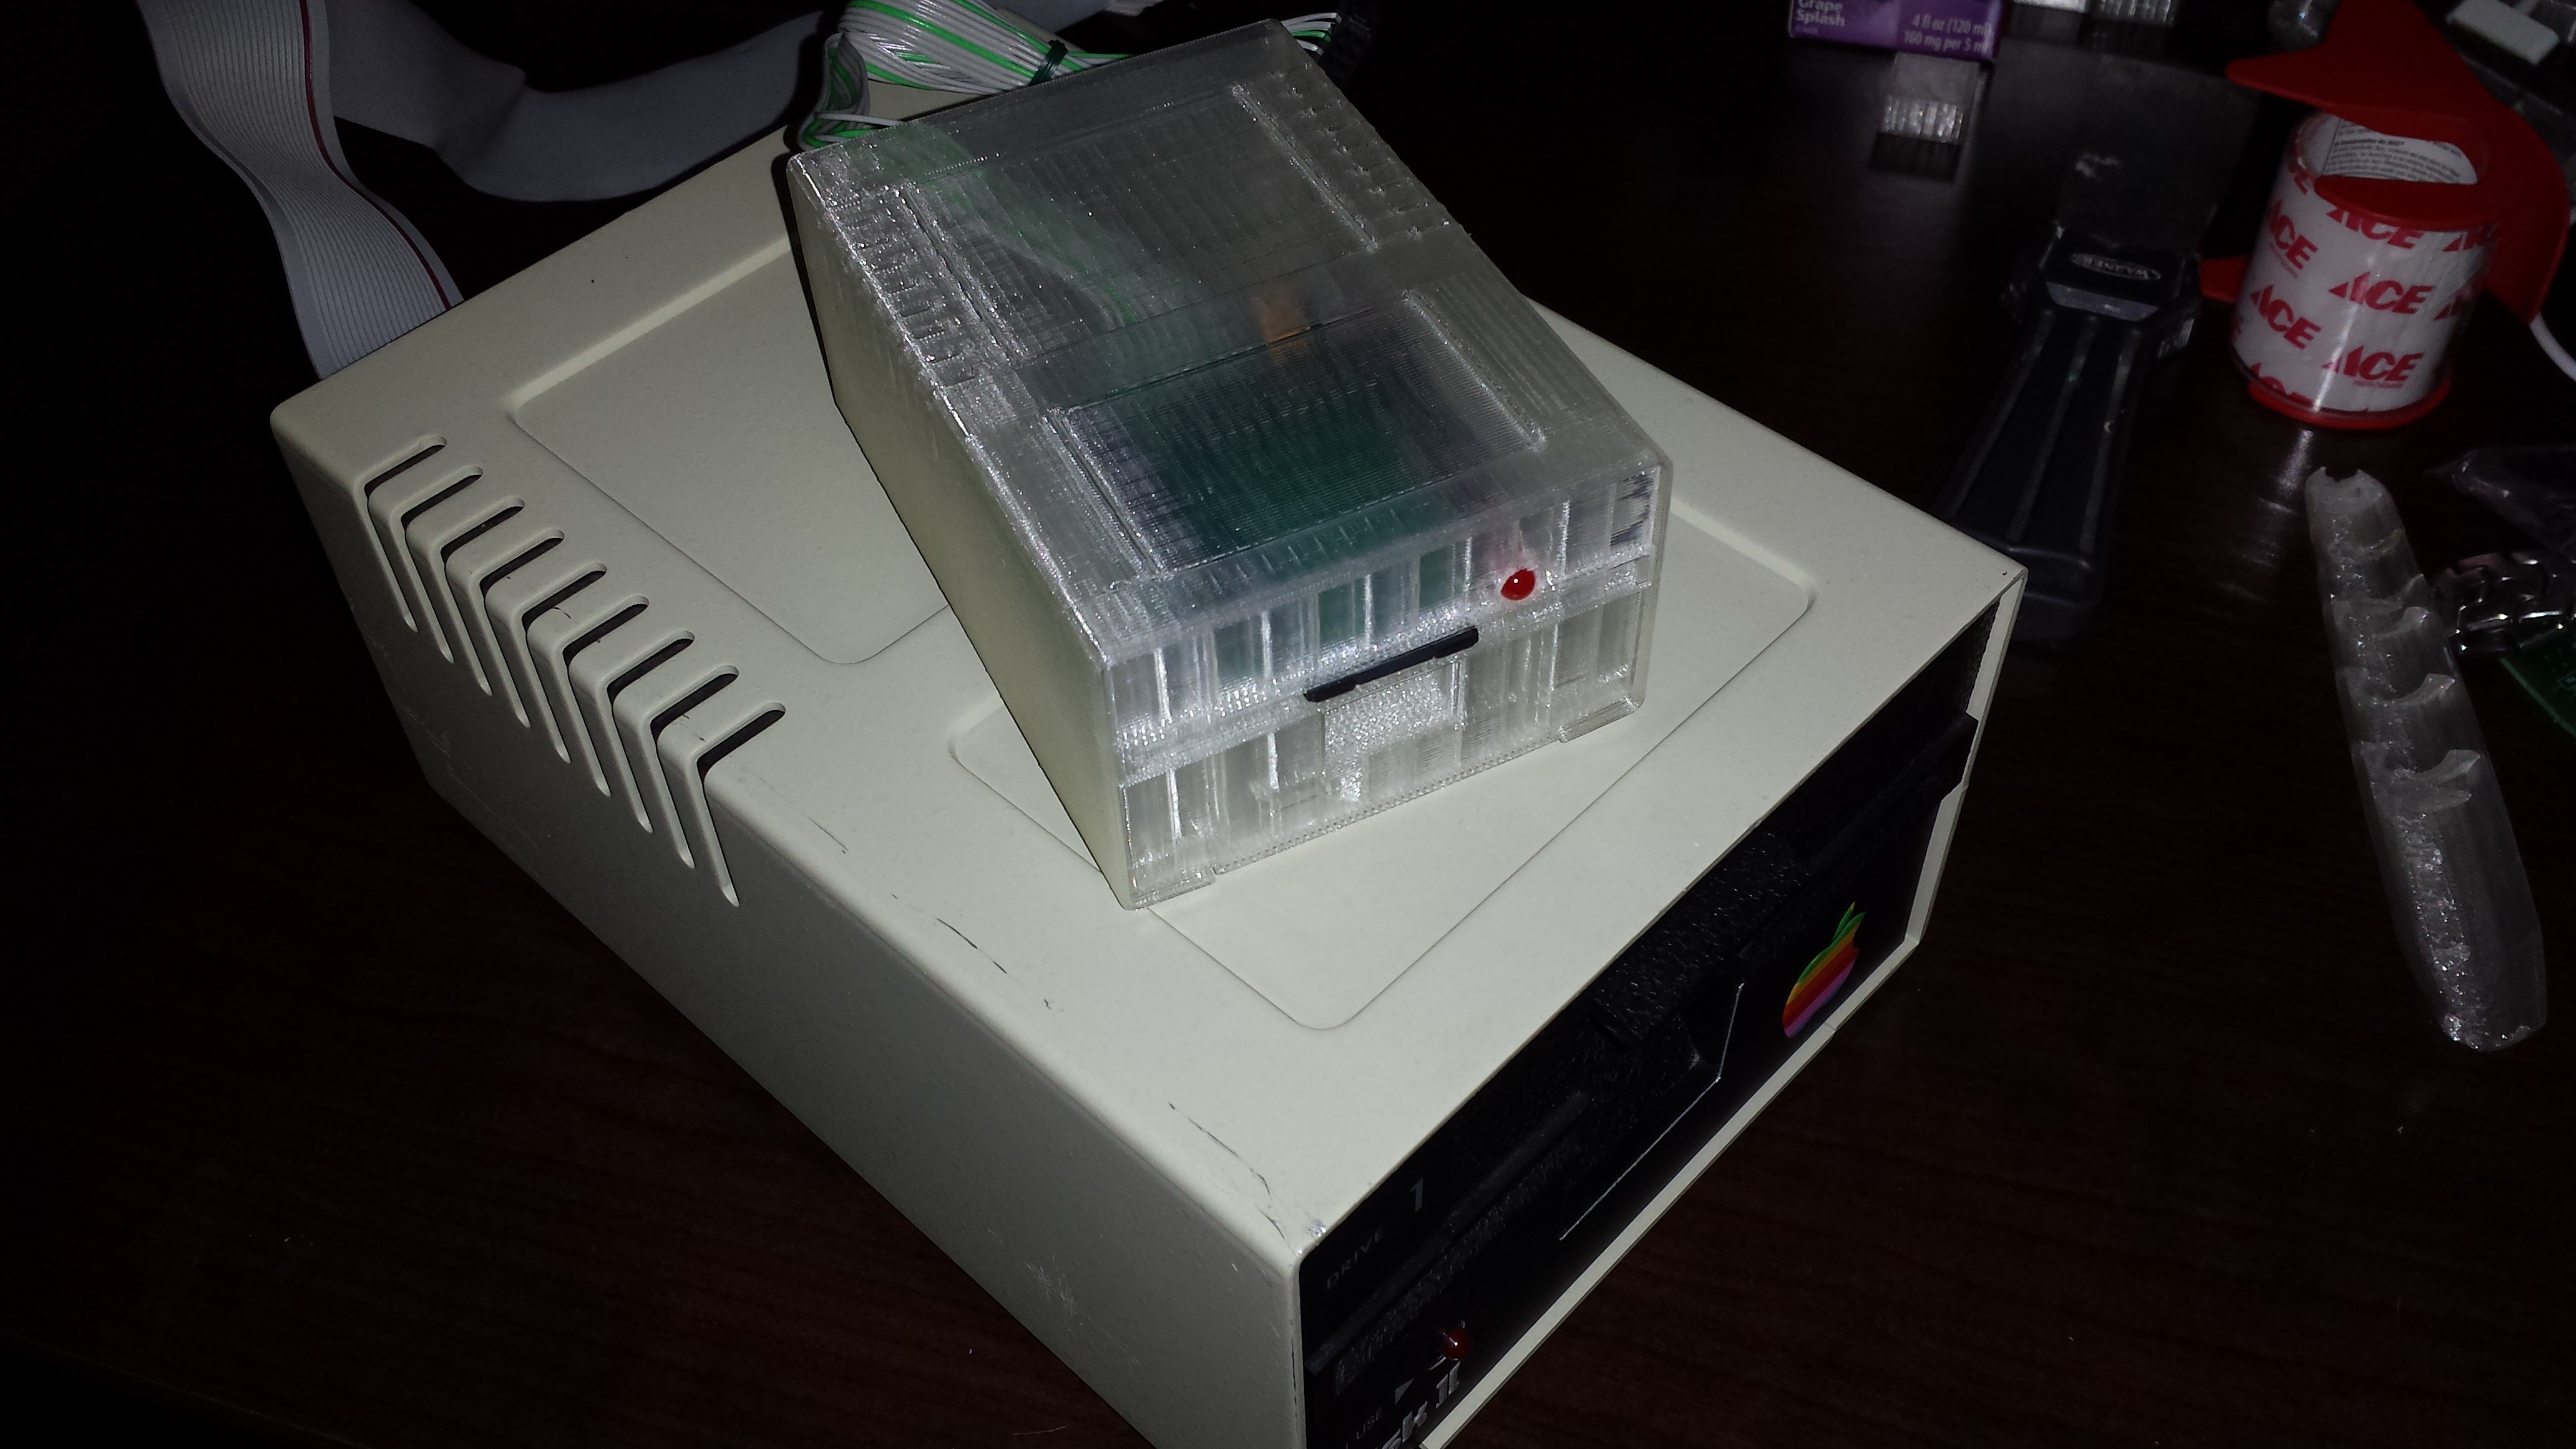
As promised I finally have the Apple Disk 2 Emulator Case ready for sale
I put a lot of time and effort into it and I am quite happy with the results. If I were not constantly side-tracked I am sure I would have had this done long ago.

As promised I finally have the Apple Disk 2 Emulator Case ready for sale
I put a lot of time and effort into it and I am quite happy with the results. If I were not constantly side-tracked I am sure I would have had this done long ago.
I have been tweaking the Disk II case and I have it almost done. I have one more minor modification to make the SD card slot slightly larger and I will be done. My goal is to publish it for sale this weekend.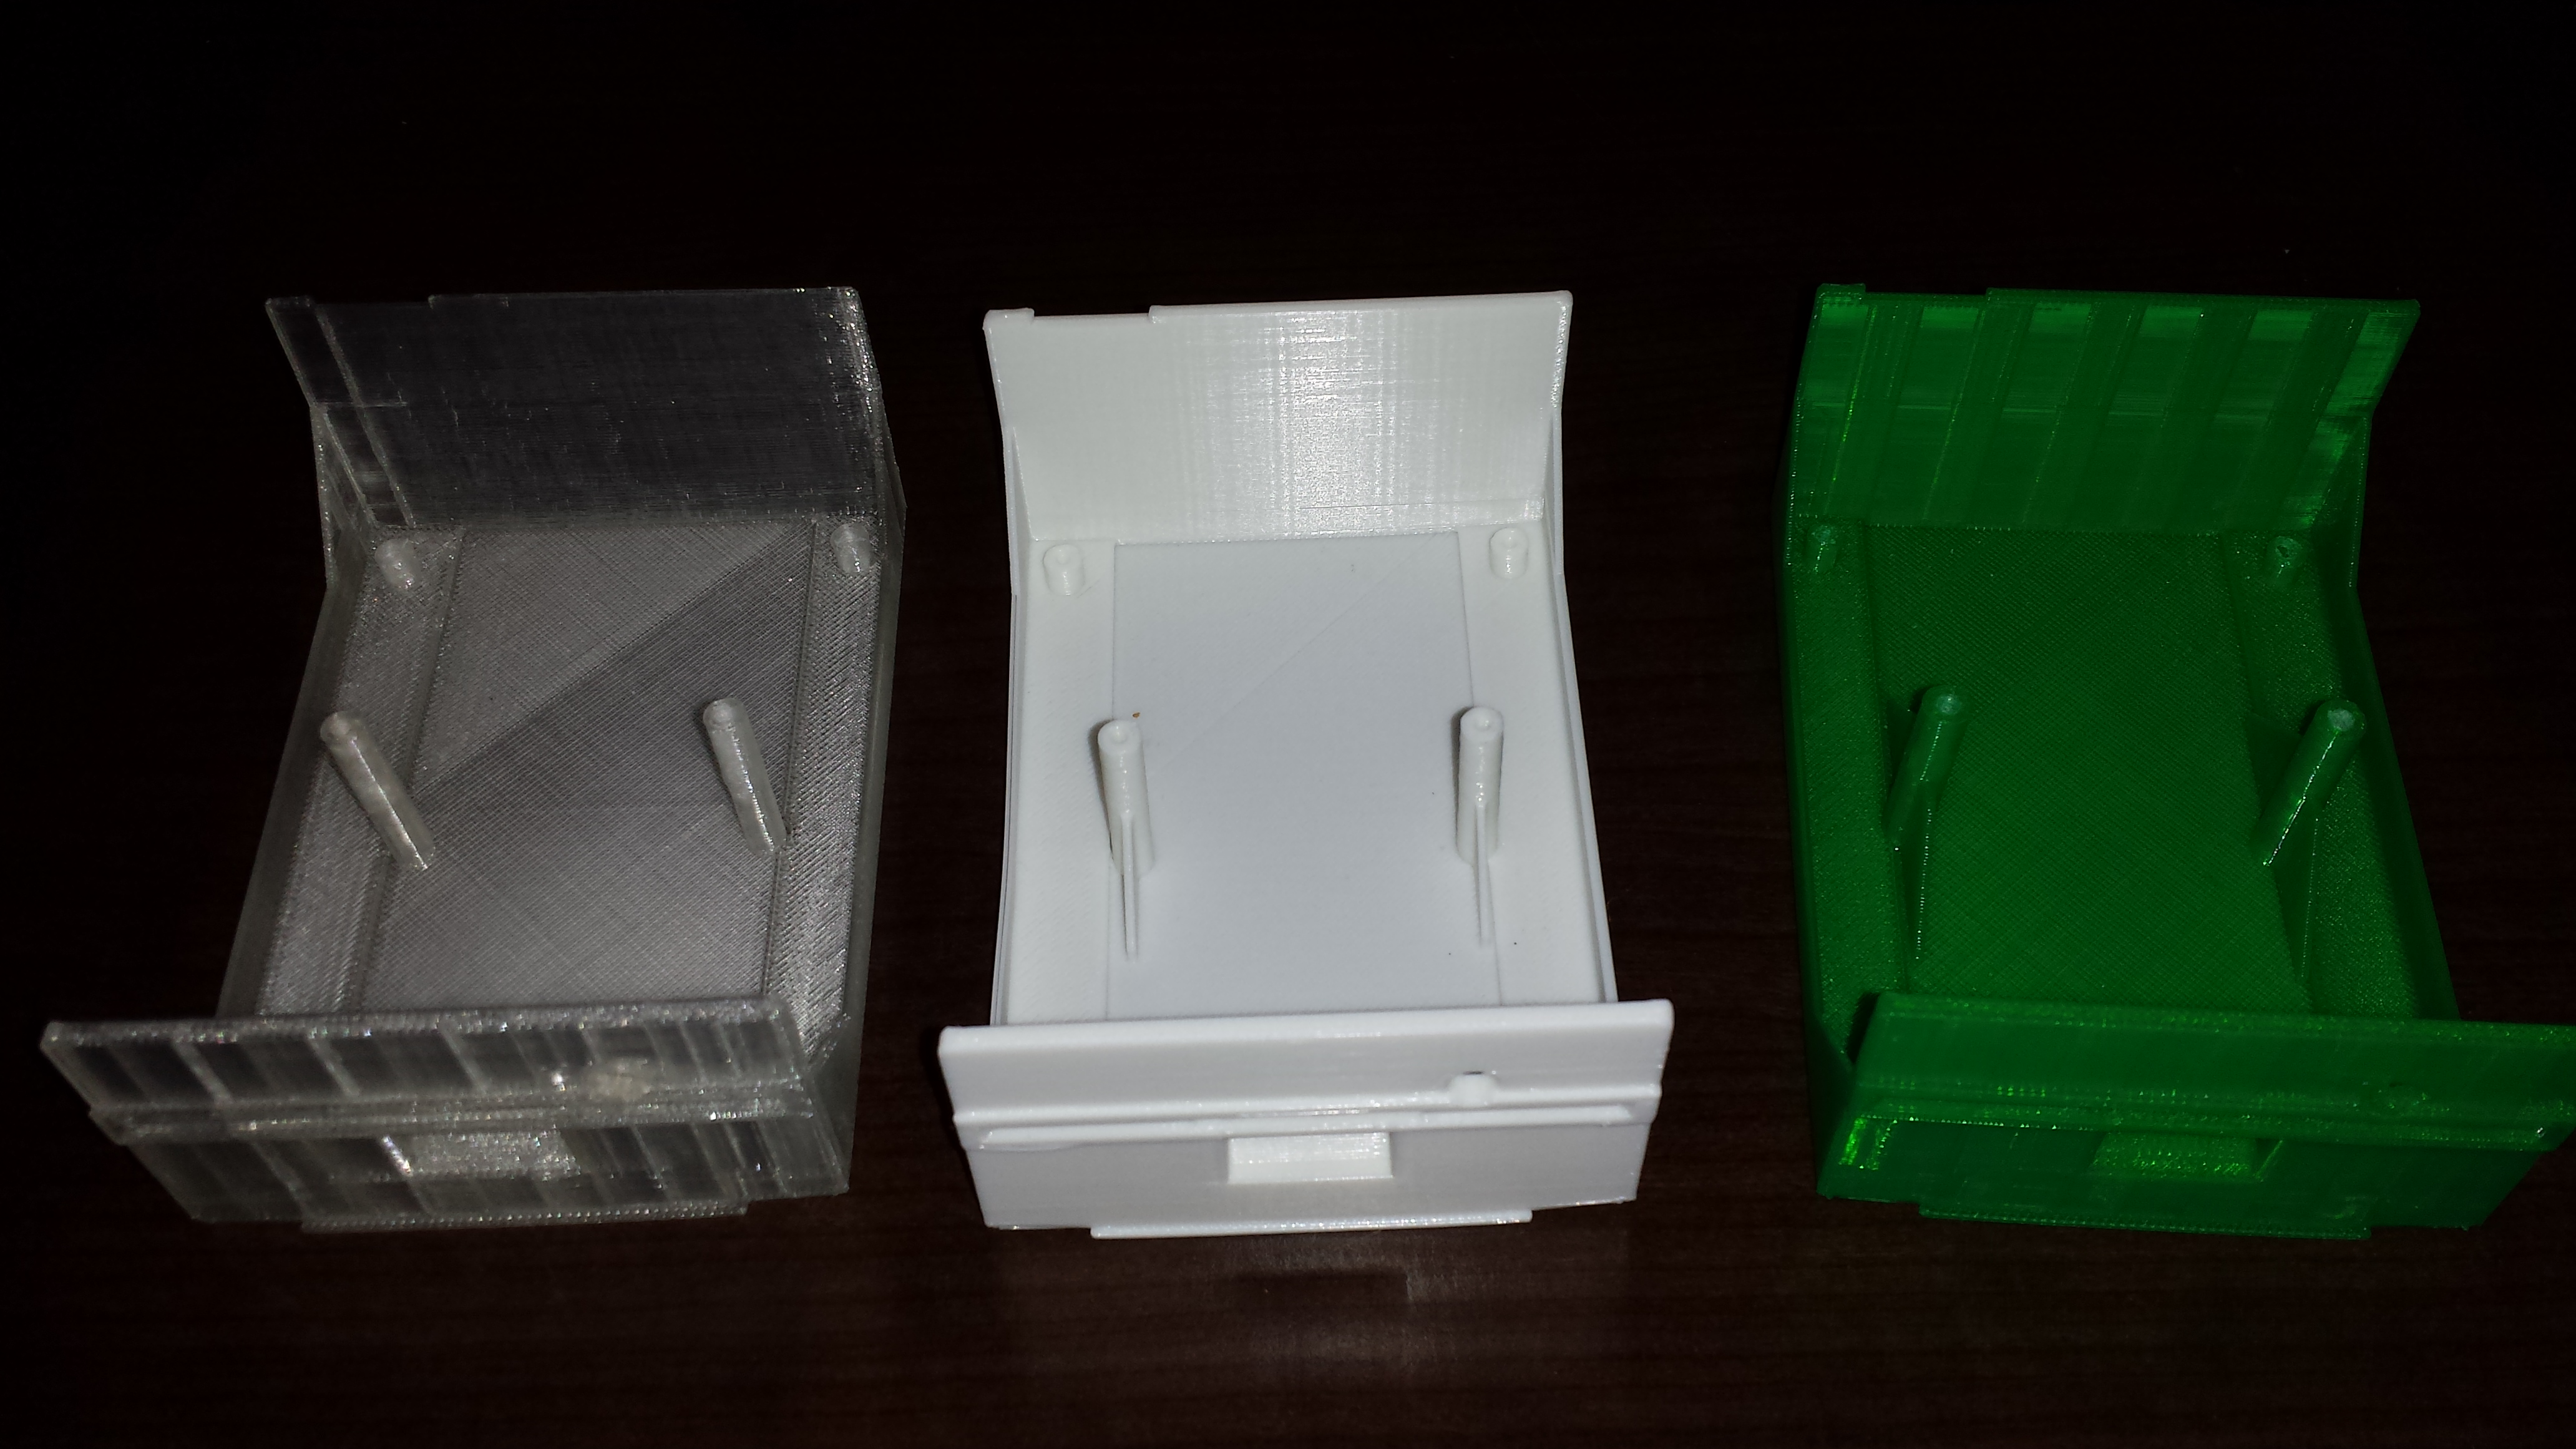
For what ever reason after over two months with no orders I got 4 orders for the RGB case in one week. I Surprisingly, got them all printed and they will be in the mail on Monday.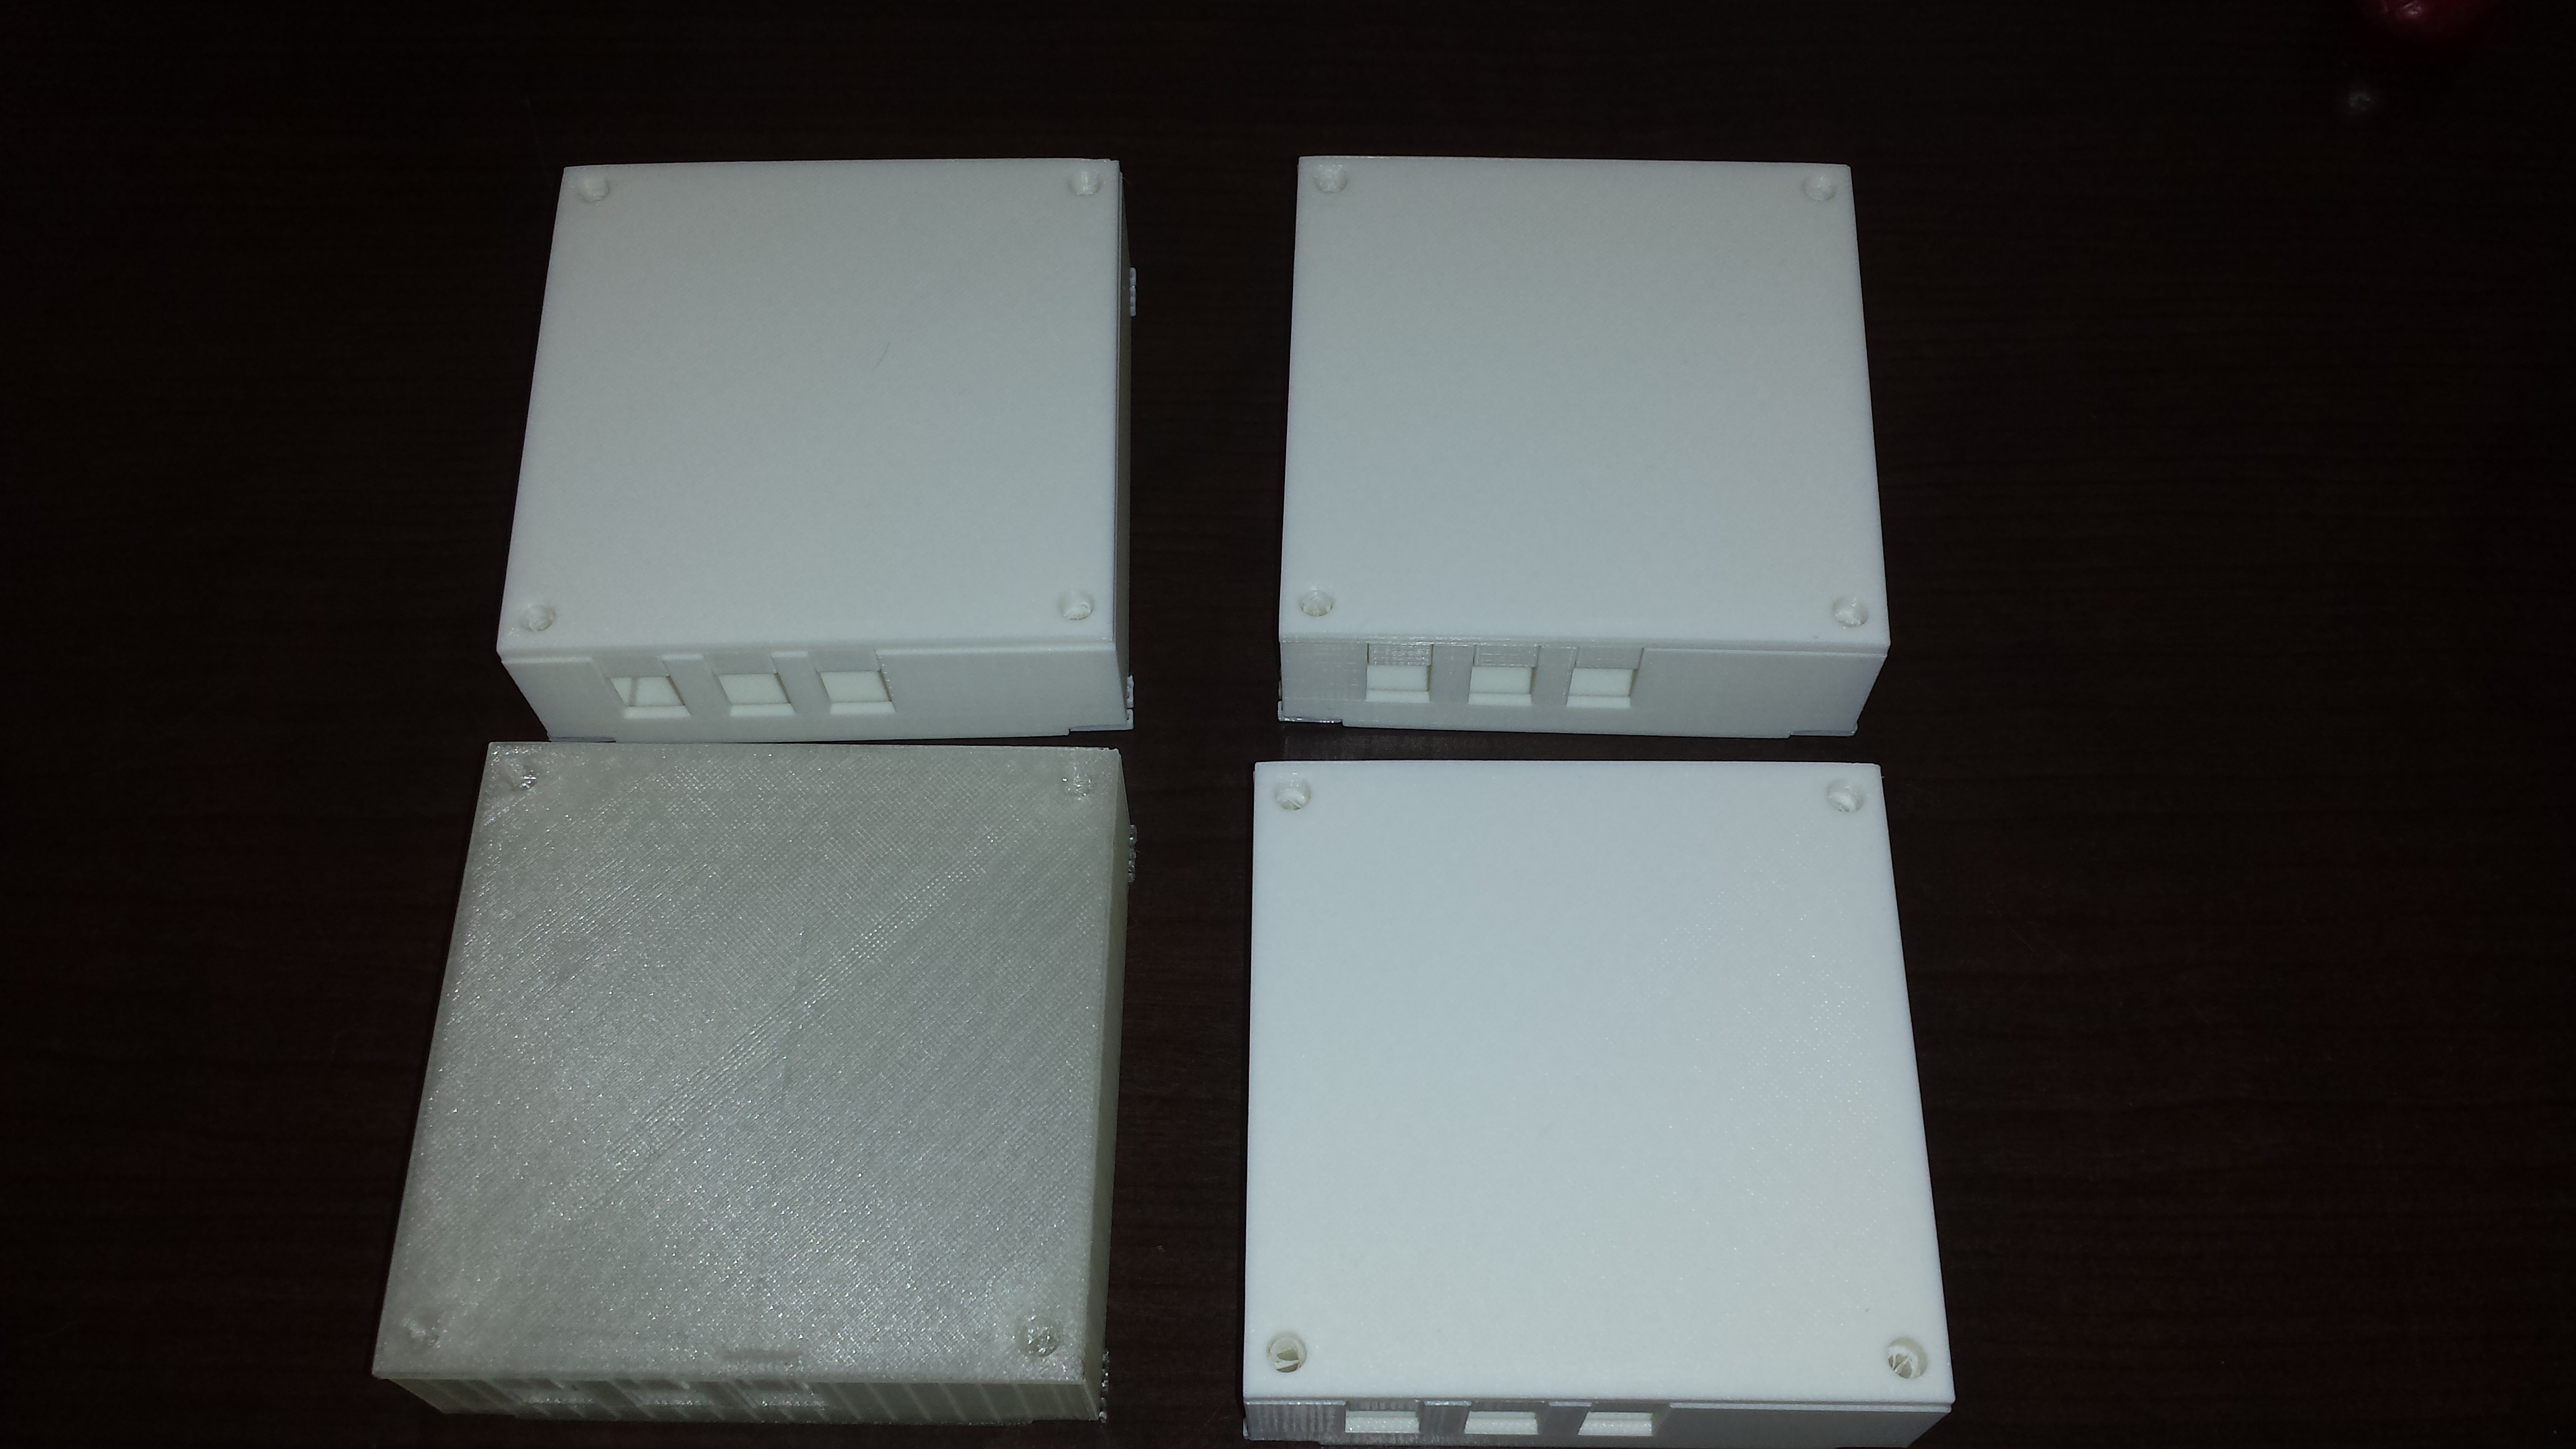
Instead of drawing an object in a traditional 3D drawing program, did you ever want to draw the object with a program? If you answered yes; you are a looney! Oh and, OpenSCAD if for you. I don’t think anyone would want to use OpenSCAD but there are some reasons that it is necessary. First let’s talk about the good things before saying bad things about it.
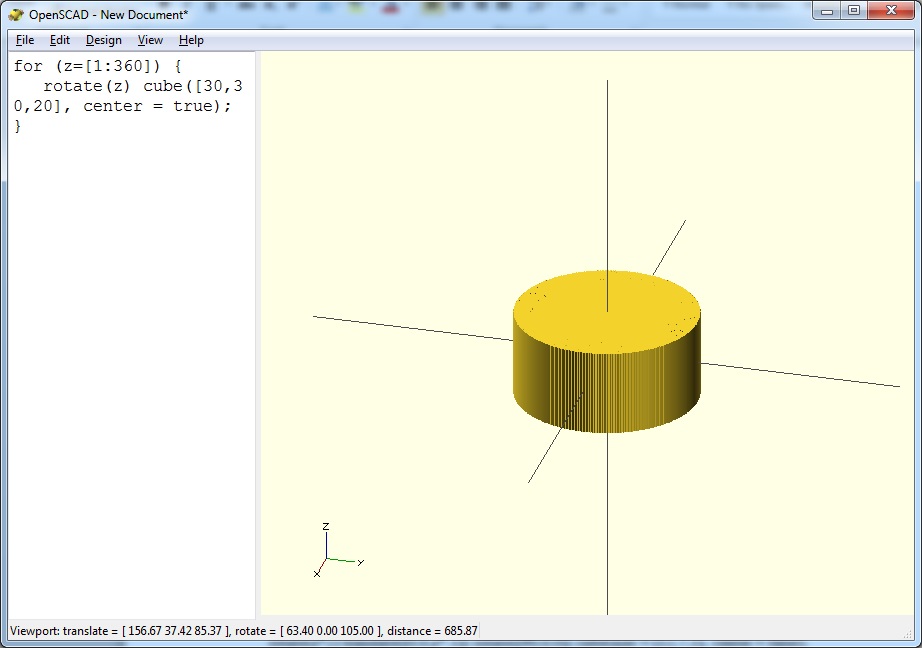
First the syntax is quite elegant. The number of 3D objects you can draw out right is tiny ( sphere, cube, cylinder and polyhedron) but using programming the objects can become anything. Sure the polyhedron is technically any shape you could desire but drawing a shape using it seems impossible without physically drawing it on paper first. So why are there so few shapes? The answer is because you don’t need them. I am even surprised that it even has cylinder because you can make a cube into a cylinder quite easily:
| for (z=[1:360]) {rotate(z) cube([30,30,20], center = true);} |
Sure it saves a bit of typing since this is the same cylinder:
| cylinder(h=20,r=20, center=true) |
So what else is good about OpenSCAD? Well there are shapes you can make with it that are just impossible or really hard to make with a traditional drawing program. This is the main appeal to OpenSCAD. Which brings me to why I am writing this post; I needed to draw a spiral. For sure 123D Design just can’t do a spiral. I would guess that AutoCAD can do it but I guess I just don’t know enough about it to even know where to start. With OpenSCAD it is actually easy to do. Logically all you have to do is start with a shape in his case a thin cube standing upright. Then all you do is place another cube of the same size next to it that is slightly rotated and slightly elevated. Repeat adding cubes and a spiral will appear. Programming this is OpenSCAD is really quite easy:
| for ( z = [1:740]) {rotate(z*2) translate([0,0,z*.1]) rotate([90,0,0]) cube(size = [12,7,1], center = false);} |
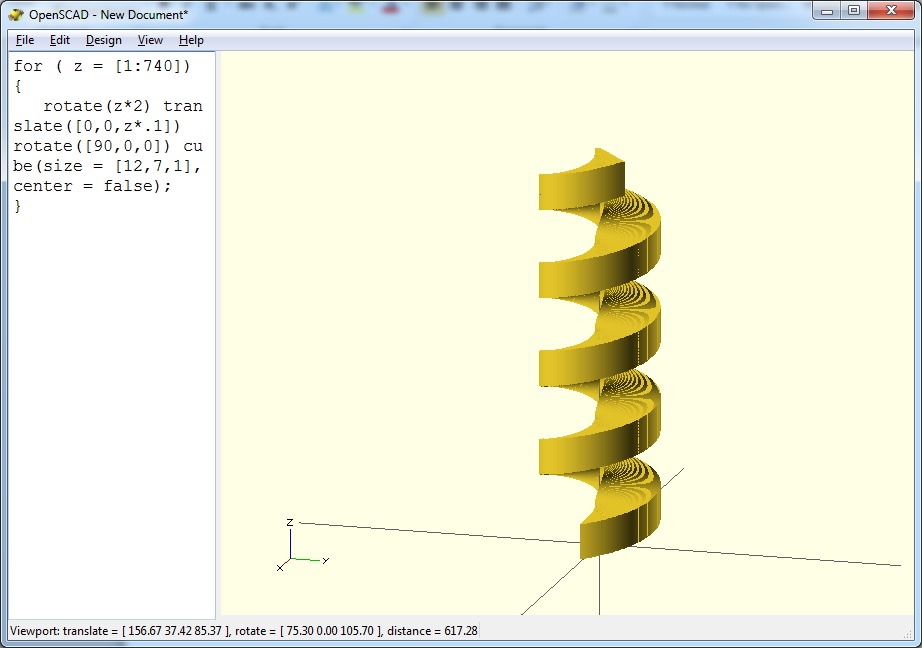
That’s it! Really just 1 line of code and a loop and you get a spiral. This seems quite easy right? Well, yes and no. OpenSCAD is great for things like this but when it comes to doing things that a traditional CAD program can do; moving objects on the screen and manipulating the object in 3D space, OpenSCAD falls flat on its face.
So what’s all this complaining I am doing it seems great right? First I must say I don’t hate it. But it’s only for very specific tasks. When you need to draw something like a spiral it is great. When you want a case for a raspberry pi don’t use it! Is it impossible to draw a raspberry pi case in OpenSCAD? No of course not but it take a lot of unnecessary mental work to do it. Let the computer keep track of the placement of 3d objects in space, use a program that you can grab and move them around.
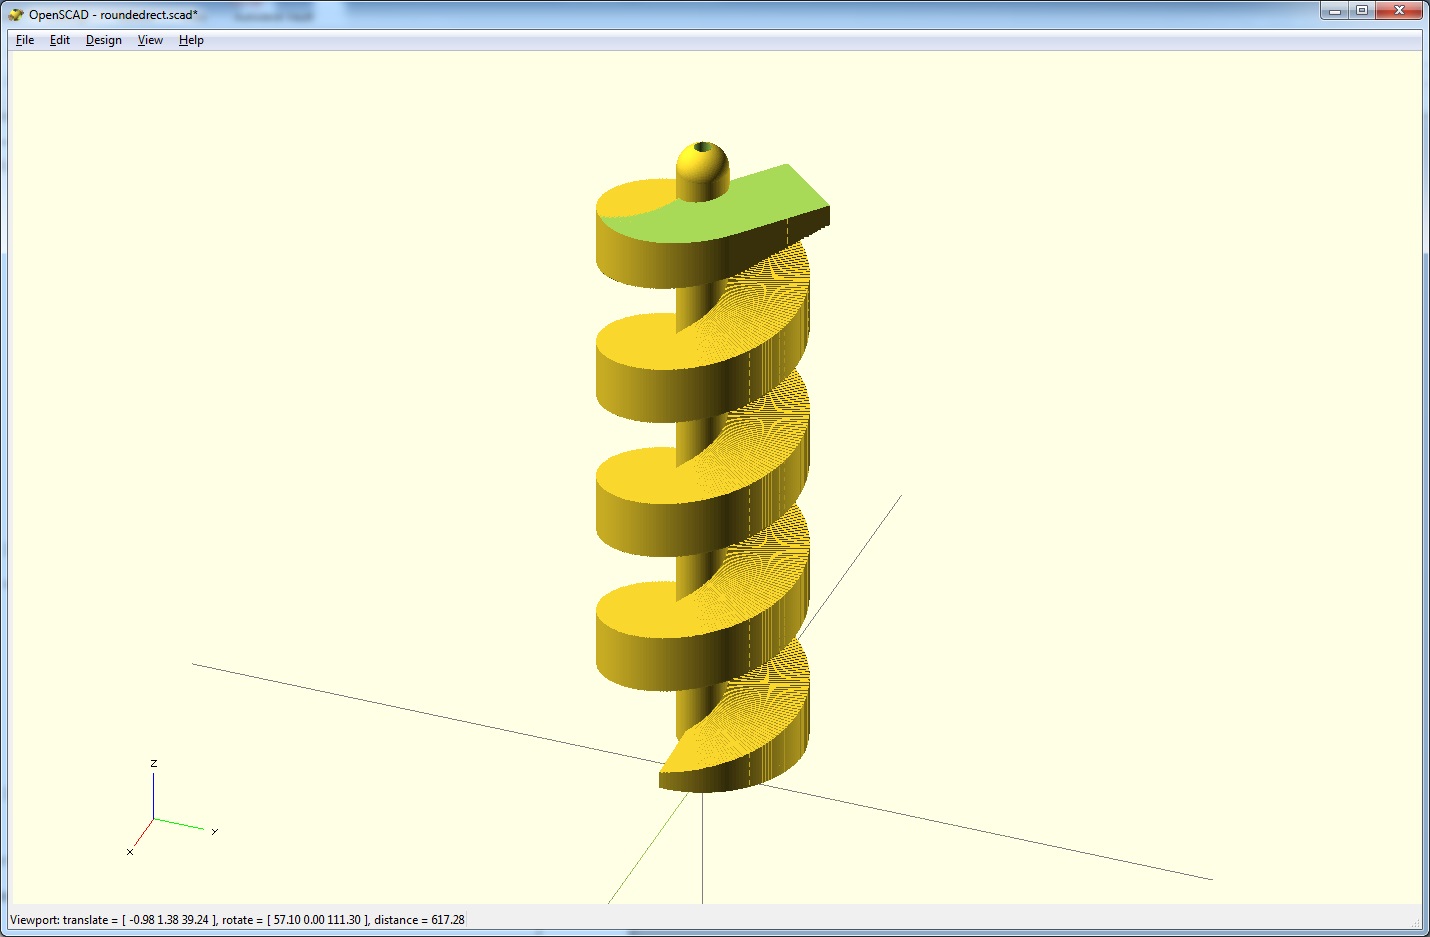
Ok, enough ranting. I am sure I haven’t even touched on half of the things I wanted to say but this post is getting really long. On to the show! Like I mentioned I had a need to draw a spiral and here is what I came up with: (I am sure it can be more refined/simple but it works and I am not yet an expert at OpenScad) Sorry for the epic formatting fail Click here for the file: spiral1
| difference(){union(){union(){difference(){
union(){ difference(){ union(){ difference(){ //spiral for ( z = [1:740]) { rotate(z*2) translate([0,0,z*.1]) rotate([90,0,0]) cube(size = [12,7,1], center = false); } } } translate([-20,-20,0]) cube([60,60,5]); } difference(){ union(){ //top finishing flare for ( z = [0:50]) { rotate(740*2) translate([0,z*.5,((z+740)*.1)+(z*.1)]) rotate([90,0,0]) cube(size = [12,6,1], center = false); } } //cutting the end on the flare rotate (45) translate([-40,10,75.02]) cube([60,60,20]); } } //top angle cube rotate([10,0,0]) translate([10,15,82.02]) cube([60,60,10], center = true); } } union(){ //center cylinder translate([0,0,5])cylinder(h=700*.1+6,r=3,$fn=100); //rounded top translate([0,0,700*.1+11])sphere(r=3,$fn=100); } } //center hole translate([0,0,5])cylinder(h=700*.1+11,r=1,$fn=100); } |
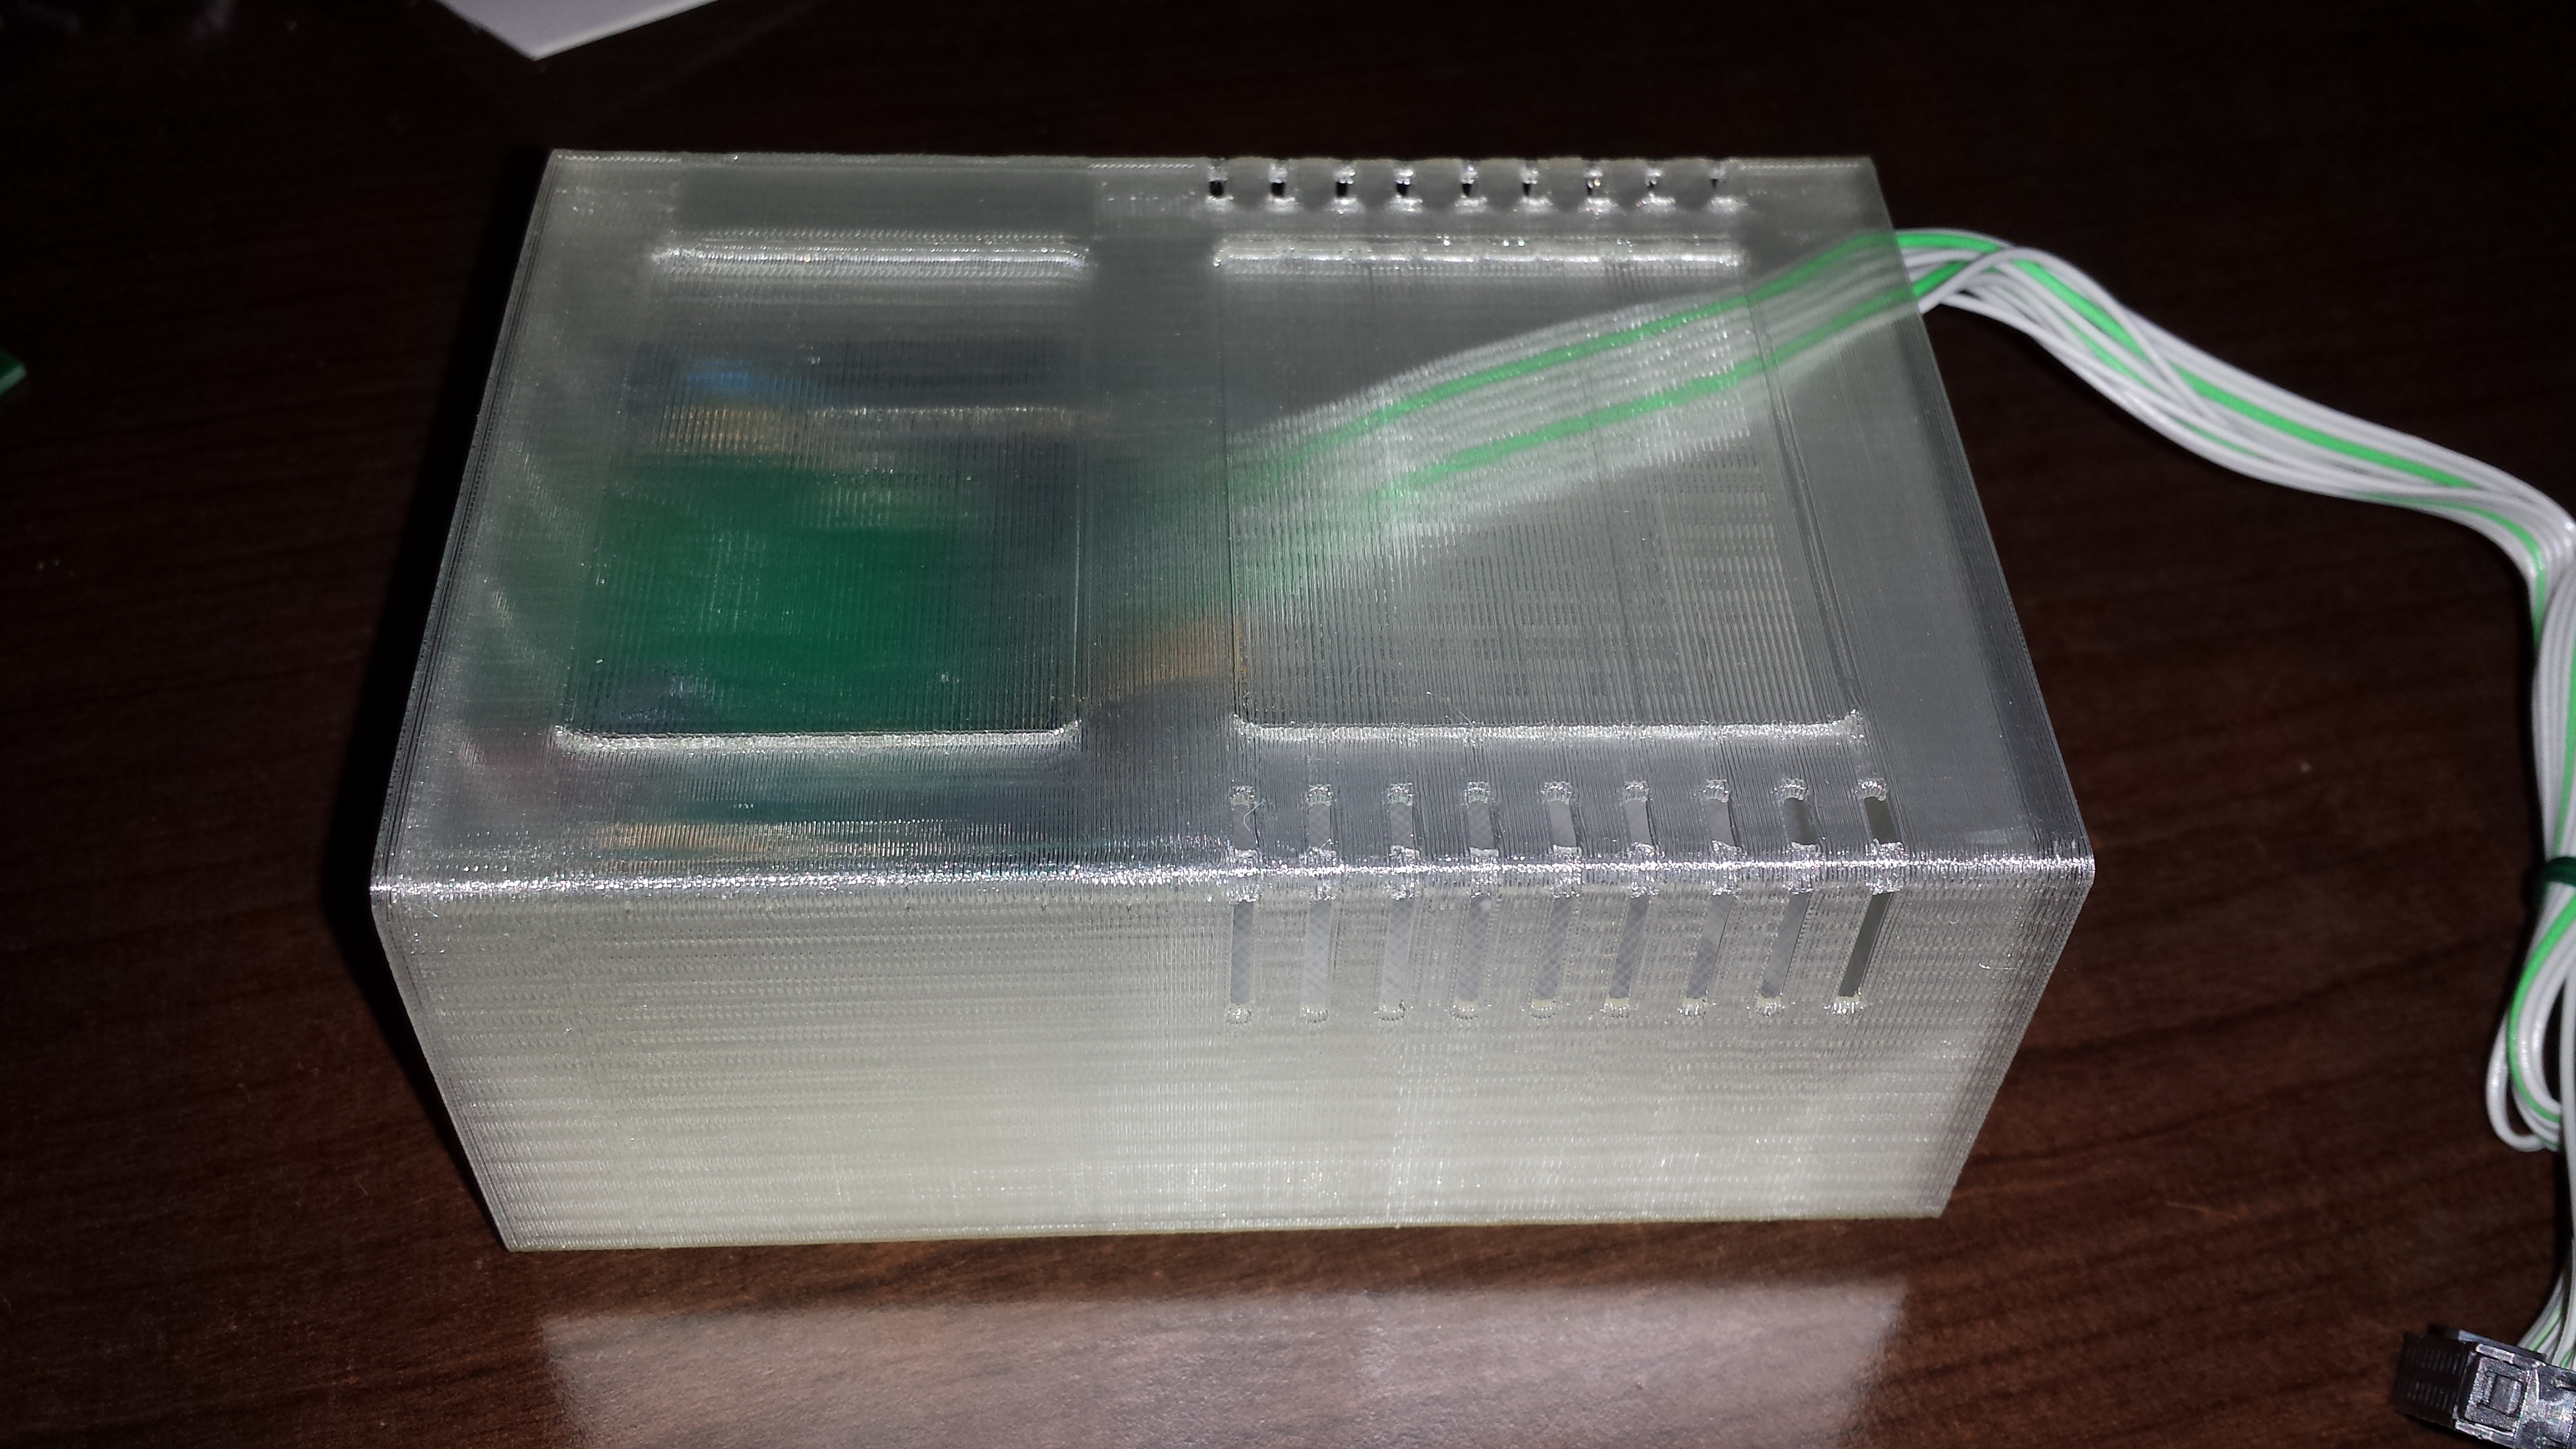
I printed out the case and it came out great. There are some minor change I need to make. The holes for the board are close but not quite perfect. Also the case overall is a bit thin. I will need to beef up some of the wall thicknesses.
Silly me, keep forgetting that when I print in translucent (natural) the details are hard to see. The next one I print will be in one of the solid colors.
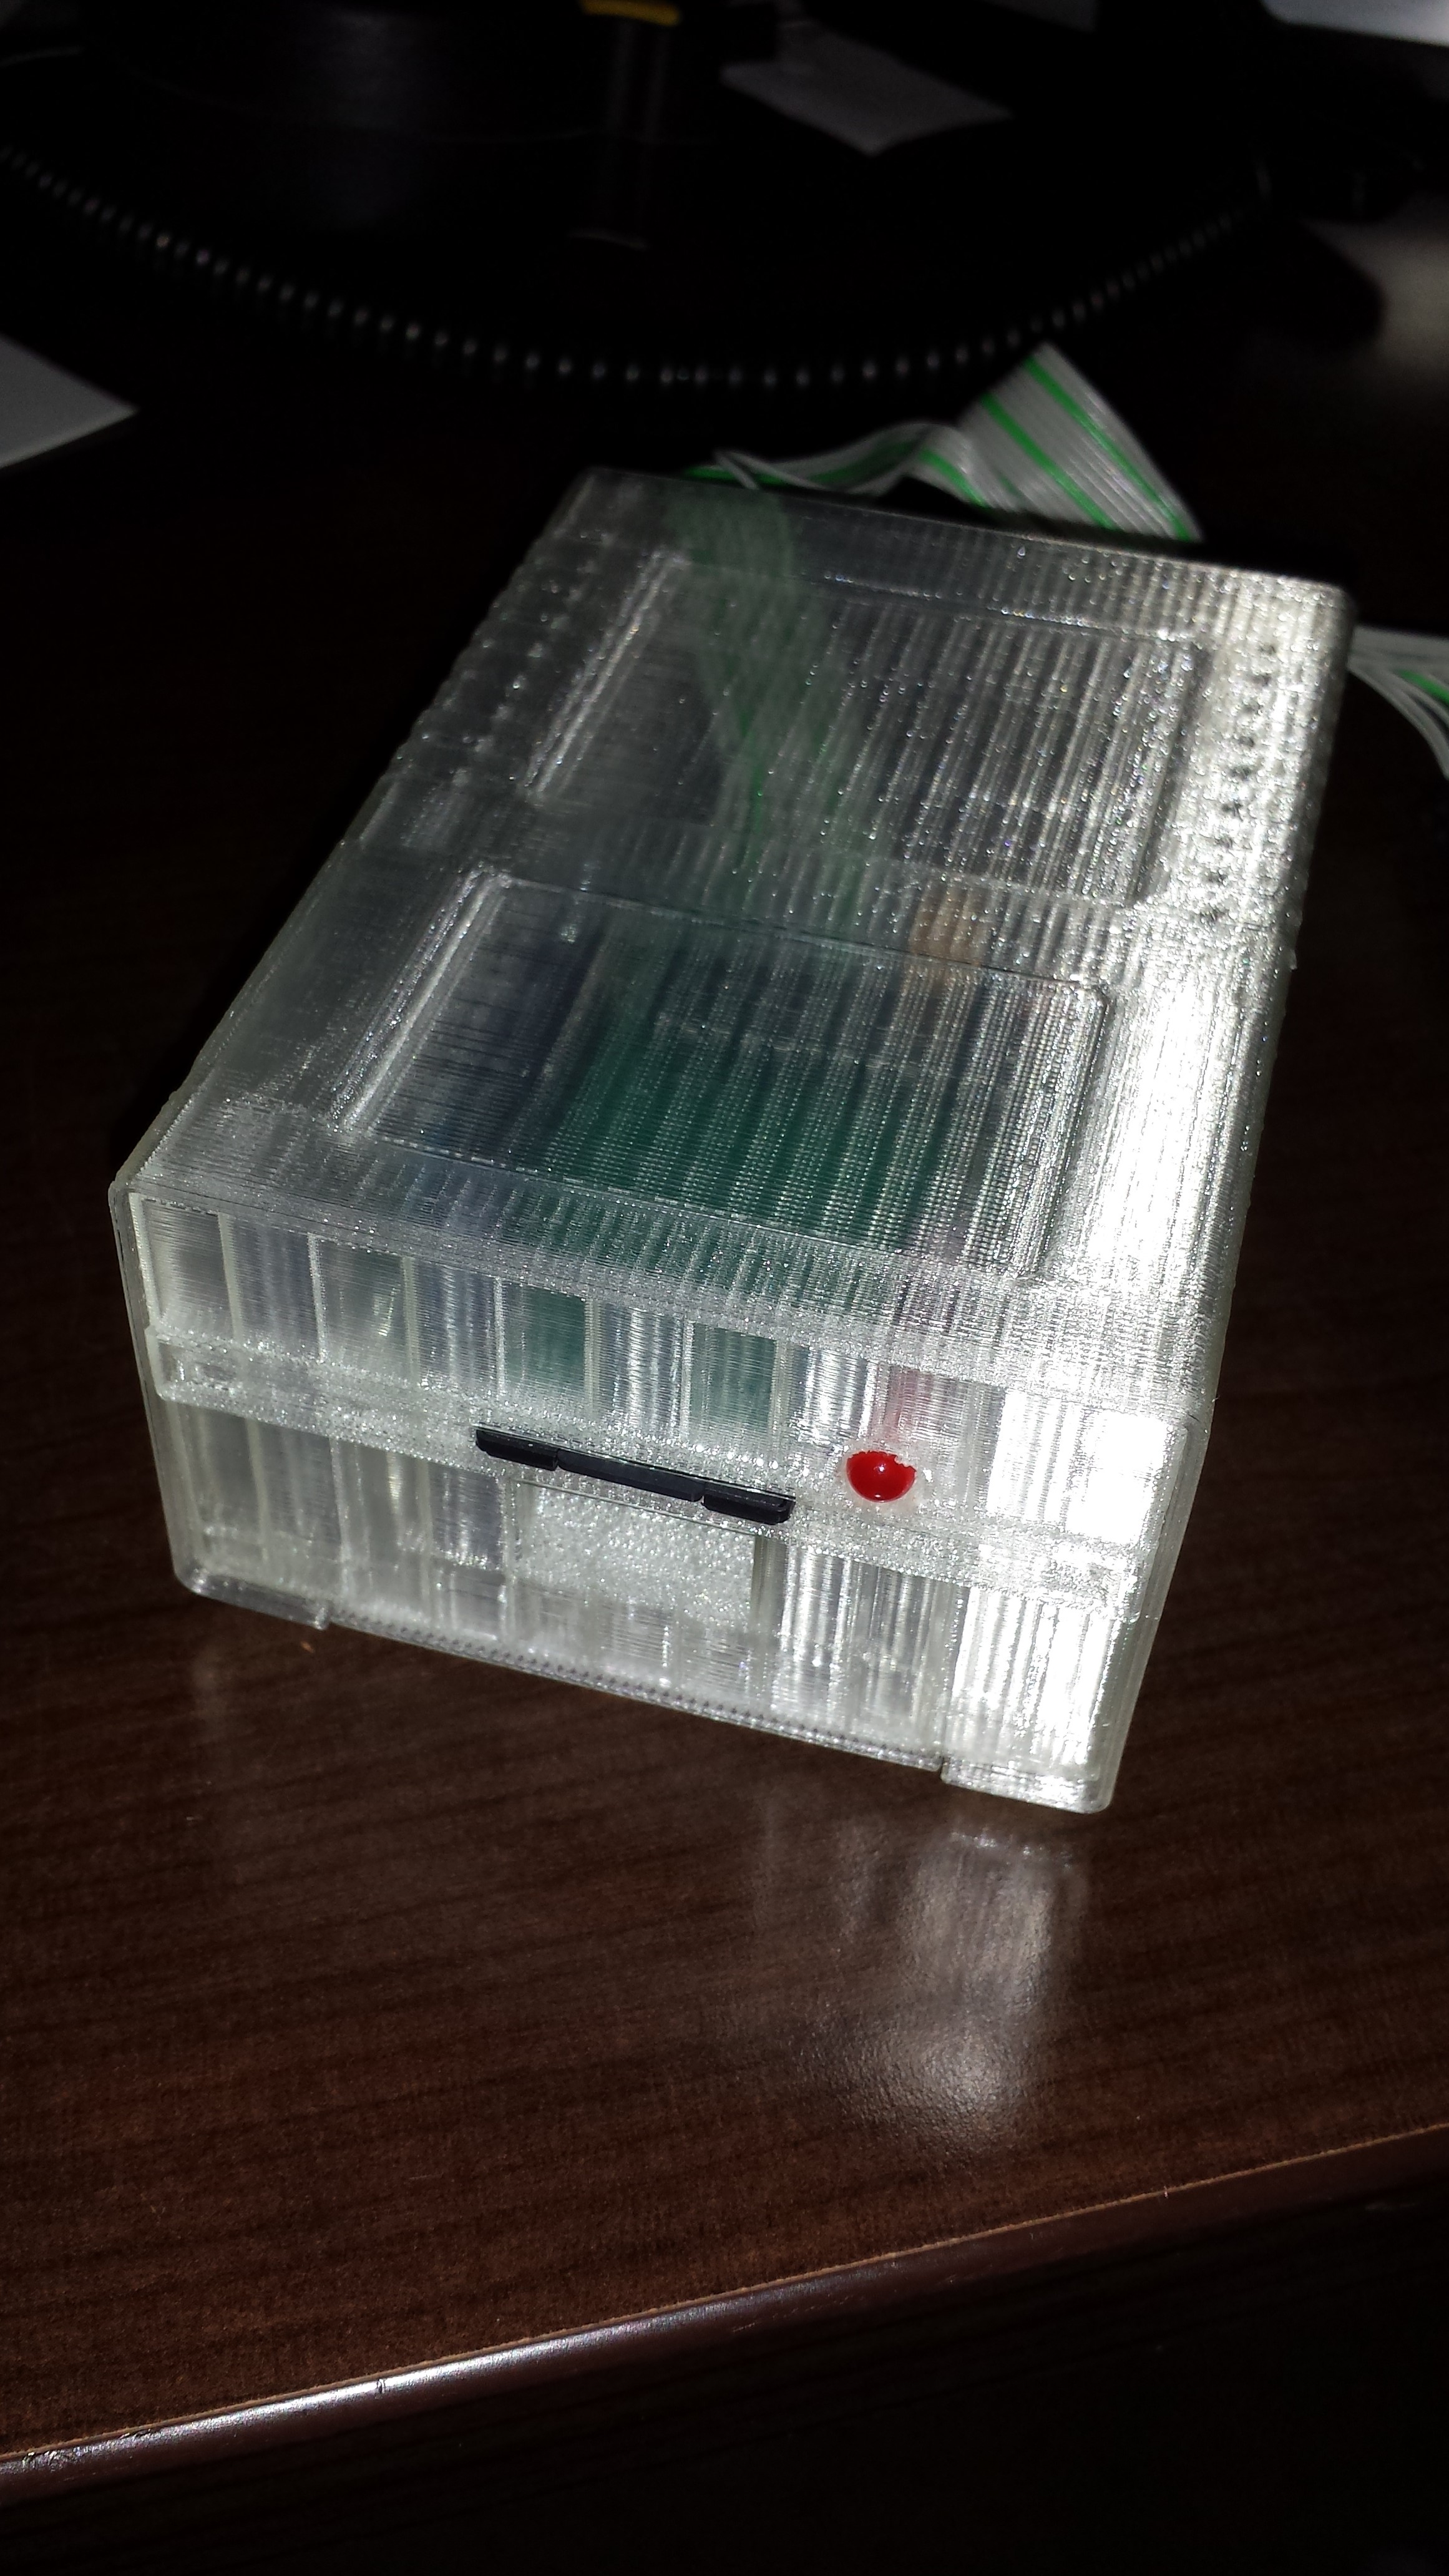
The front details are hard to make out
50% of the original size
50% of the original size
The feet came out nice too,
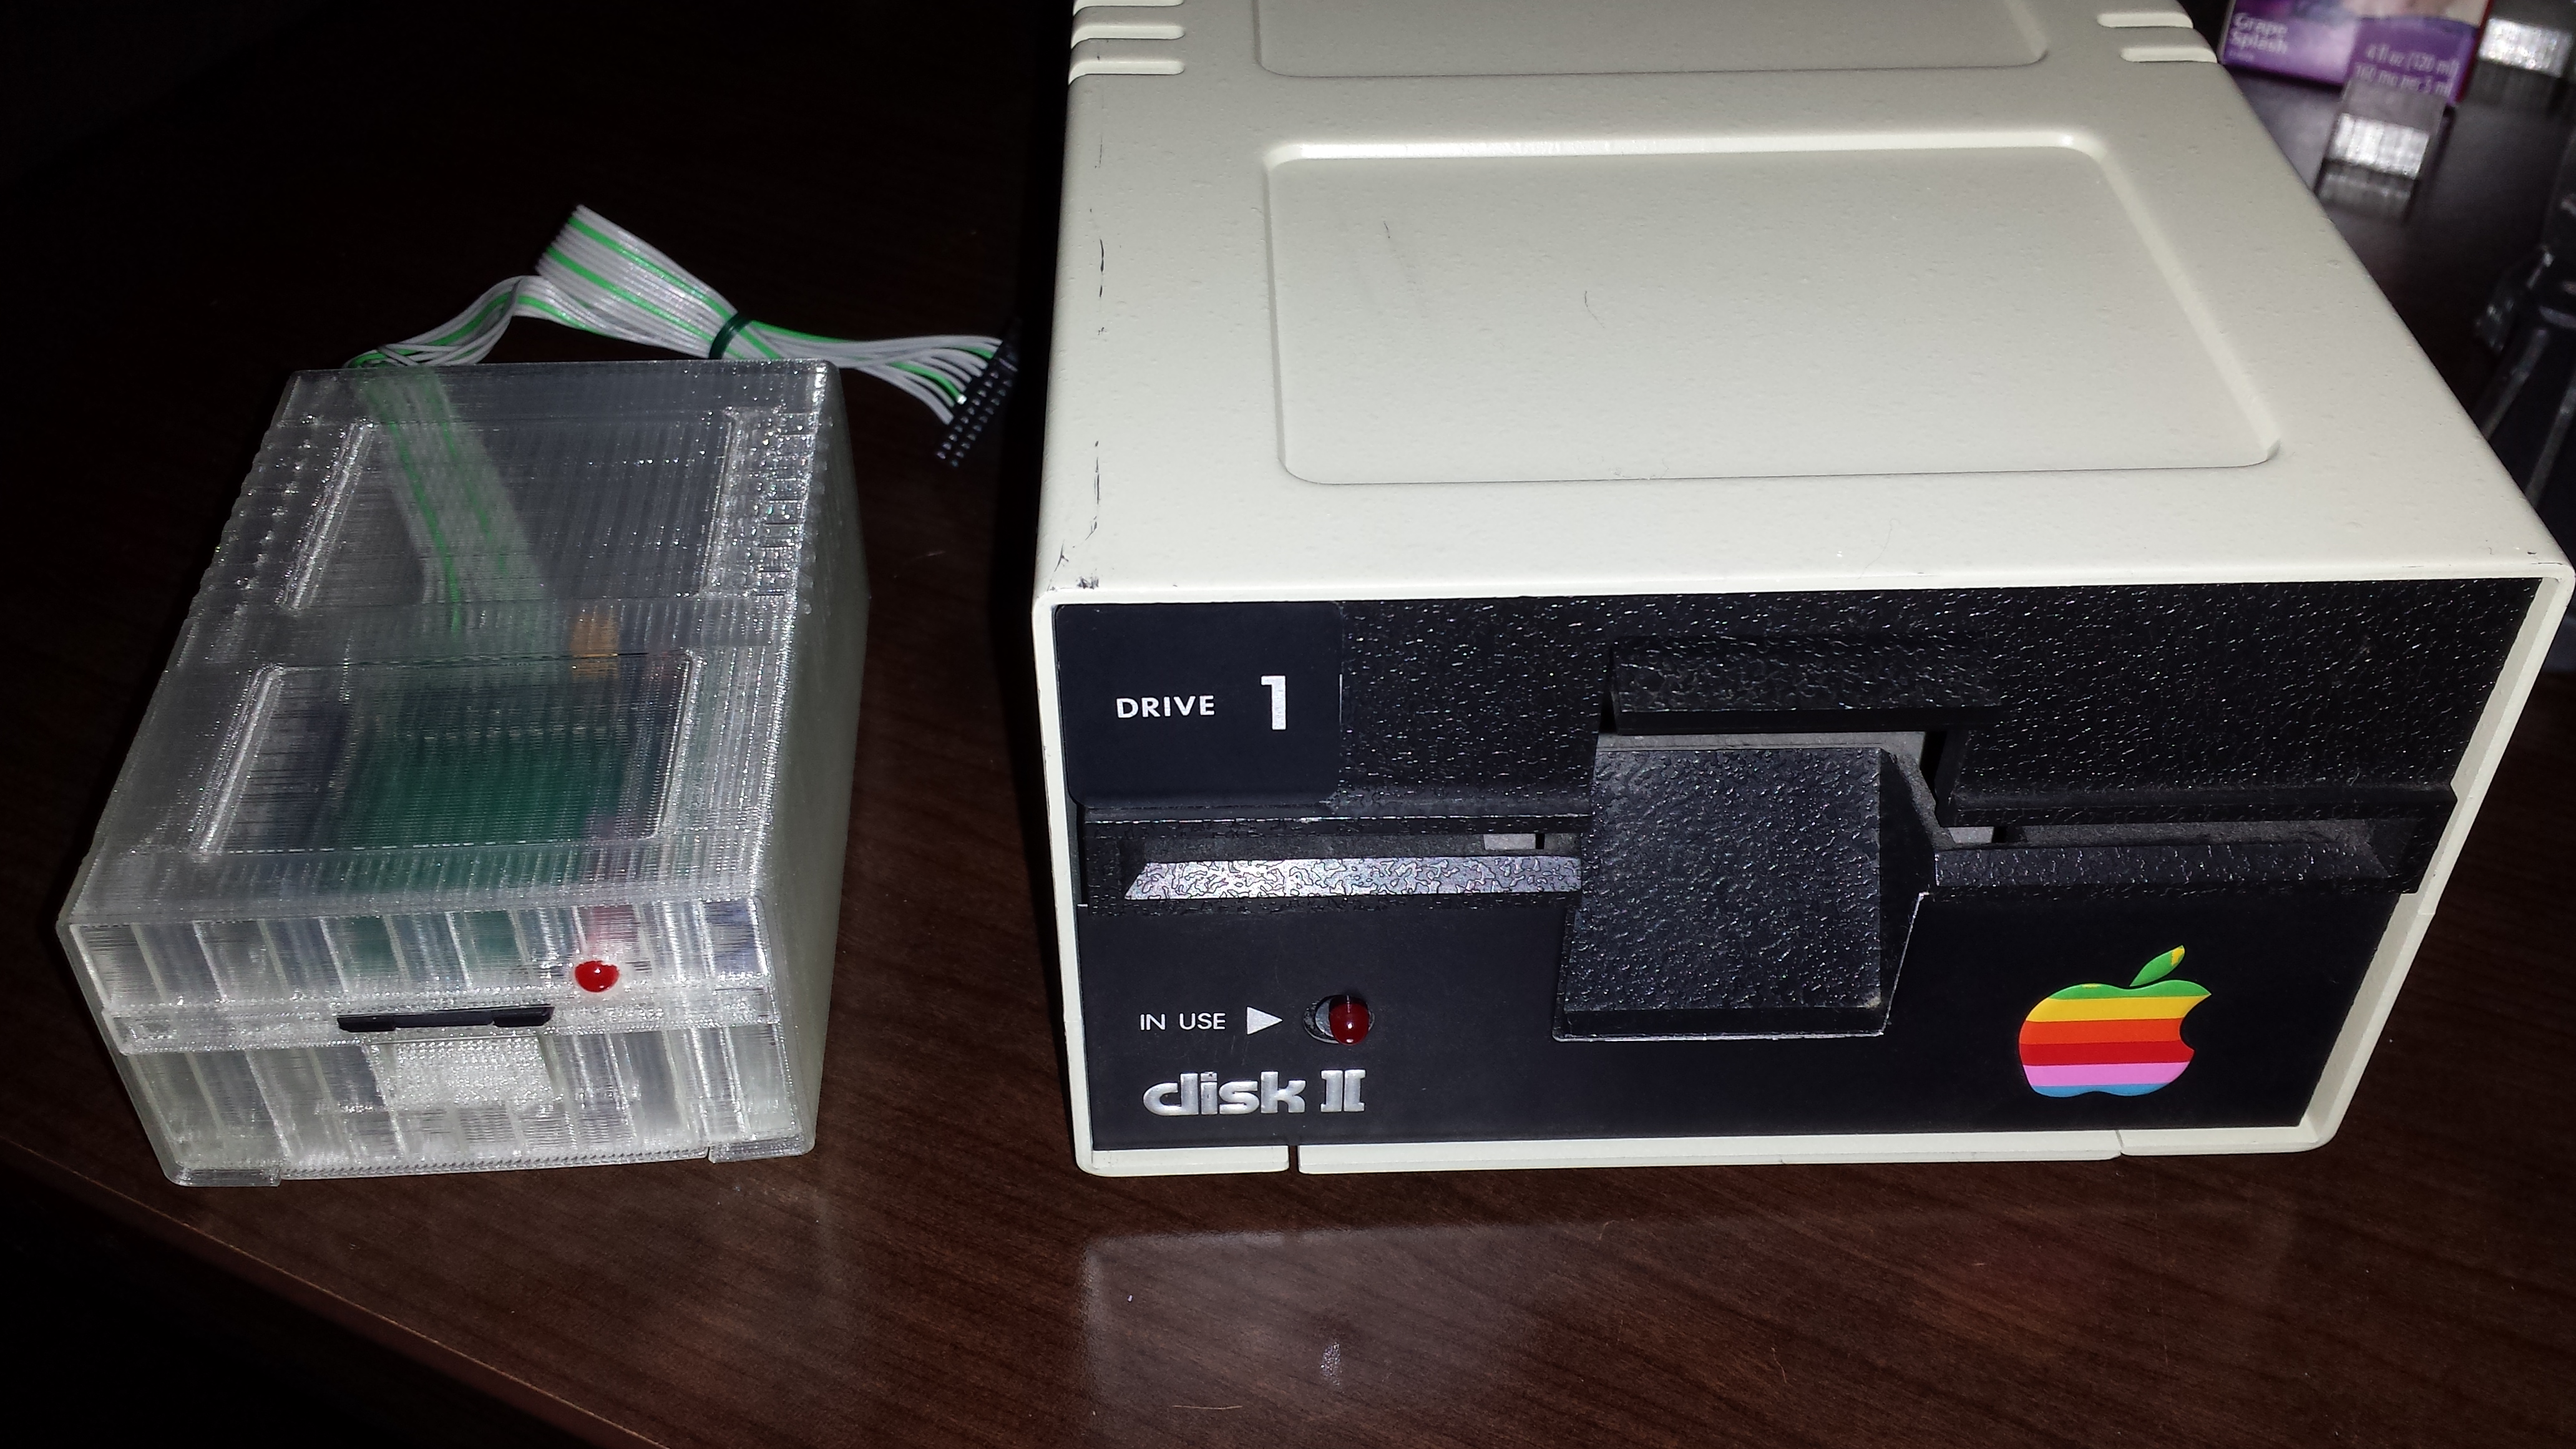
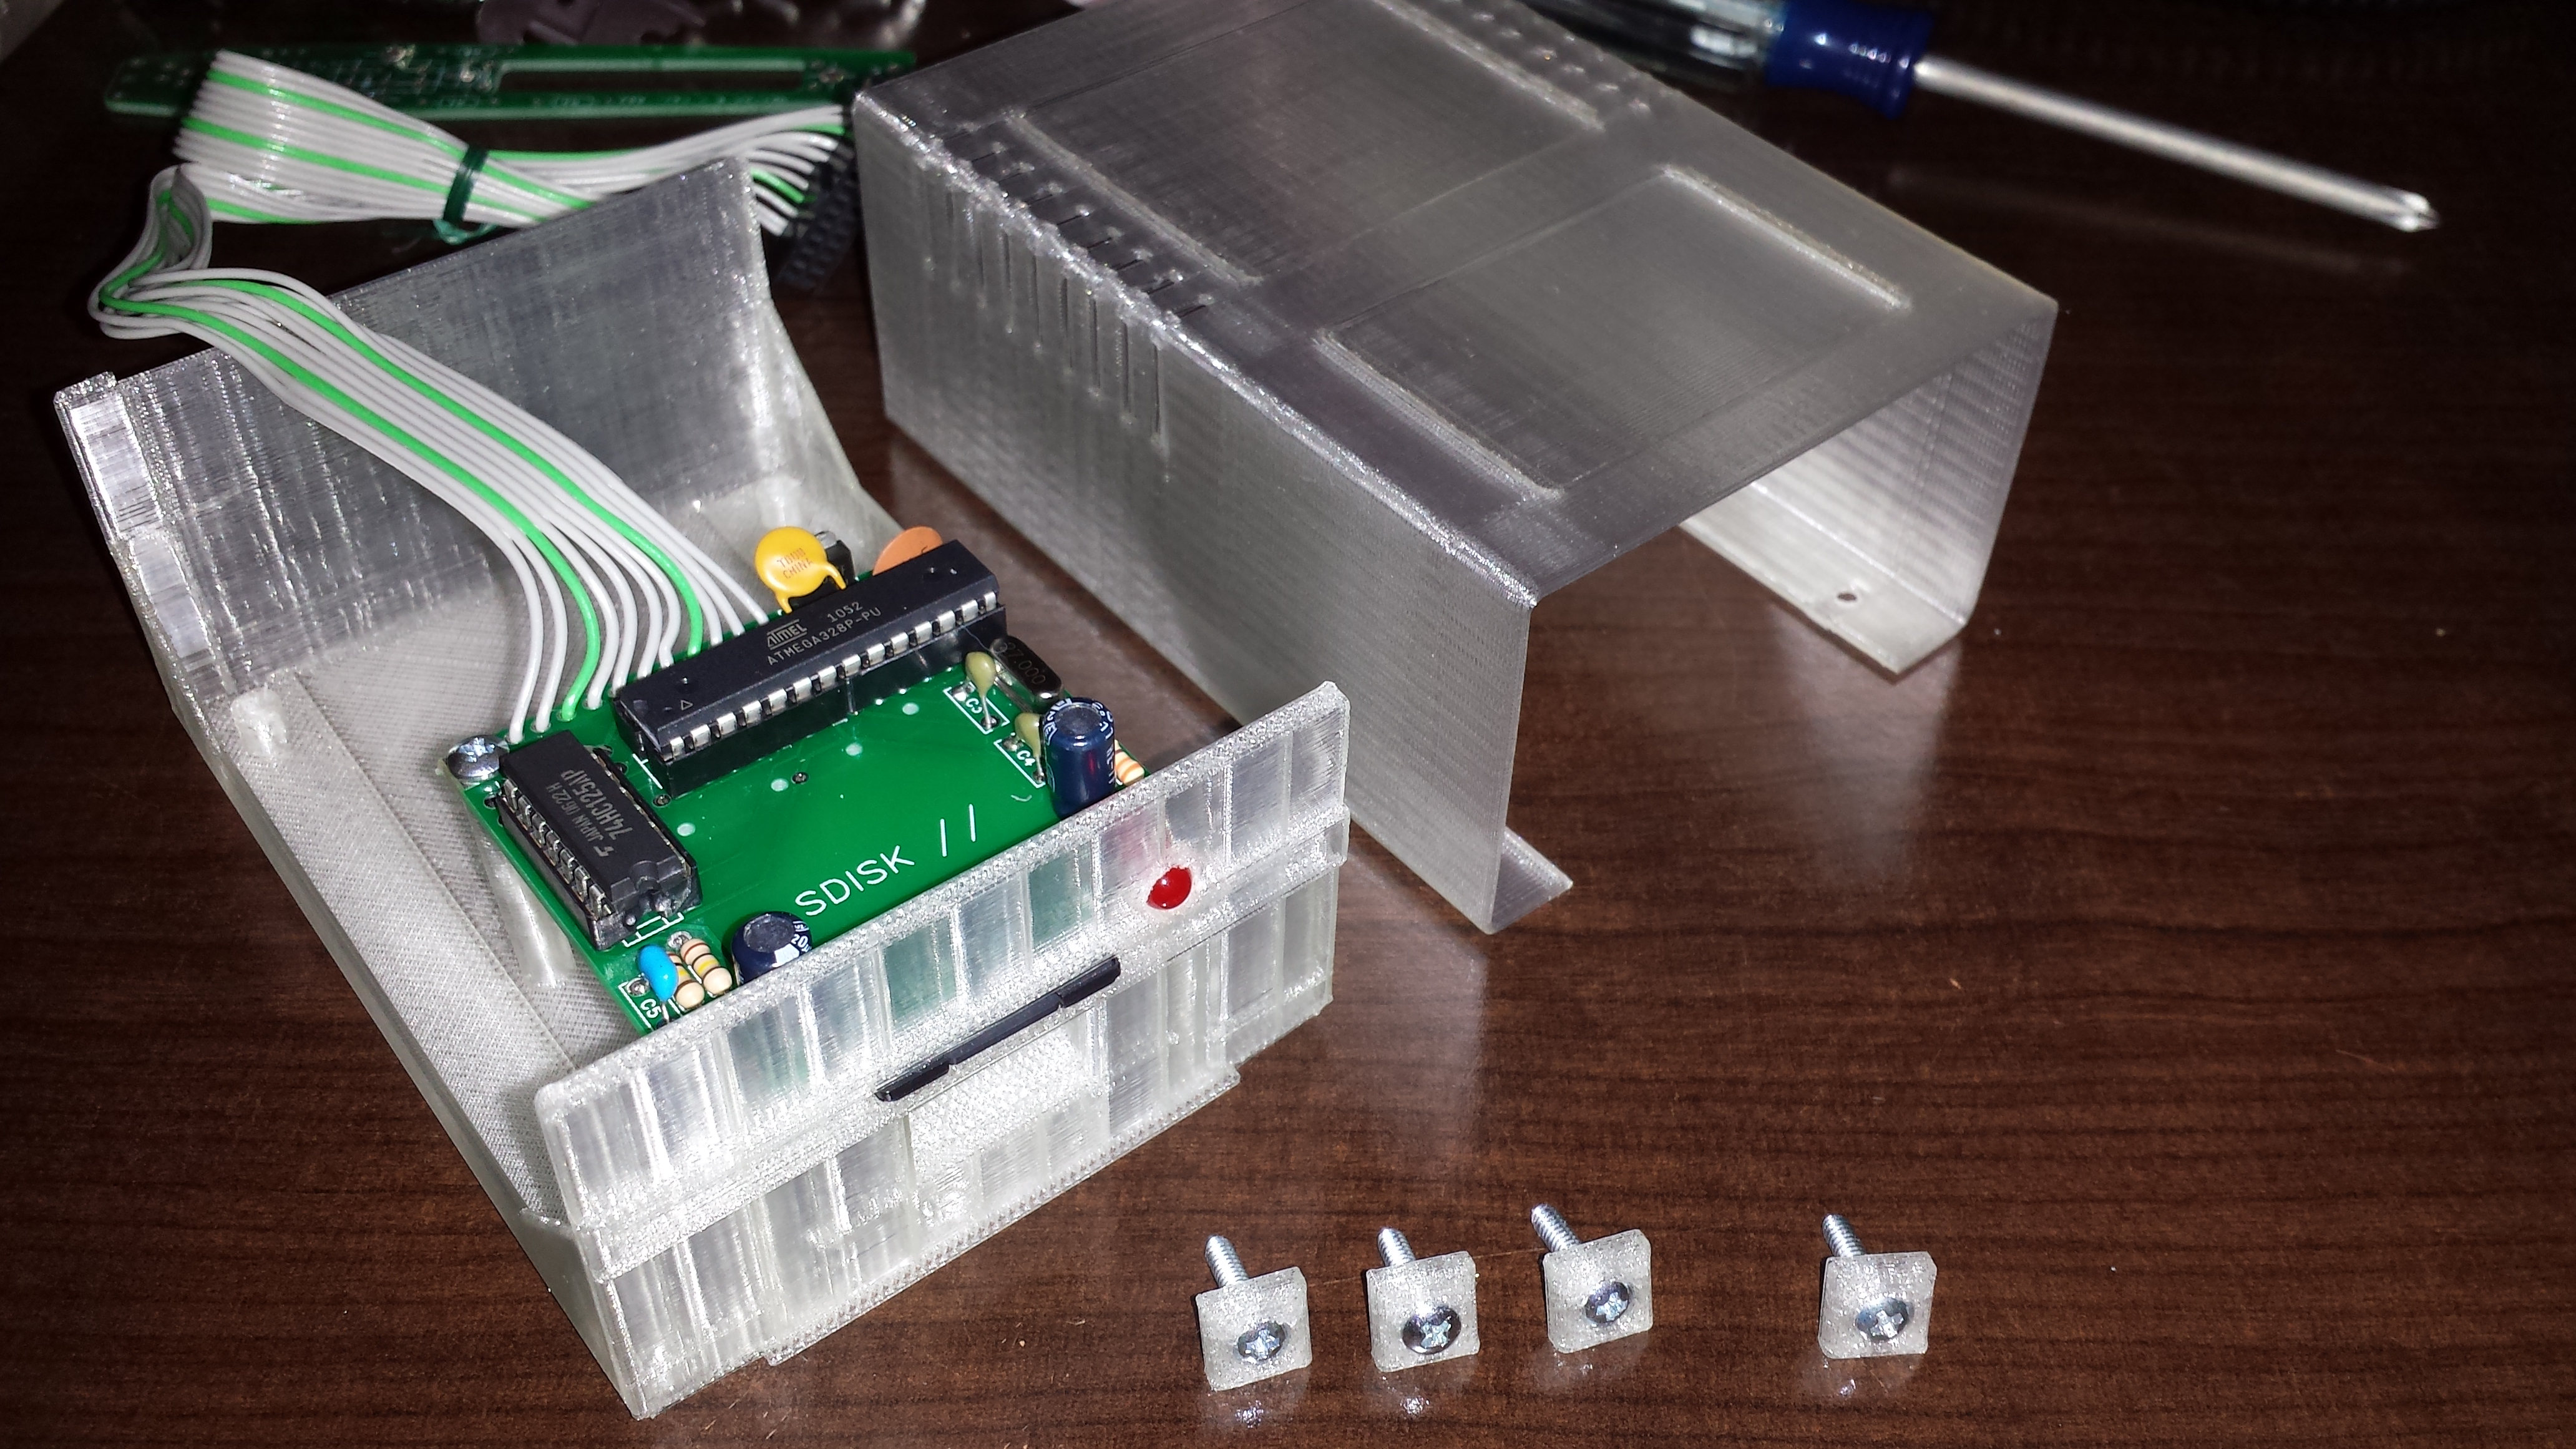
I was asked a while ago (http://wp.me/p3hKeN-83) to create a case for an emulator for the Apple Disk II http://tulip-house.ddo.jp/digital/SDISK2/english.html
After a full day and a half of design work I have a model tor work from. I tried to stay true to the original design, the only major deviation is the placement of the status LED (due to the location on the emulator board). I thought about soldering on some leads to move the LED to the proper placement (which I still might do later) but decided not to since I will be selling these from my website. I was able to get the design to 2 major pieces (plus the feet). I am currently printing a test to see how everything fits.
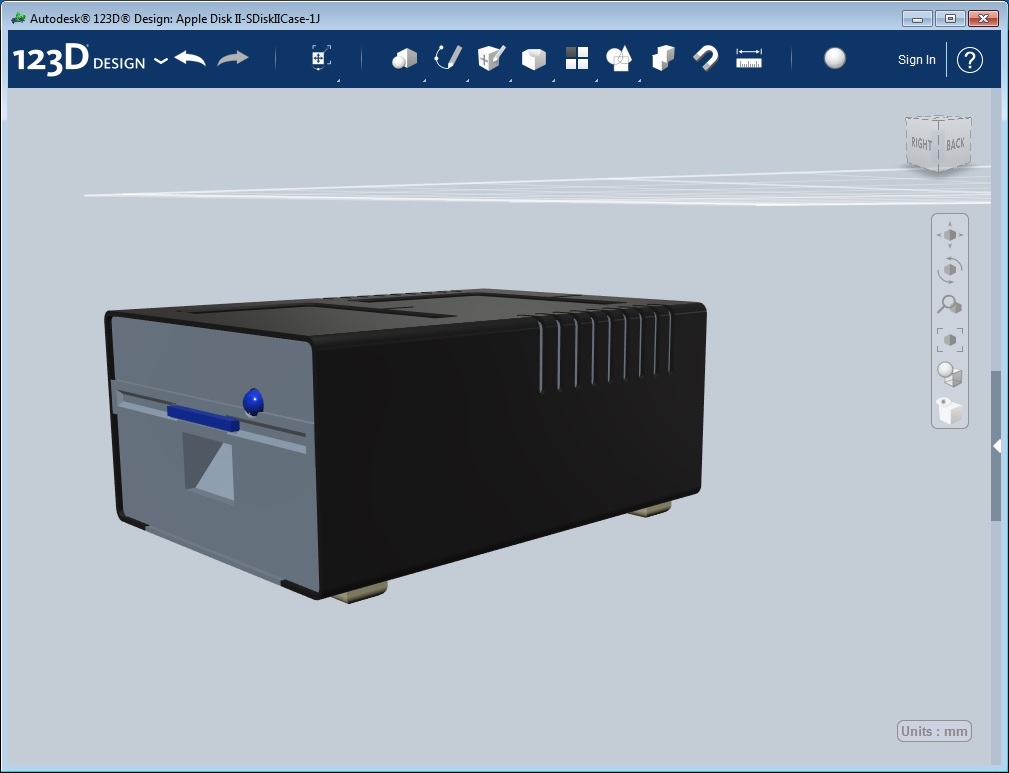
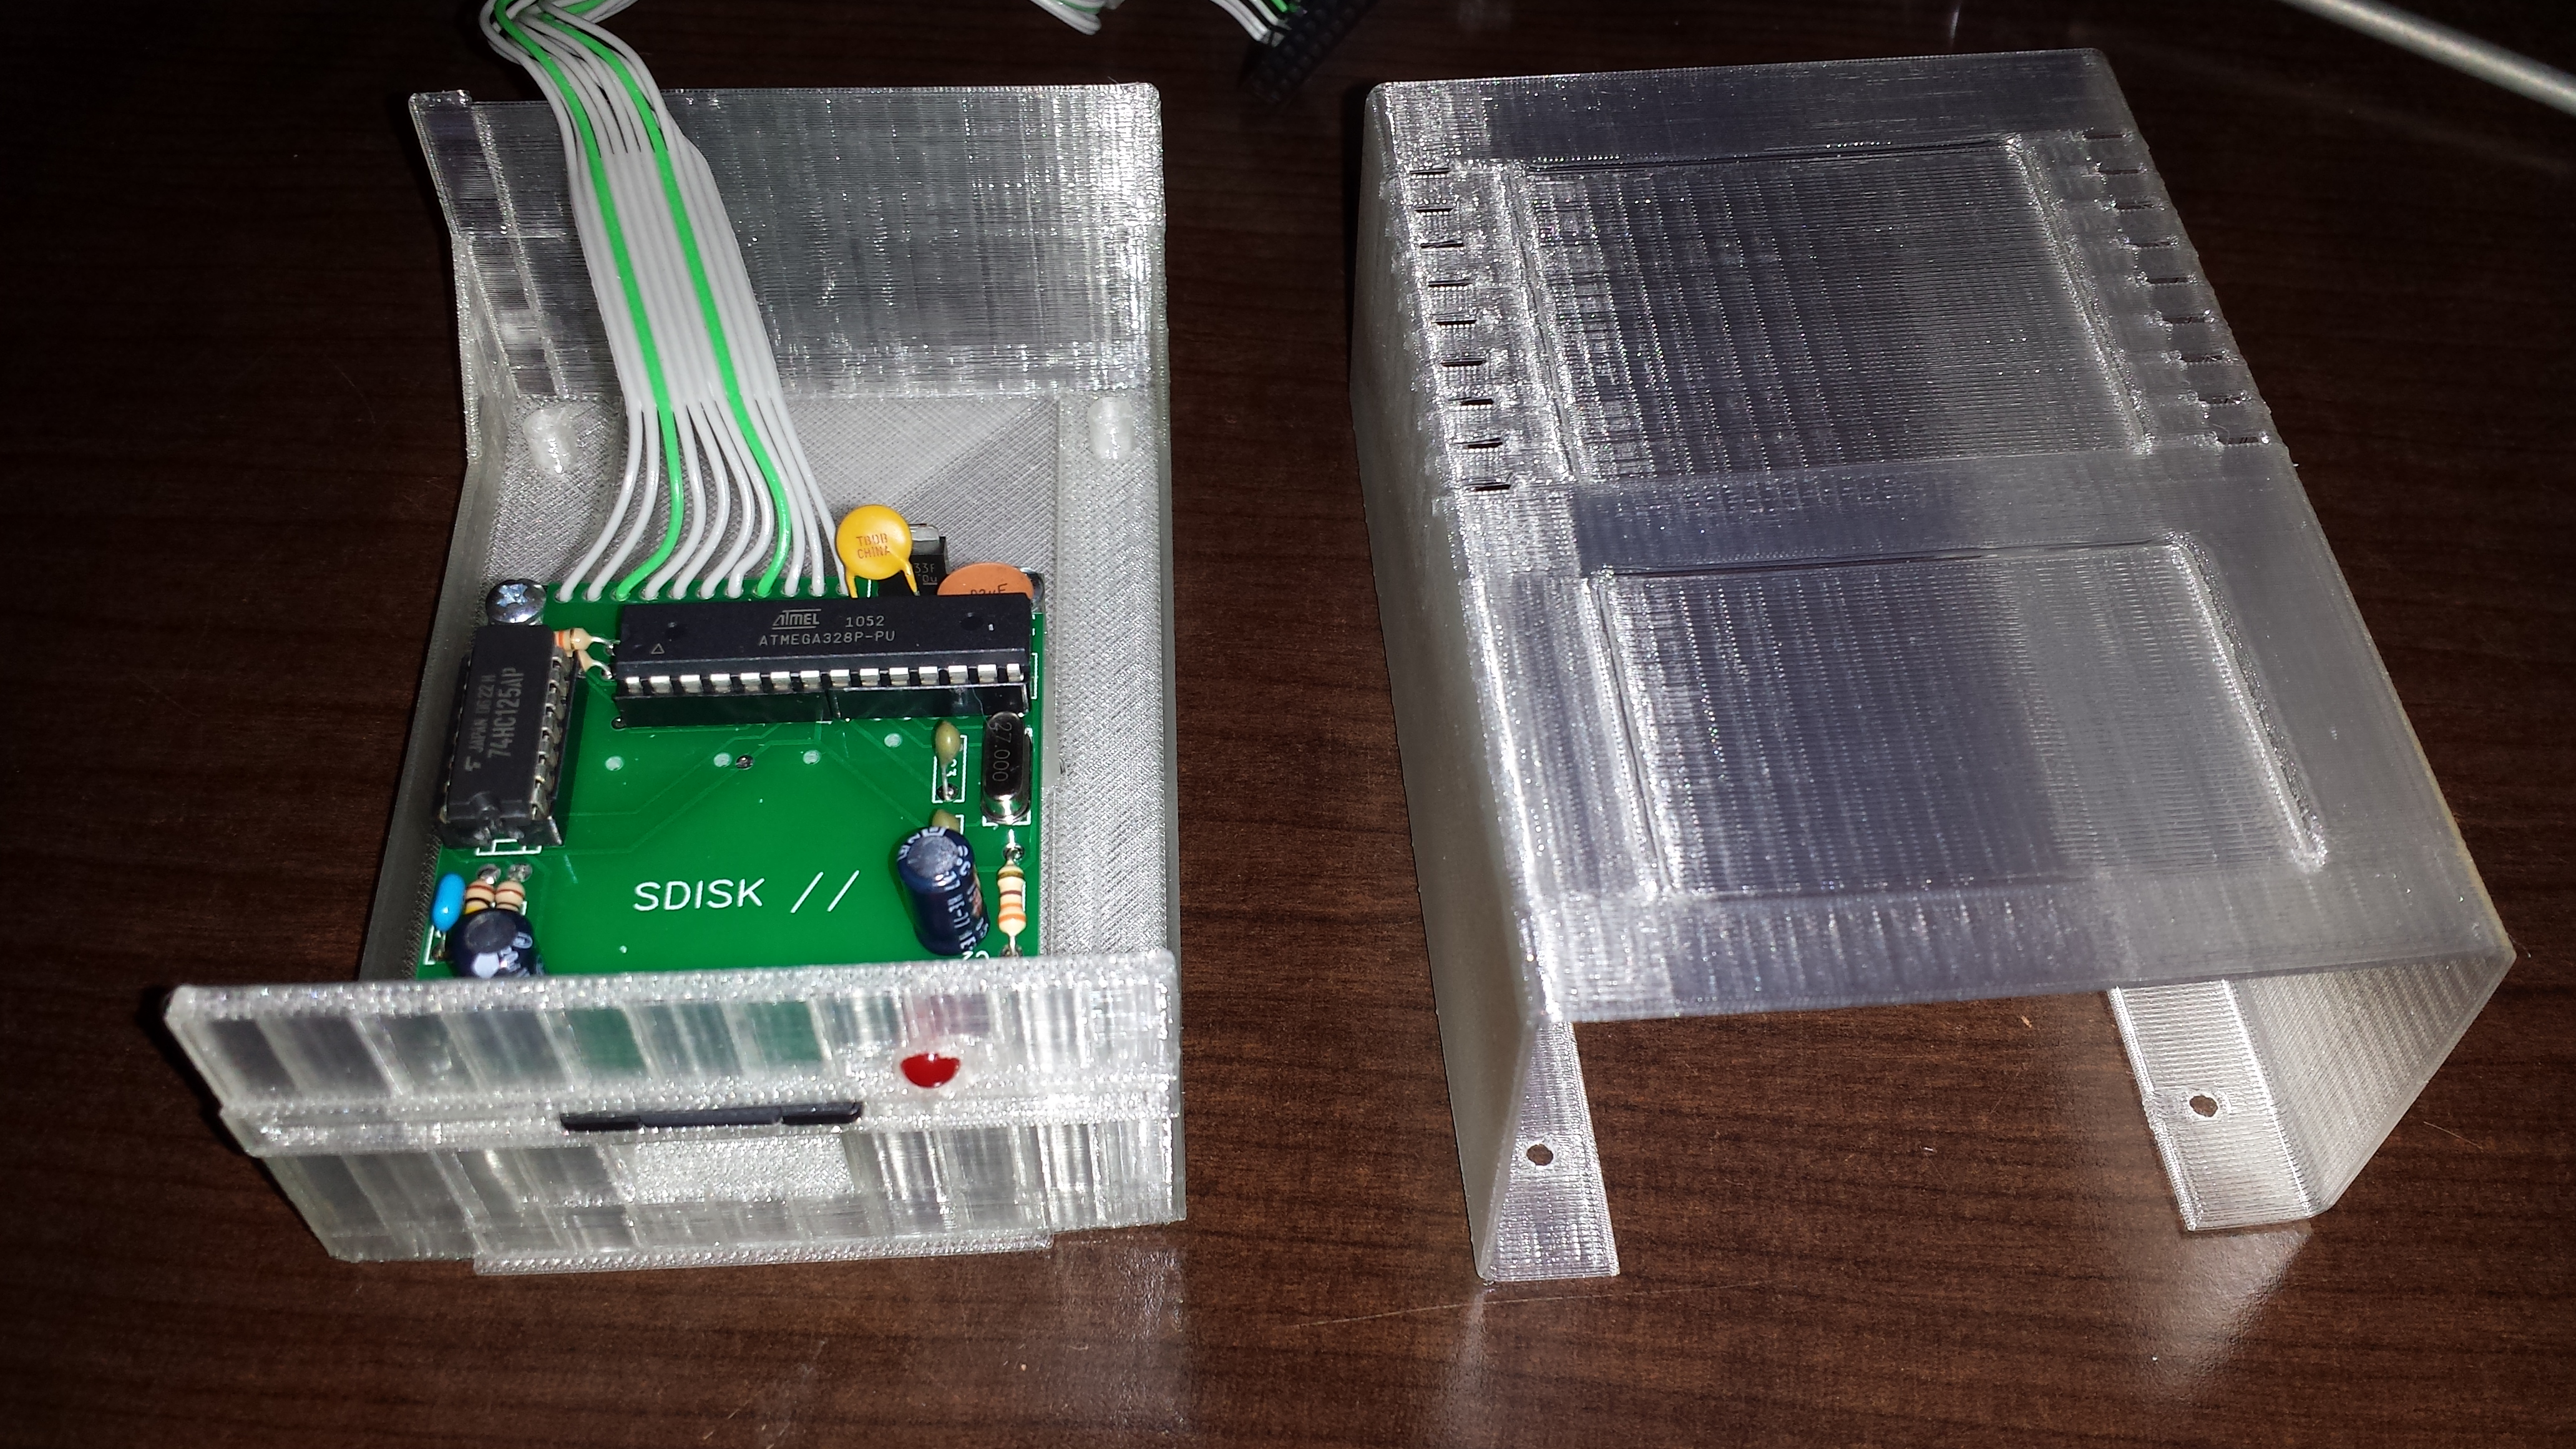
Full Finished model – All pieces
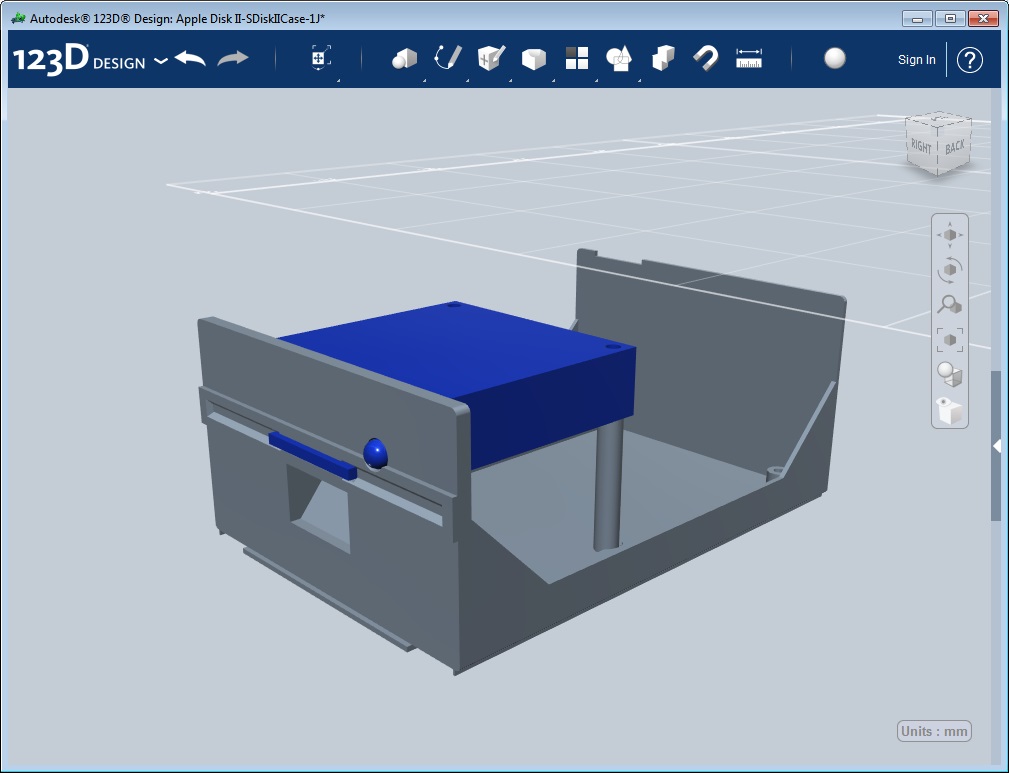
Bottom with mock-up board I used for placement
Once I check the fit and make any necessary changes I will post back with some picture of the final product.
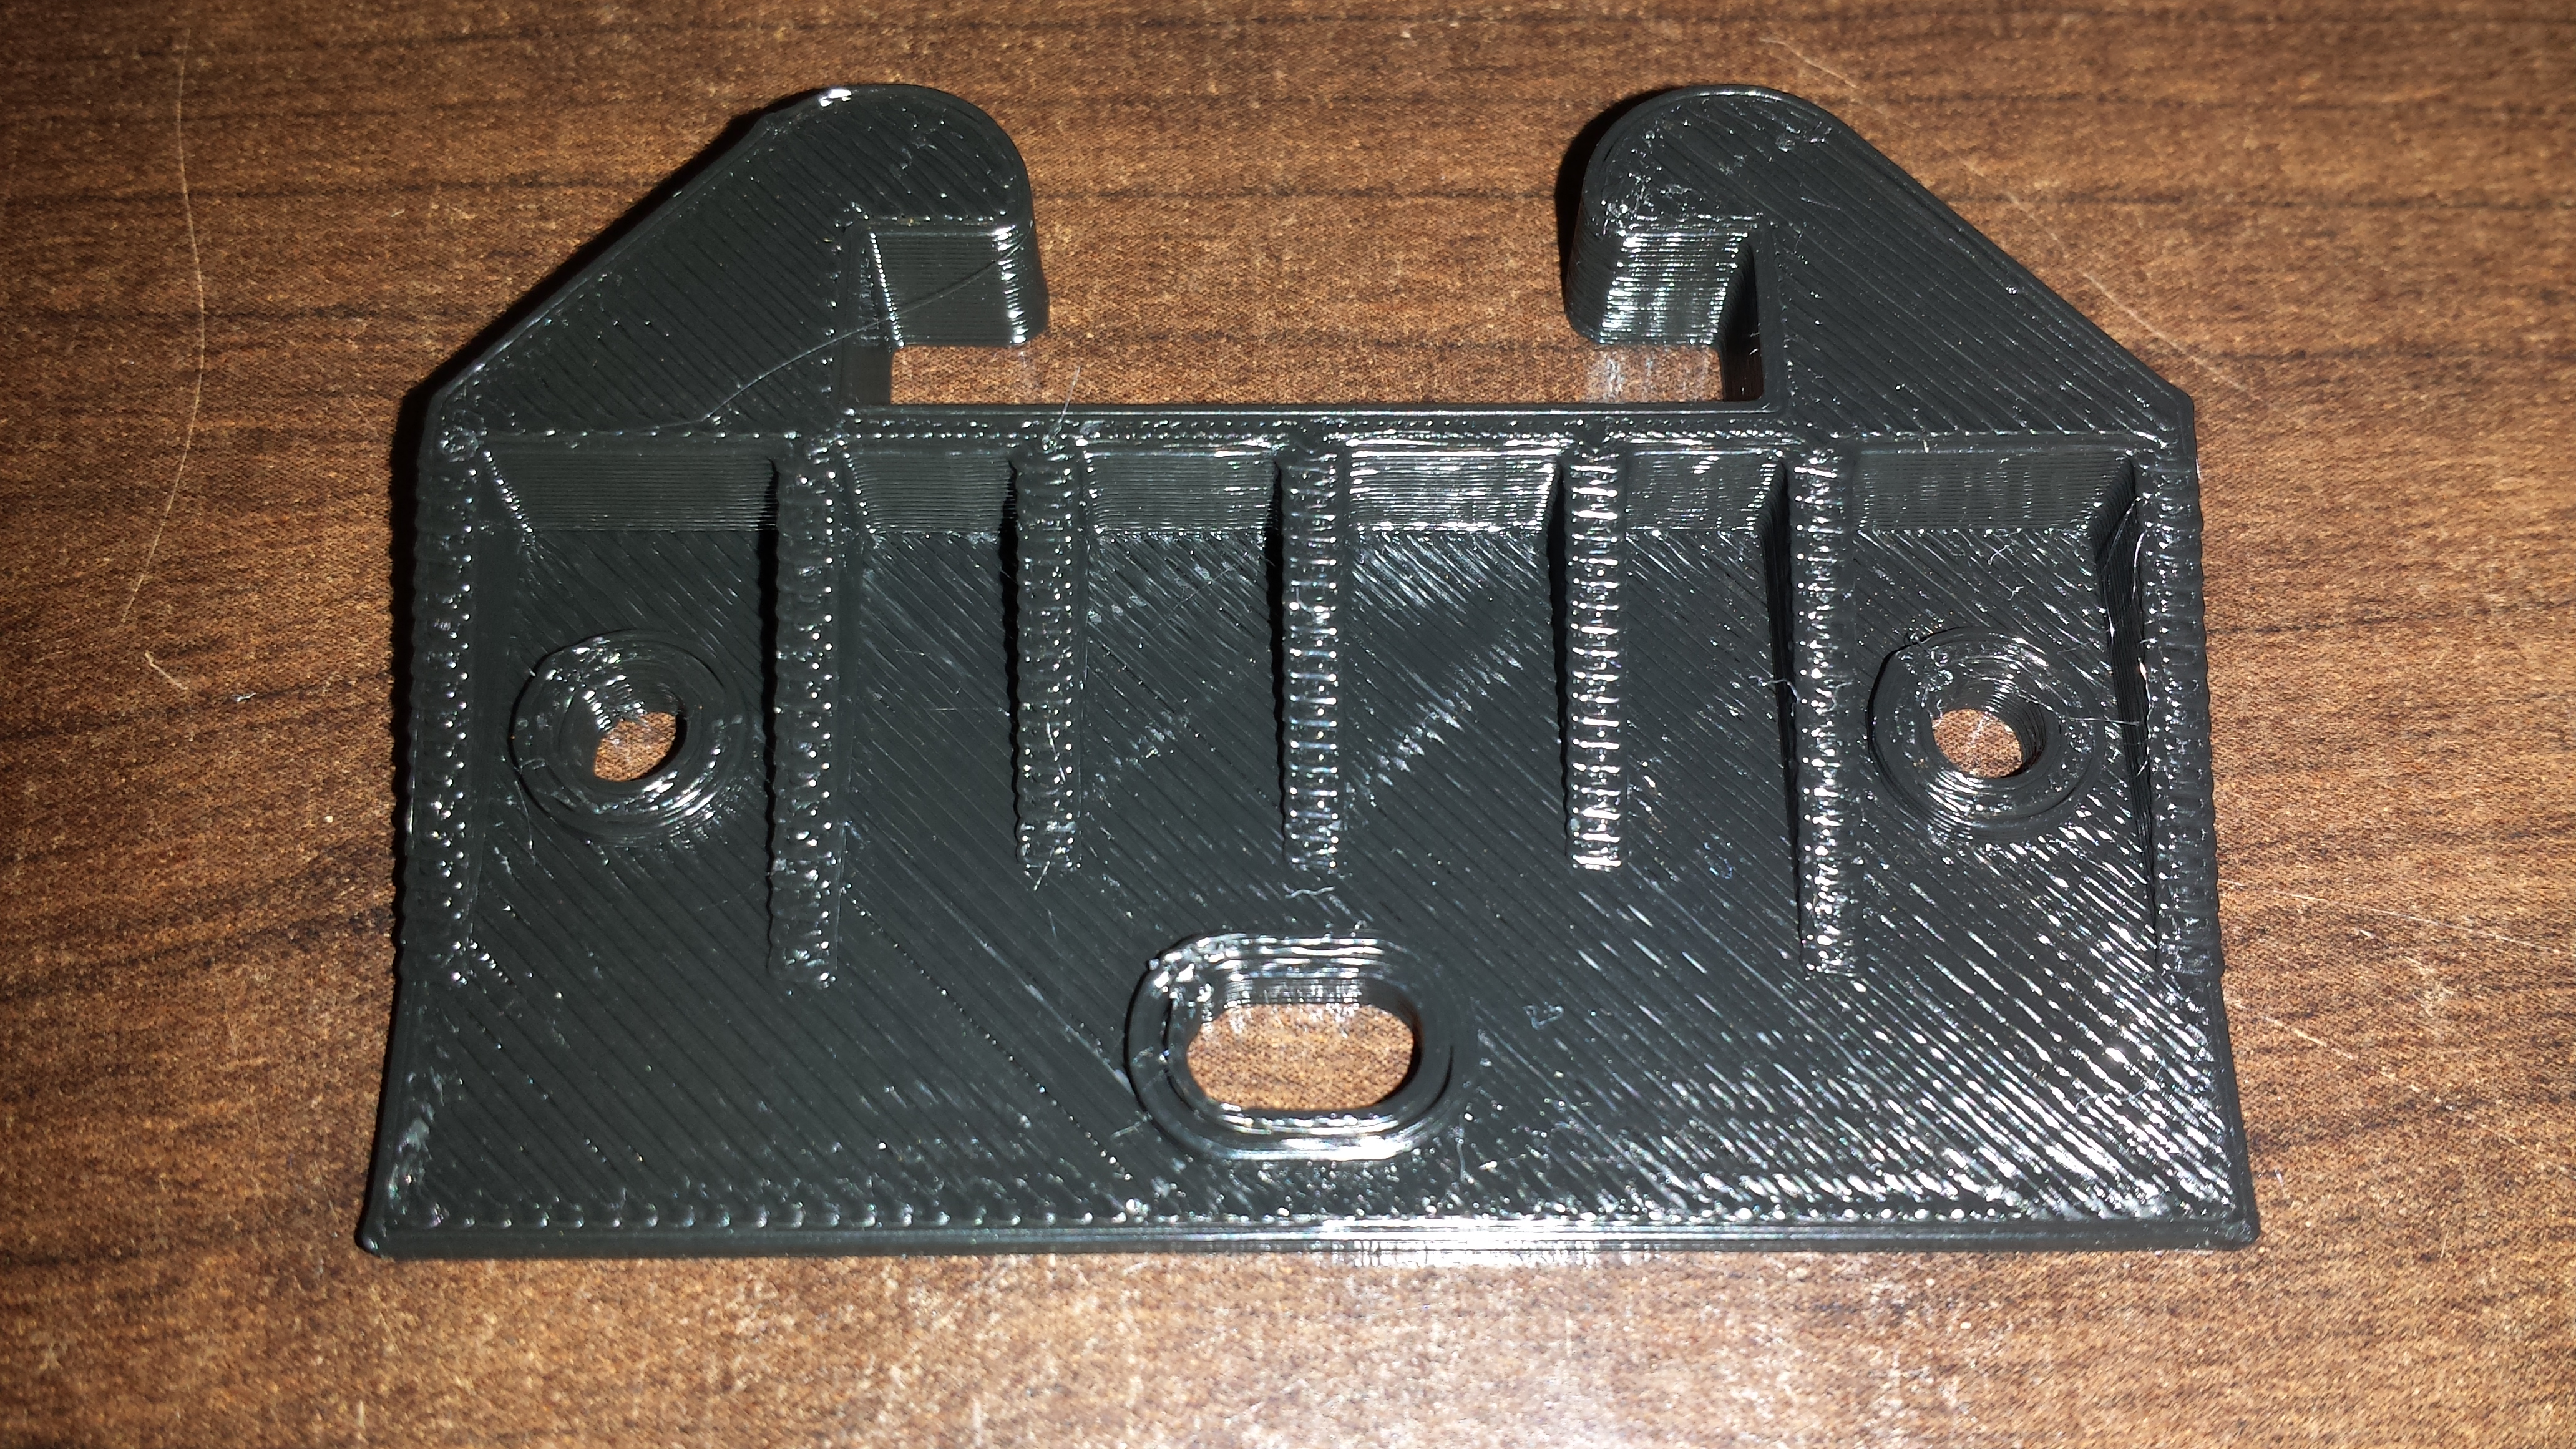
This is the second drawer that I had to fix. The first was to hold the rail this one is the slide on the rail.As you can see this one is broken.
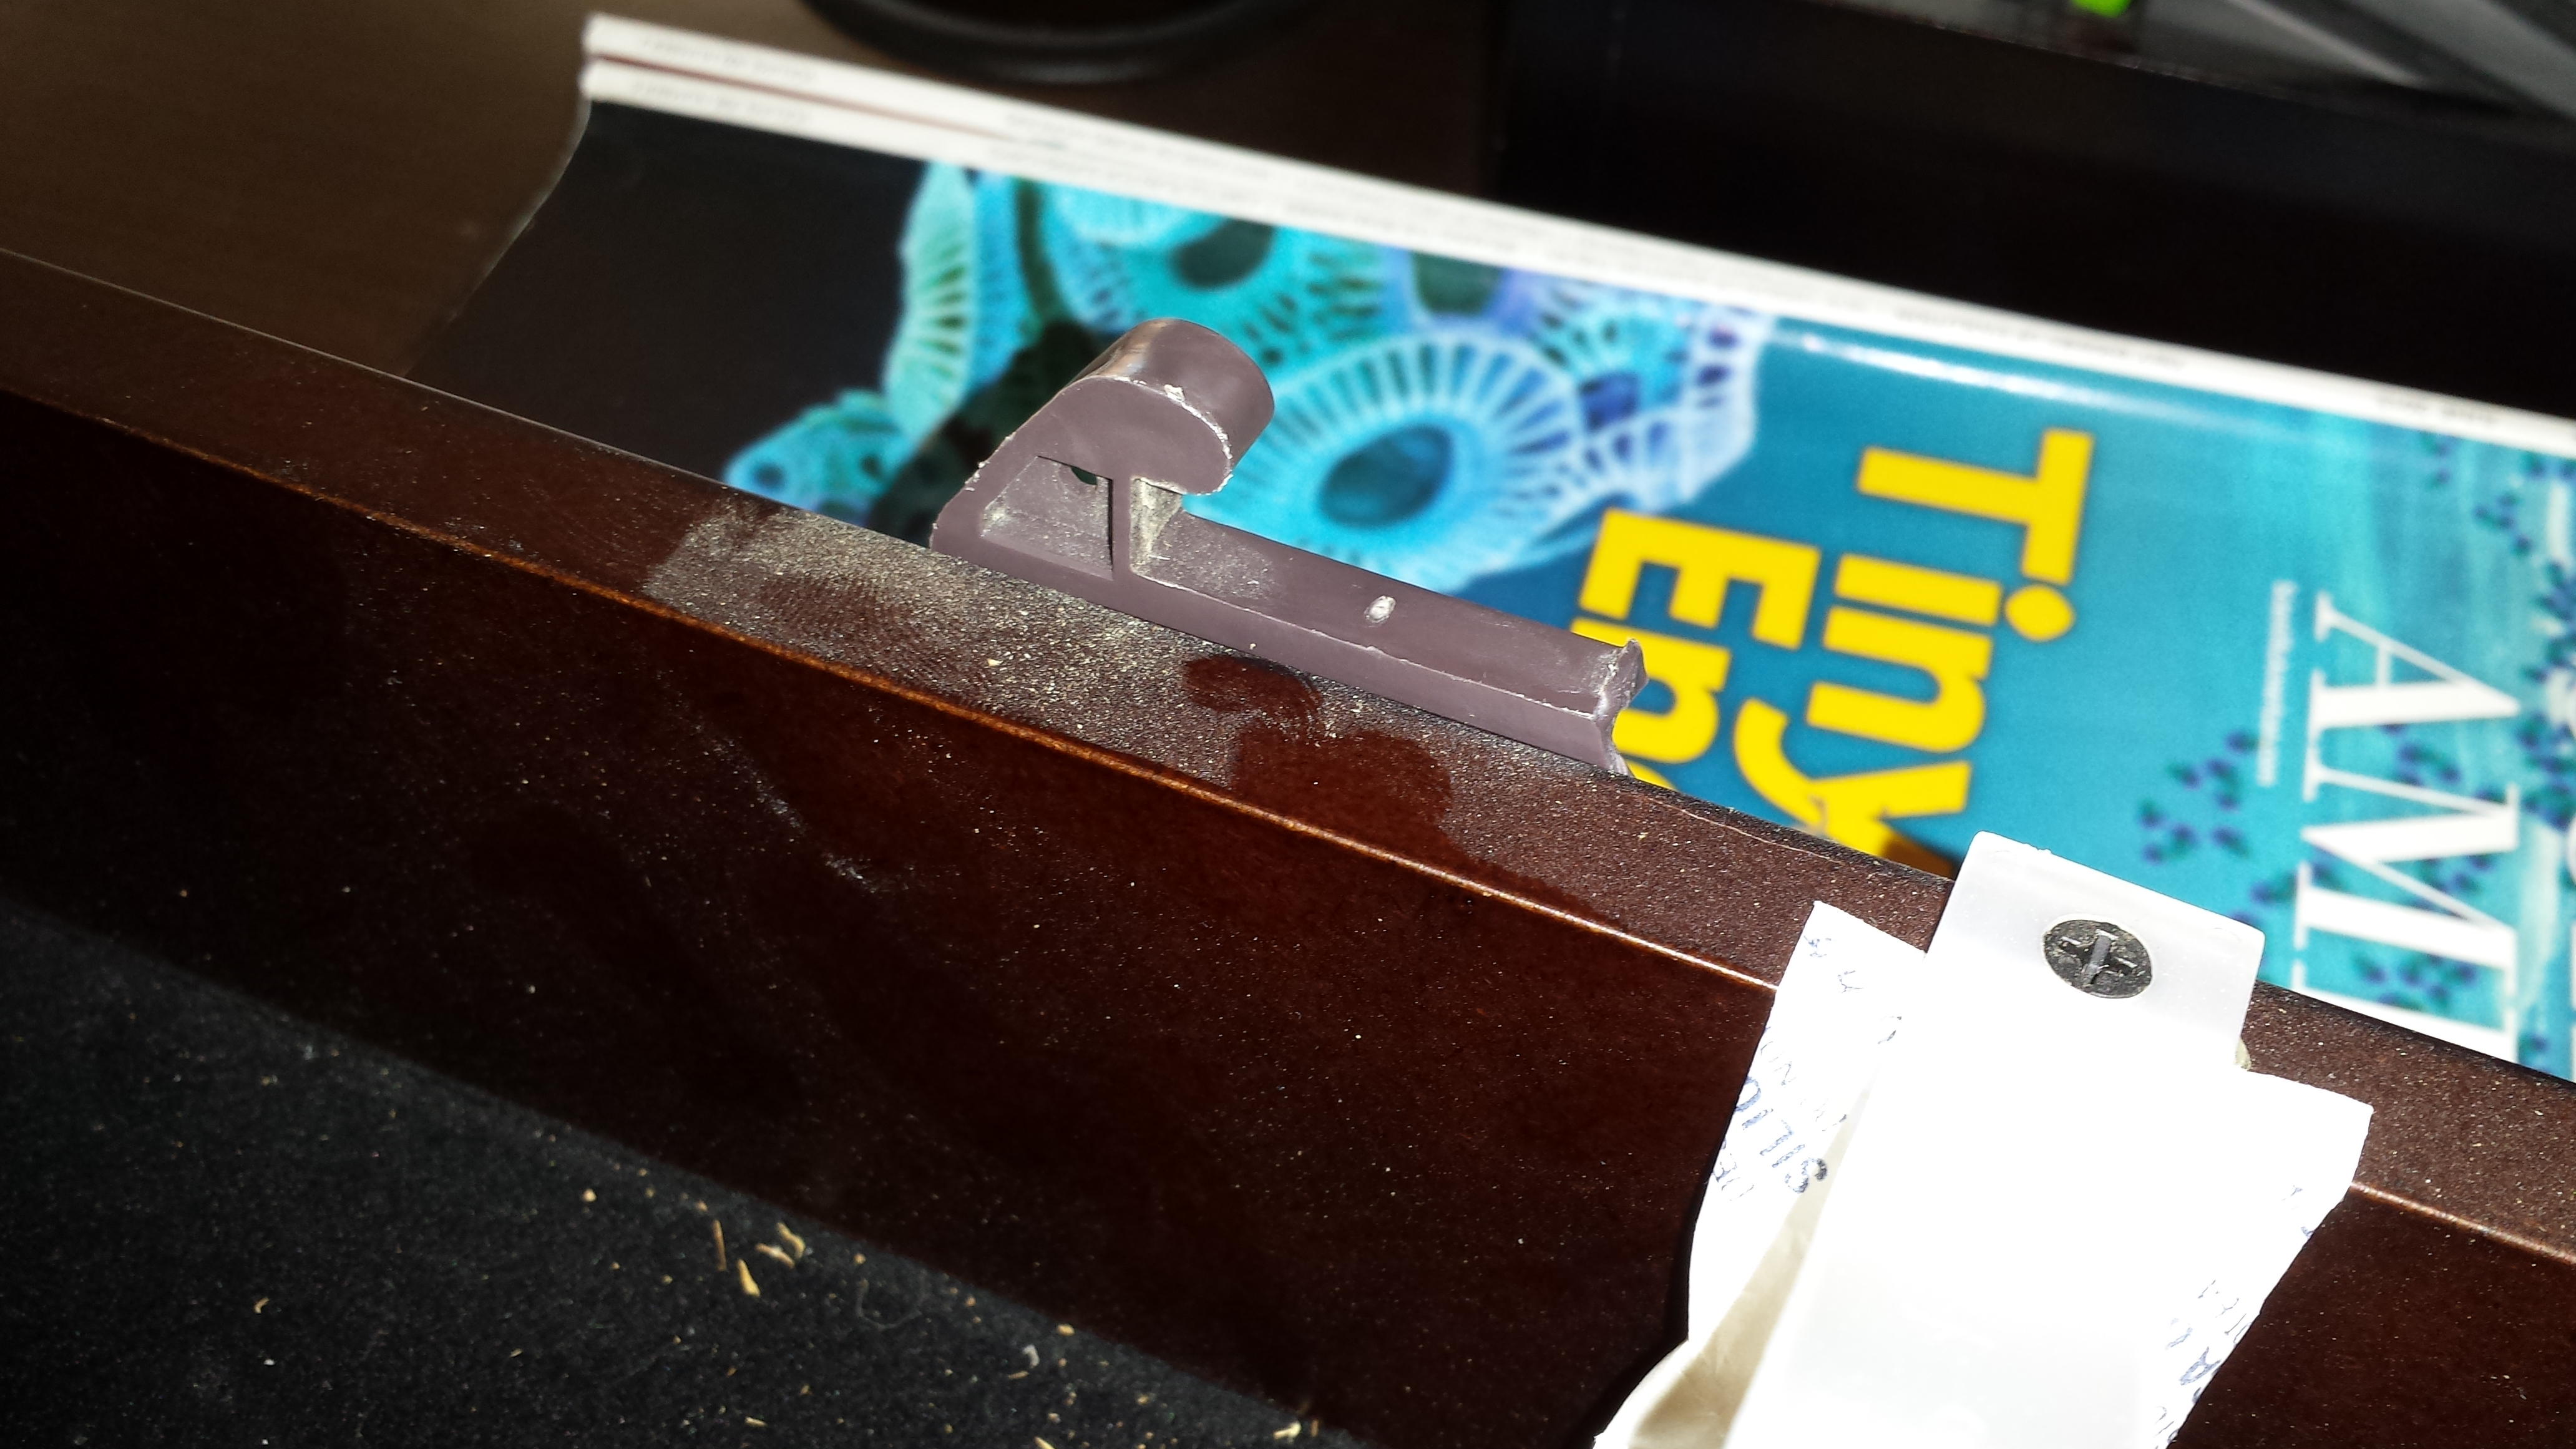
Well there’s your problem!
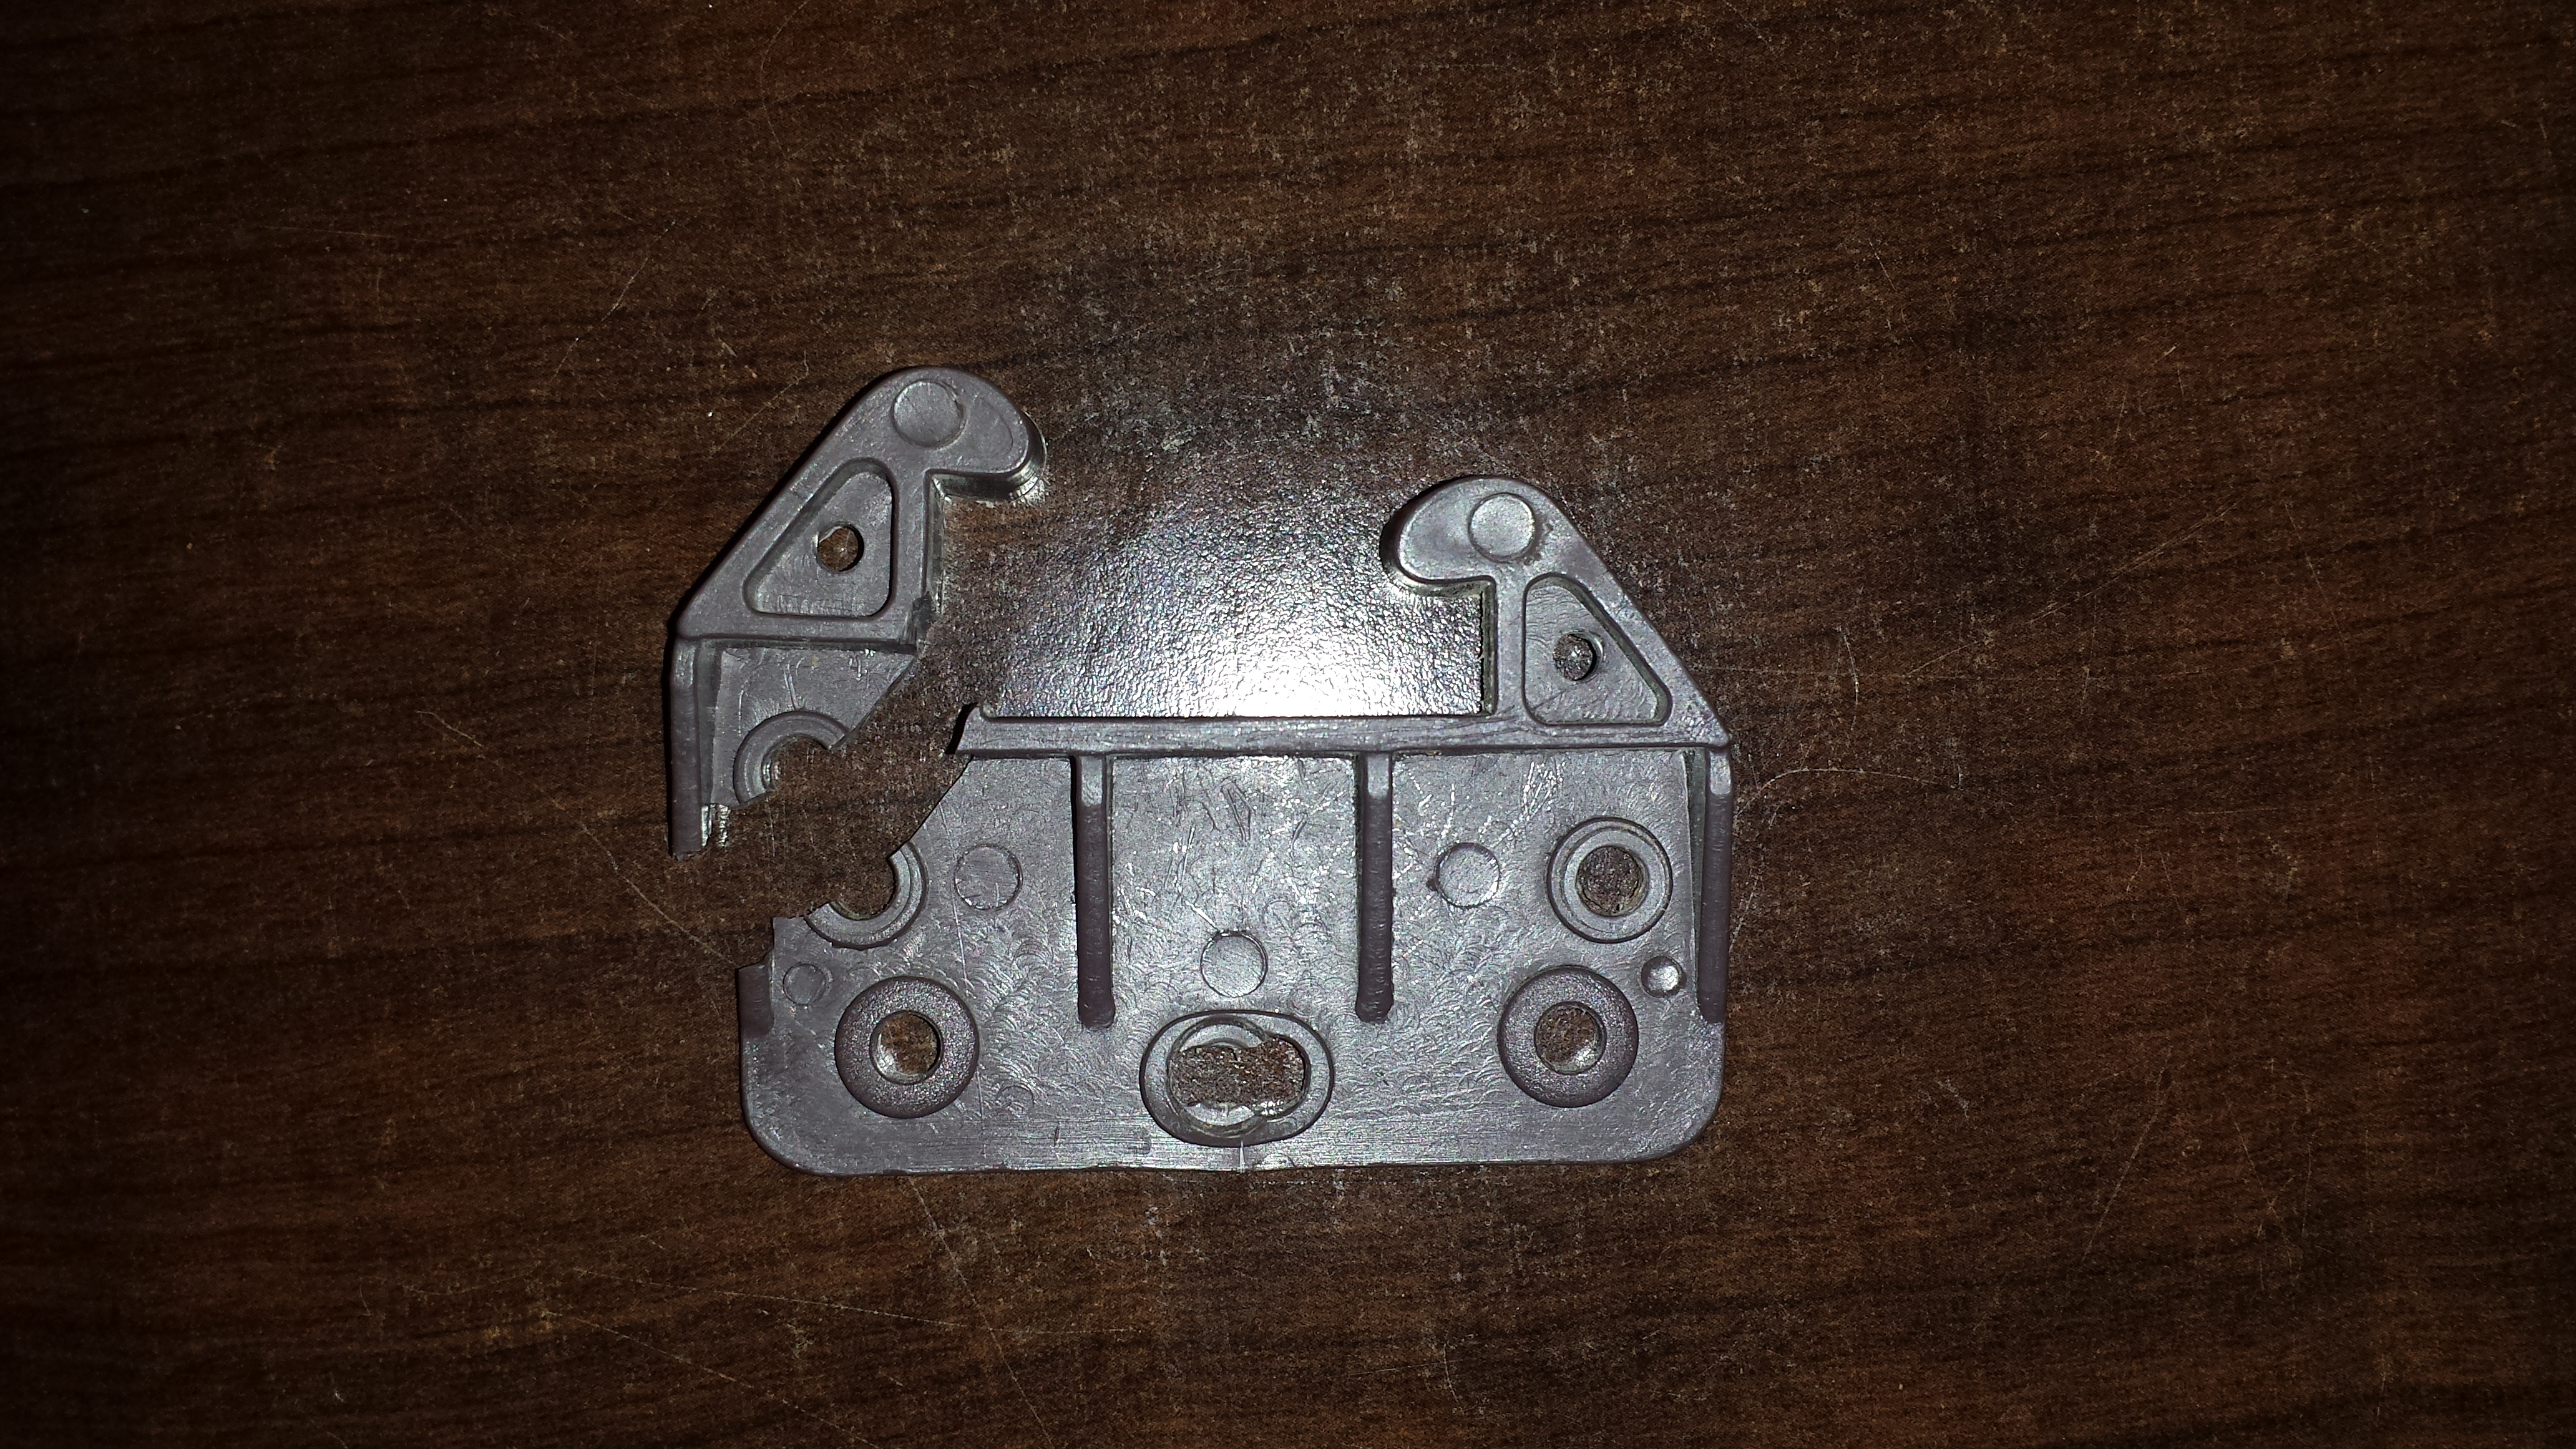
Original brokenness
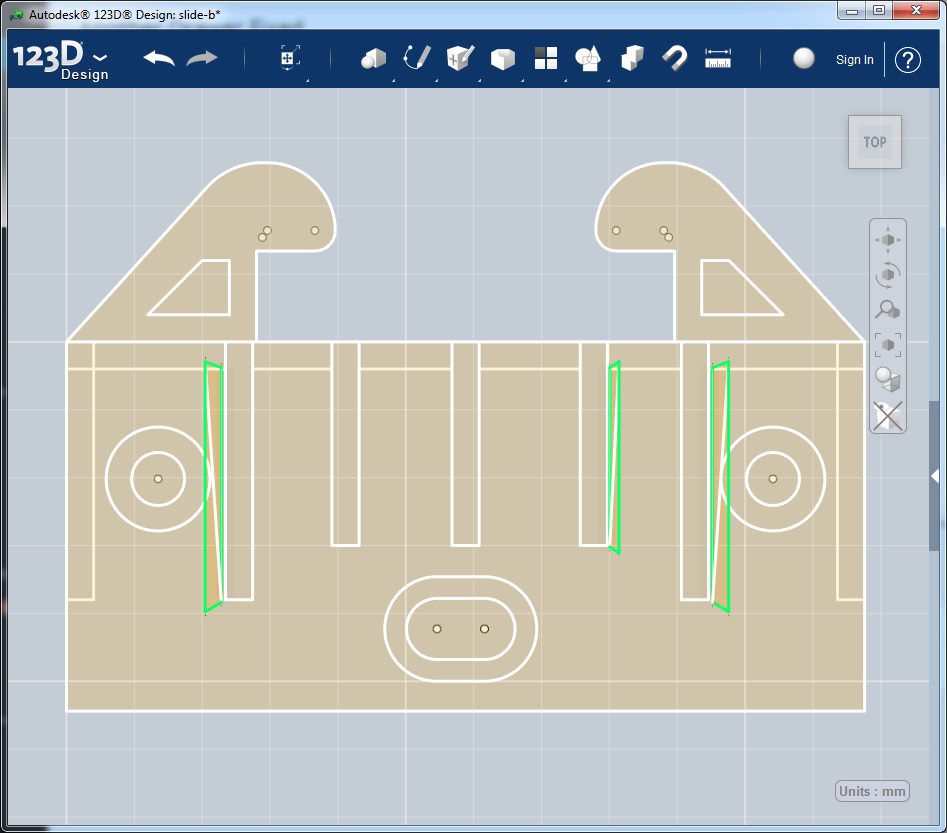
Sketch
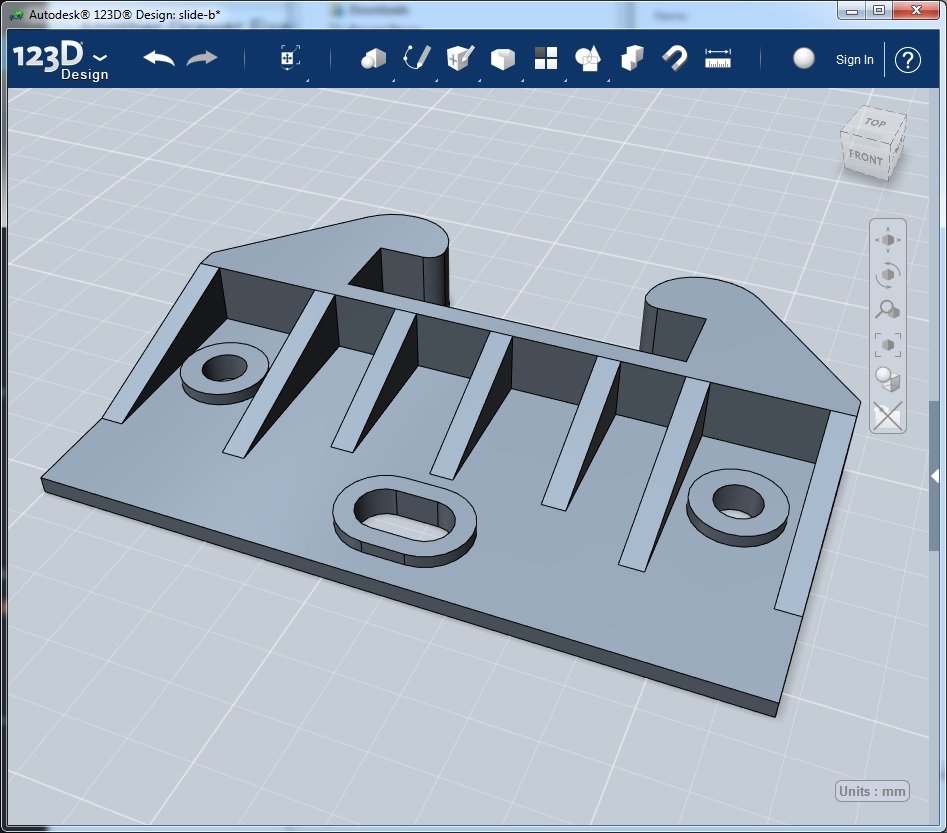
Extrusion19 mins to print a new one.
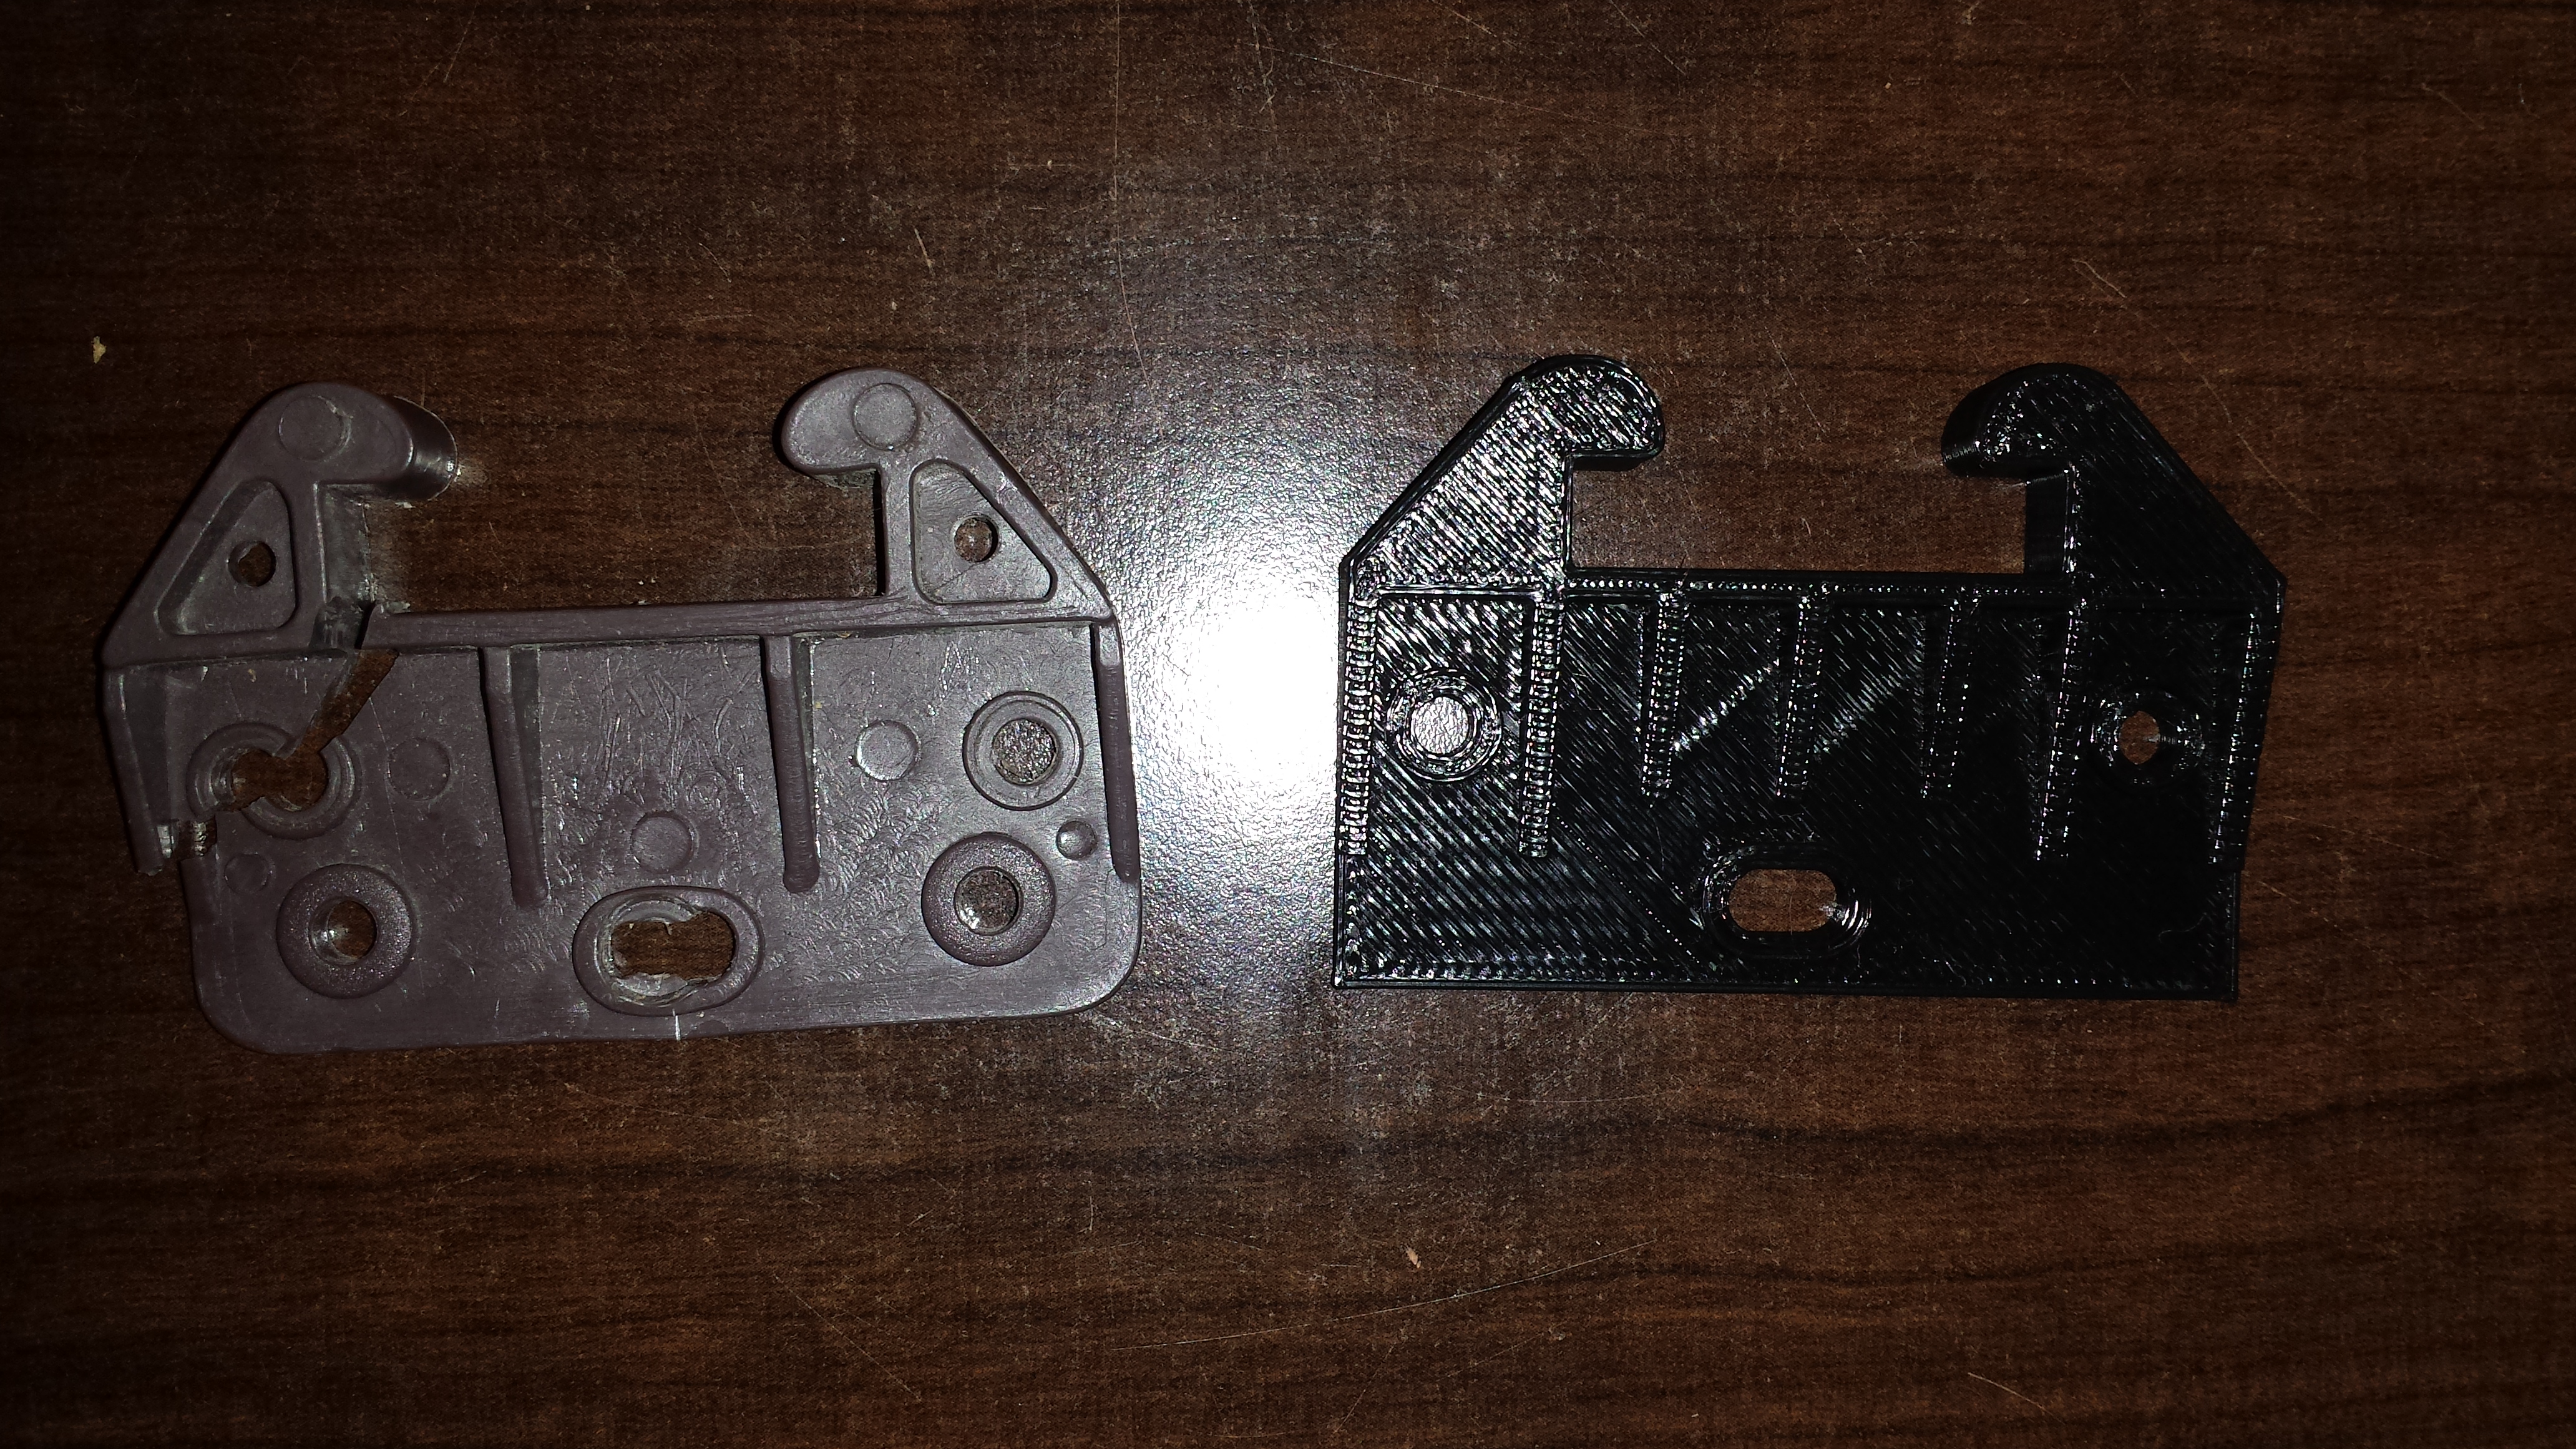
Old and New
Came out nice
Installed in seconds
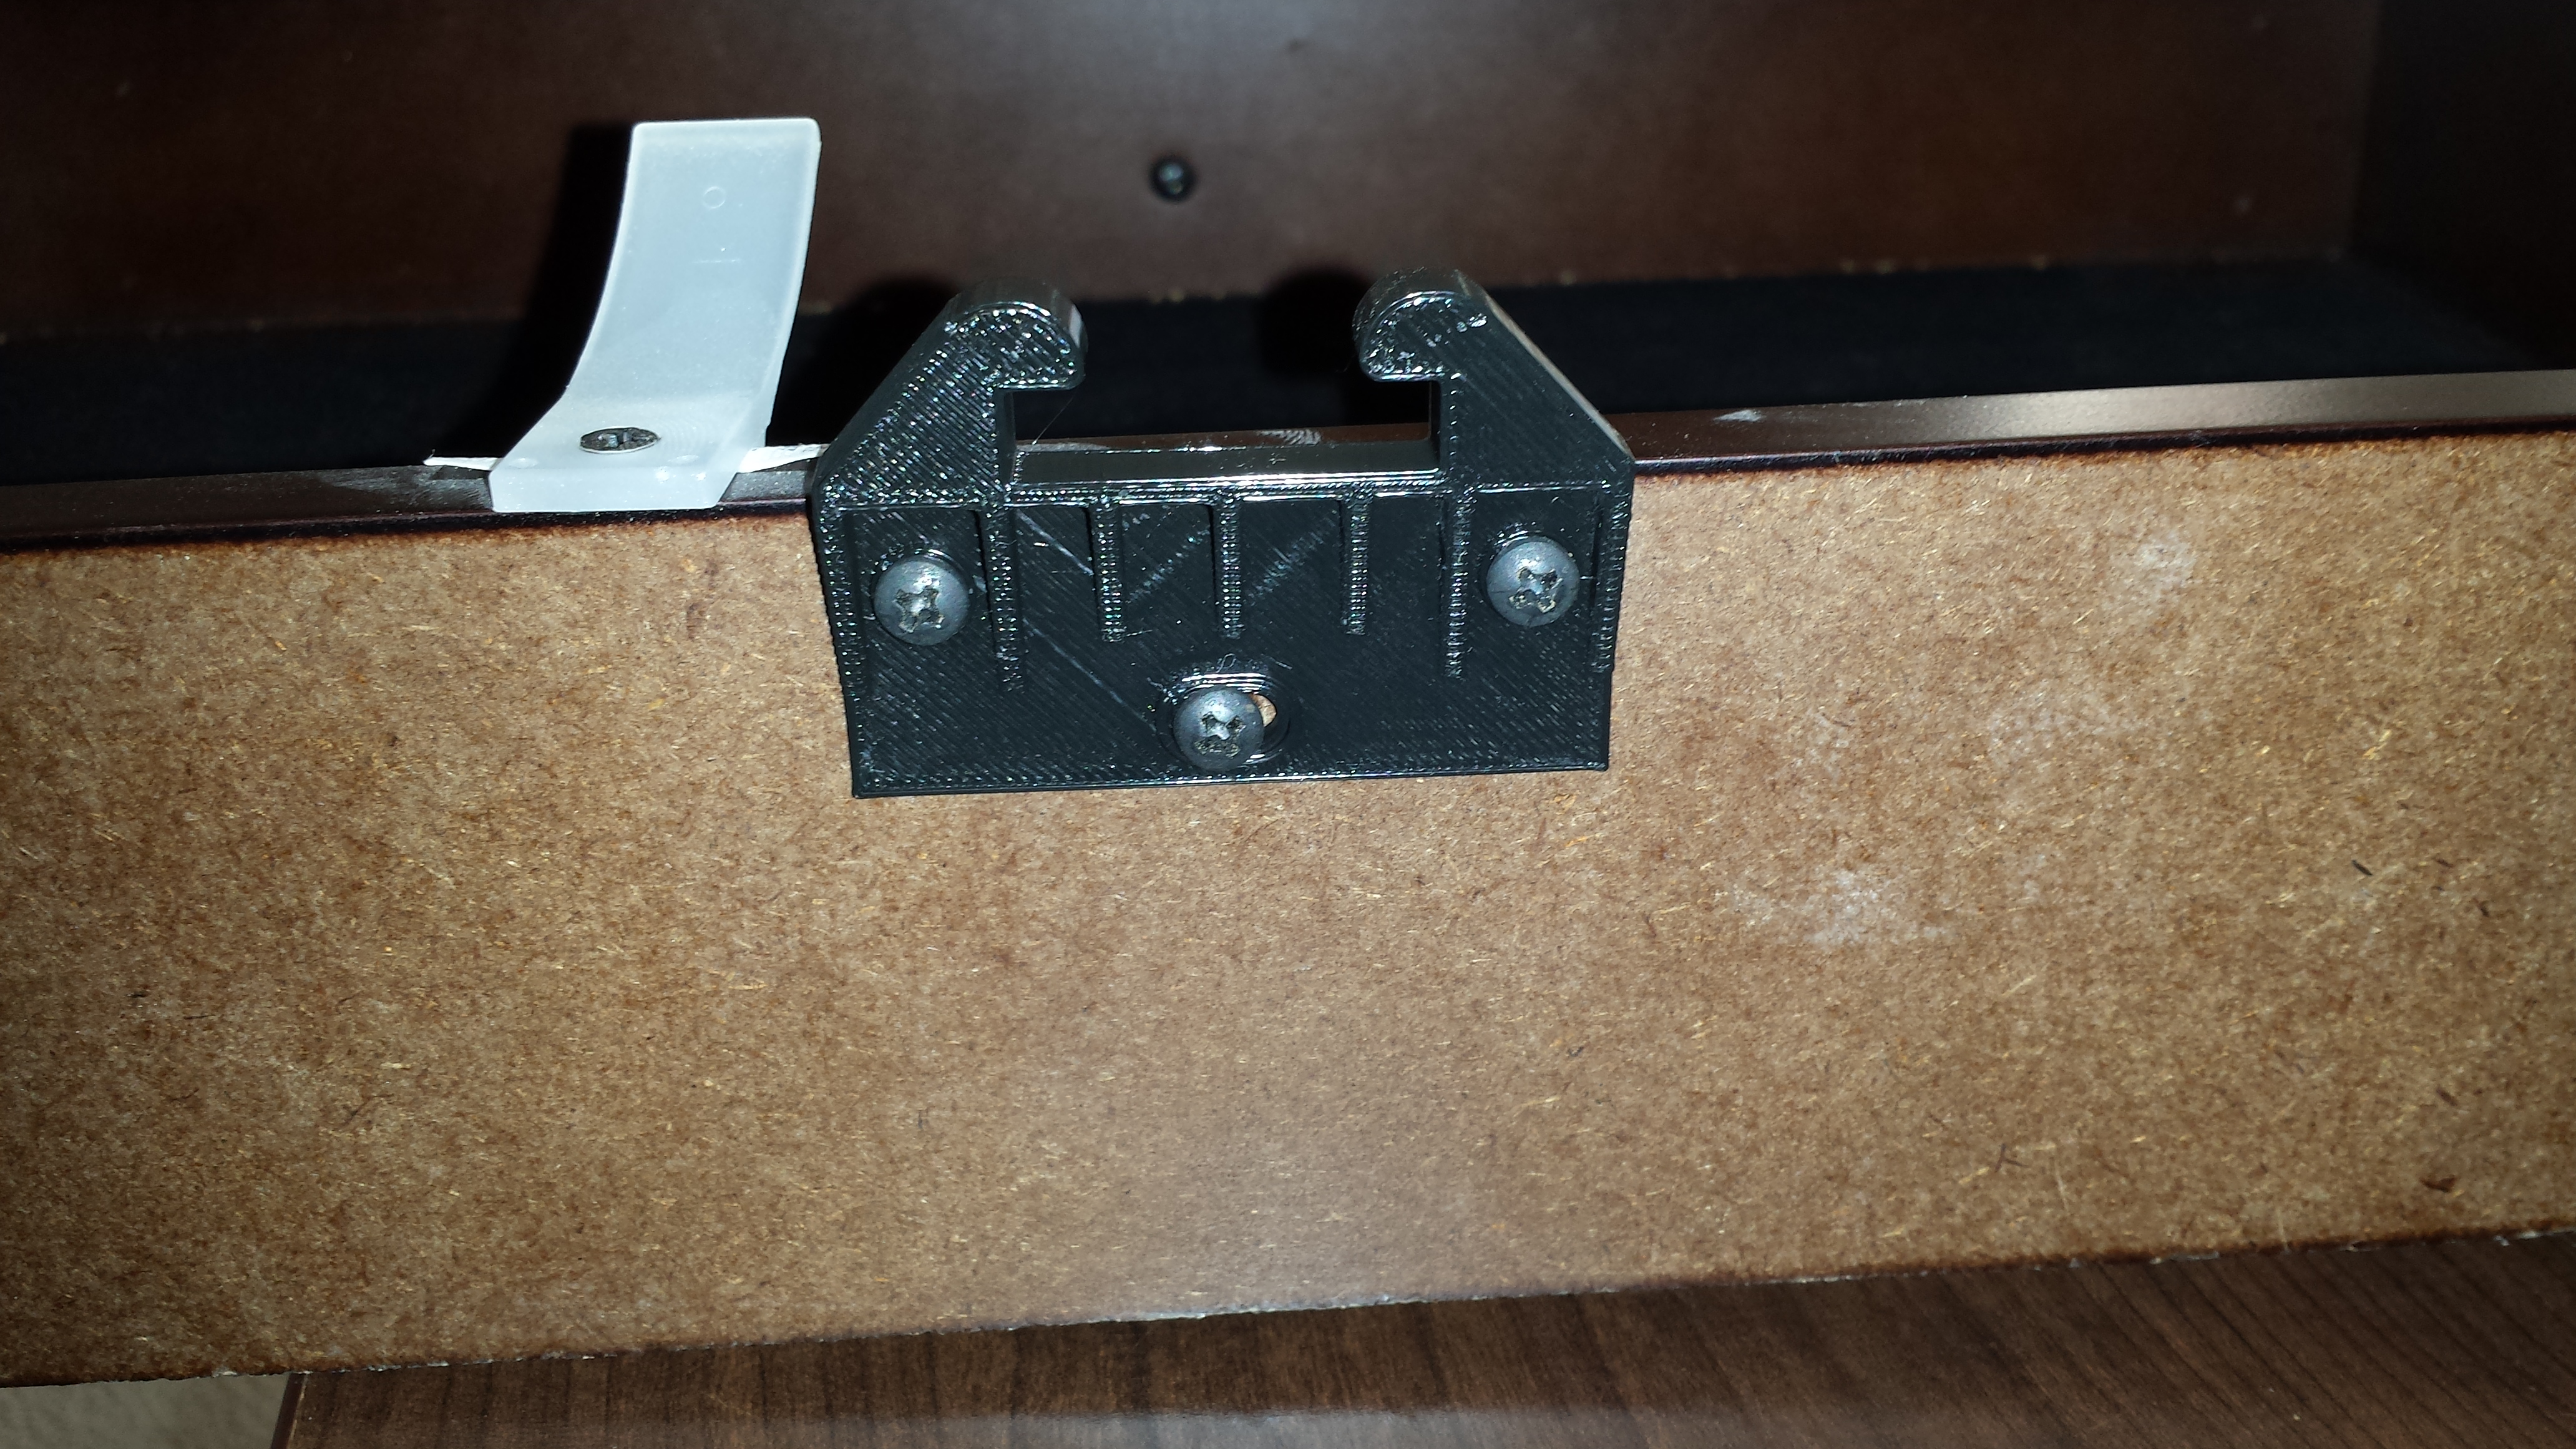
Just like new
Works Just like new!!
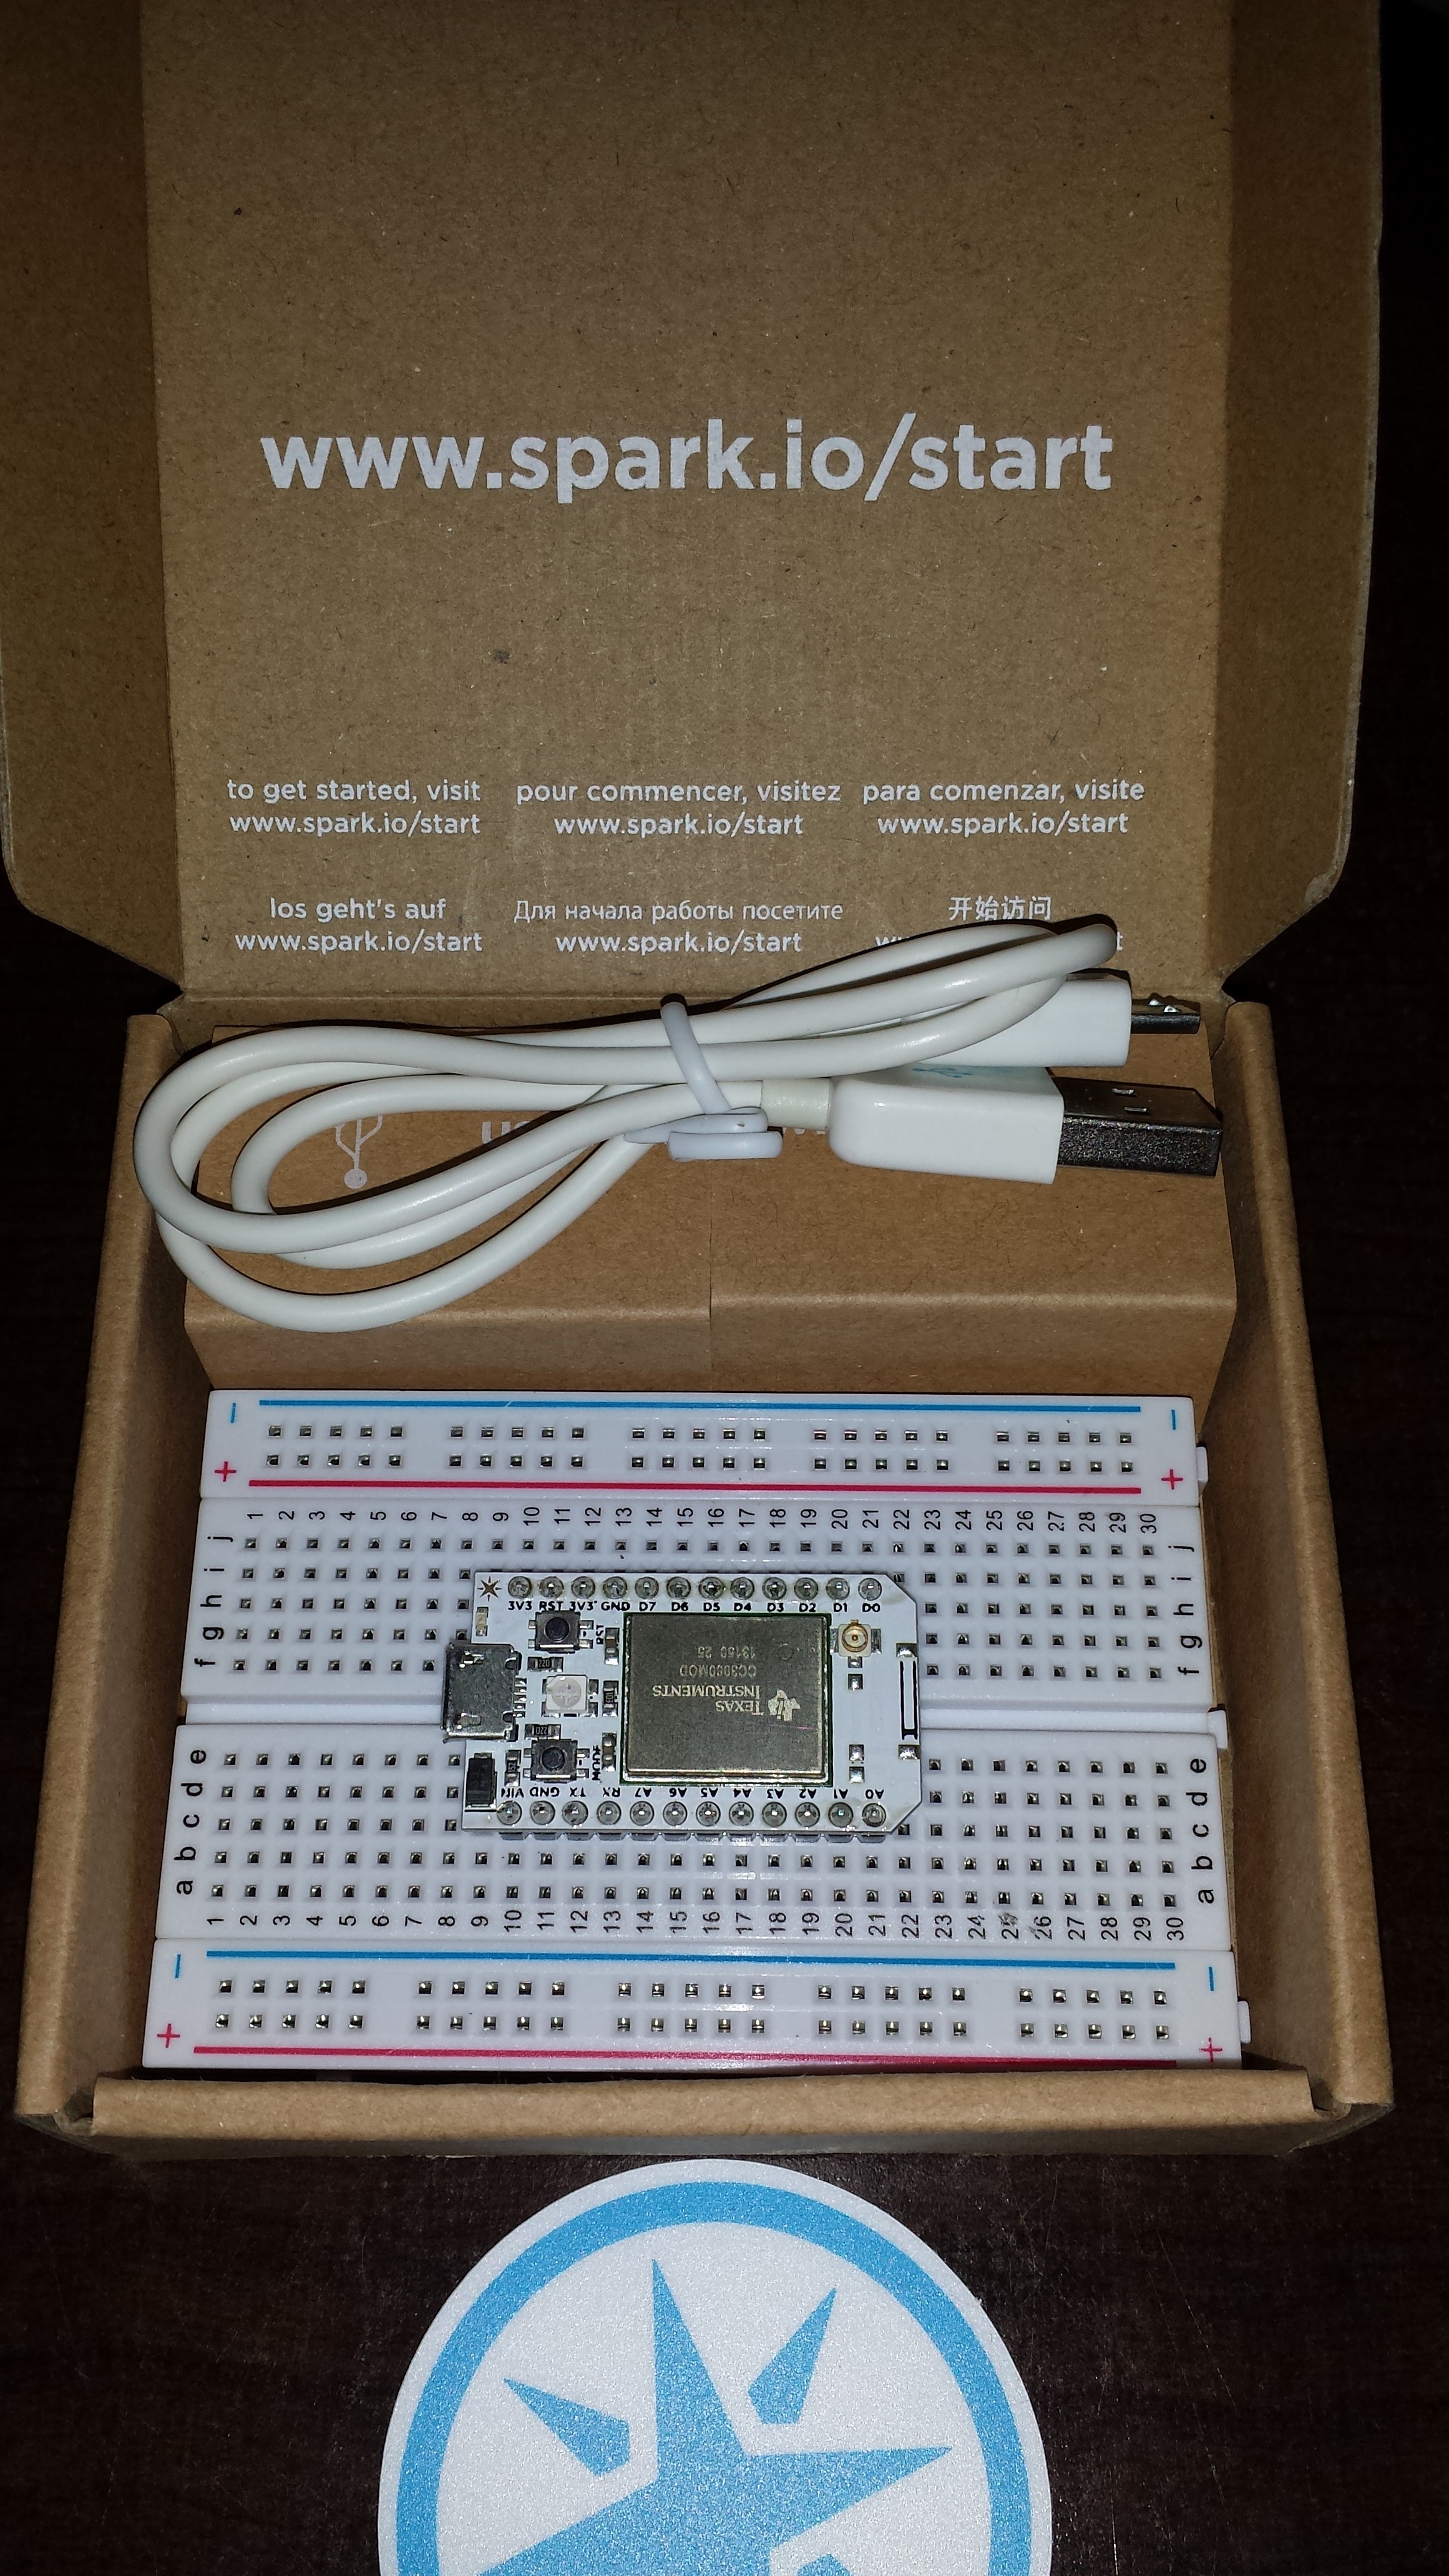
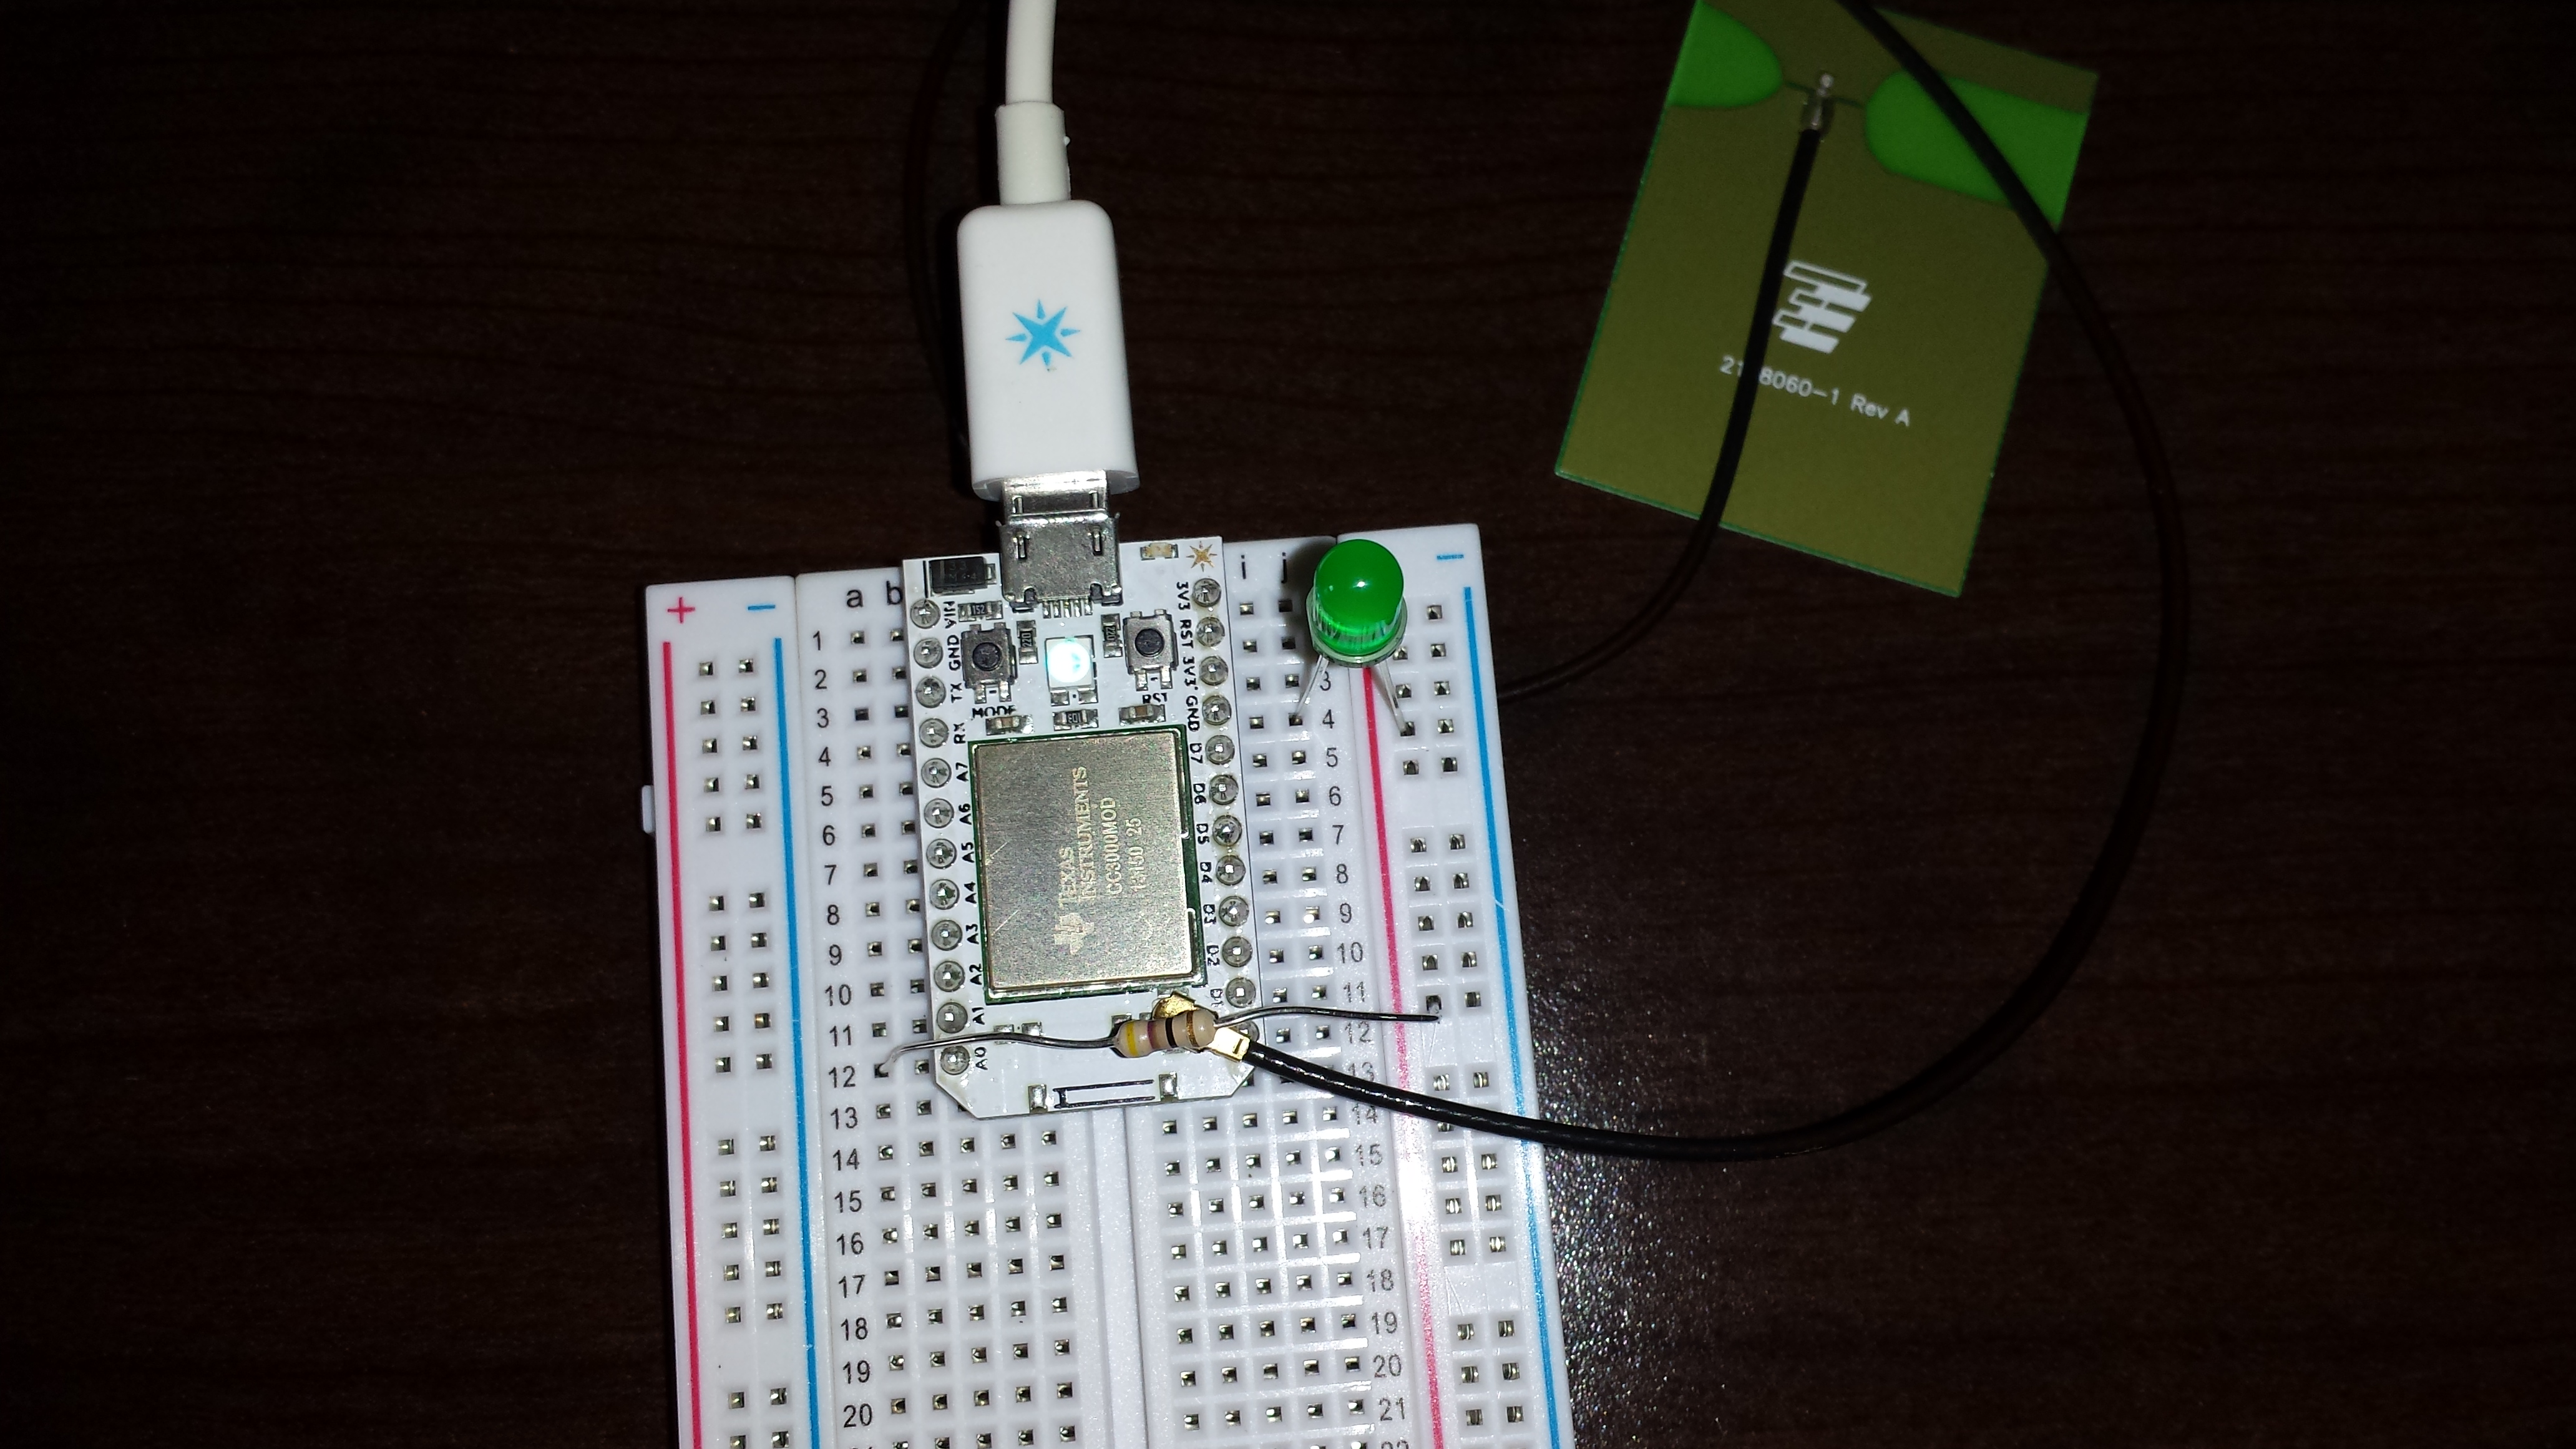
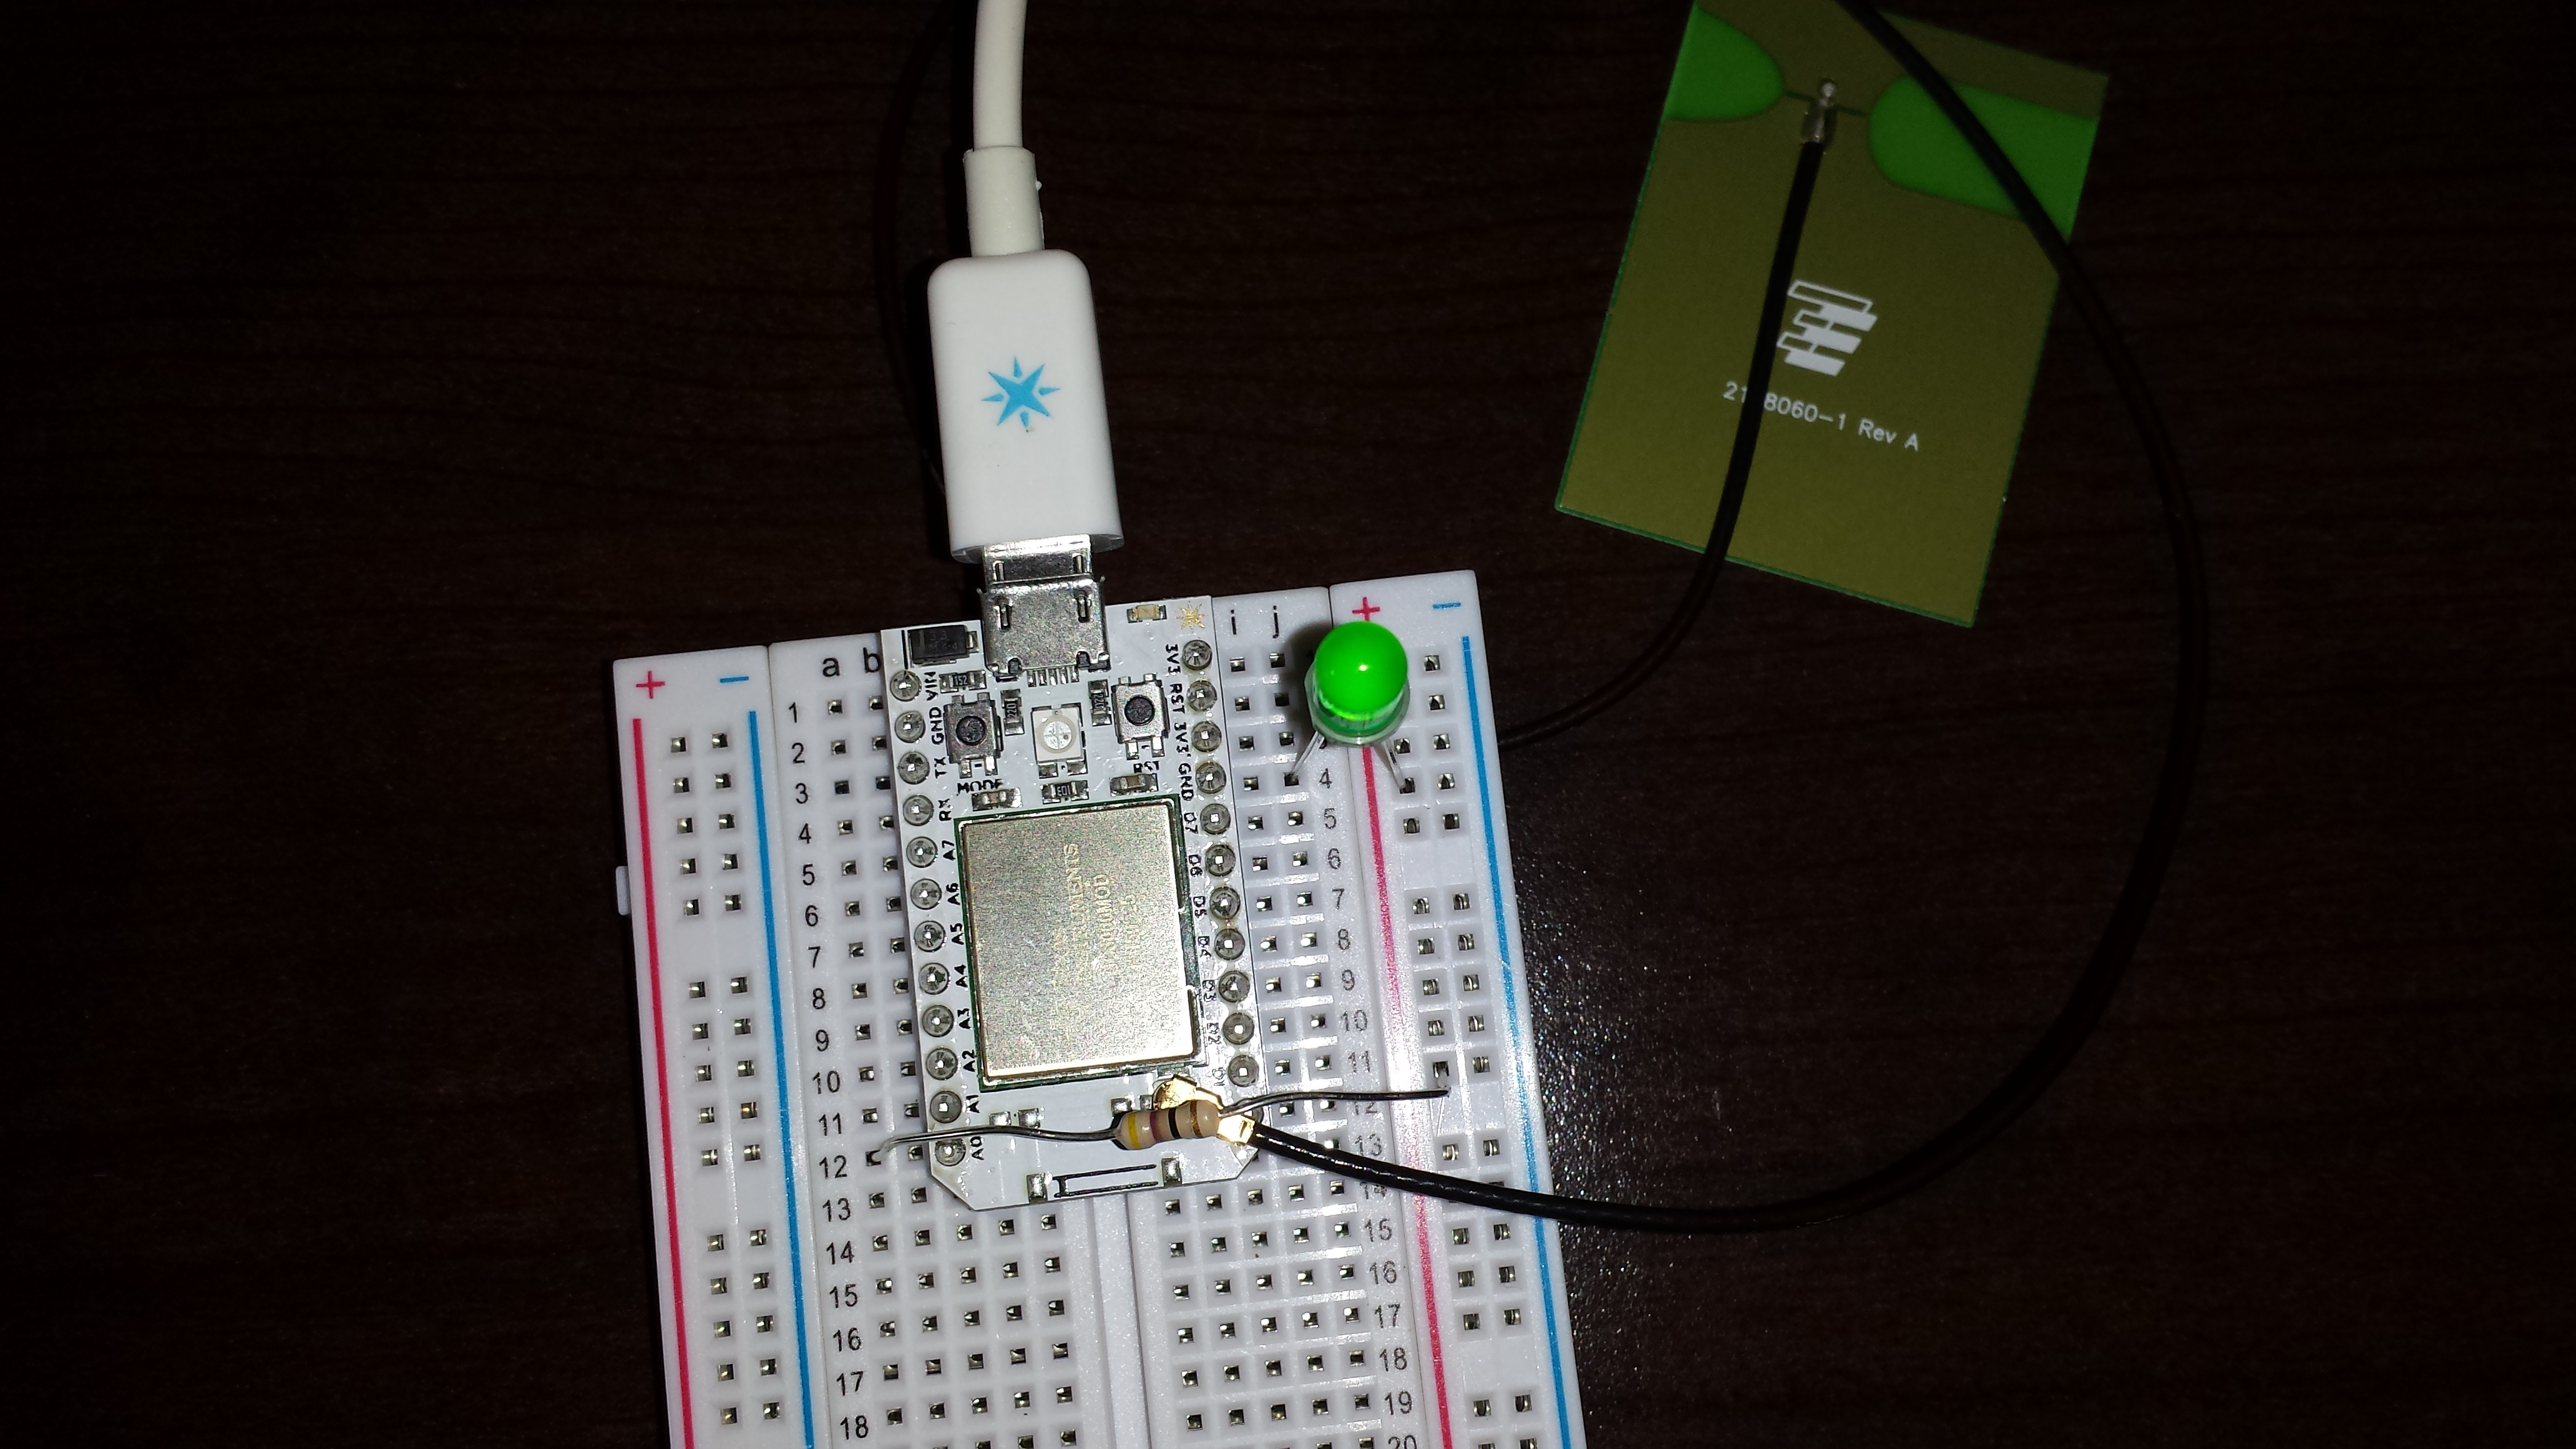
Awhile ago I backed https://www.spark.io/ on kick started and I got the reward this week. All in all the thing is quite cool. Setup was easy and quick. One minor note on setup: I use wireless mac filtering and there is not an easy way for the core to report its mac address so I had to disable mac filtering and let it connect to pull the mac from my router. After that it connected just fine.
So what is the spark core? It is explained here http://docs.spark.io/. Put simply its a wi-fi Arduino that is small and cheap ($35) for the kickstarter.
What can it do? Anything an Arduino can do with a twist. It can be controlled directly from an Android or a web interface via the inter-webs.
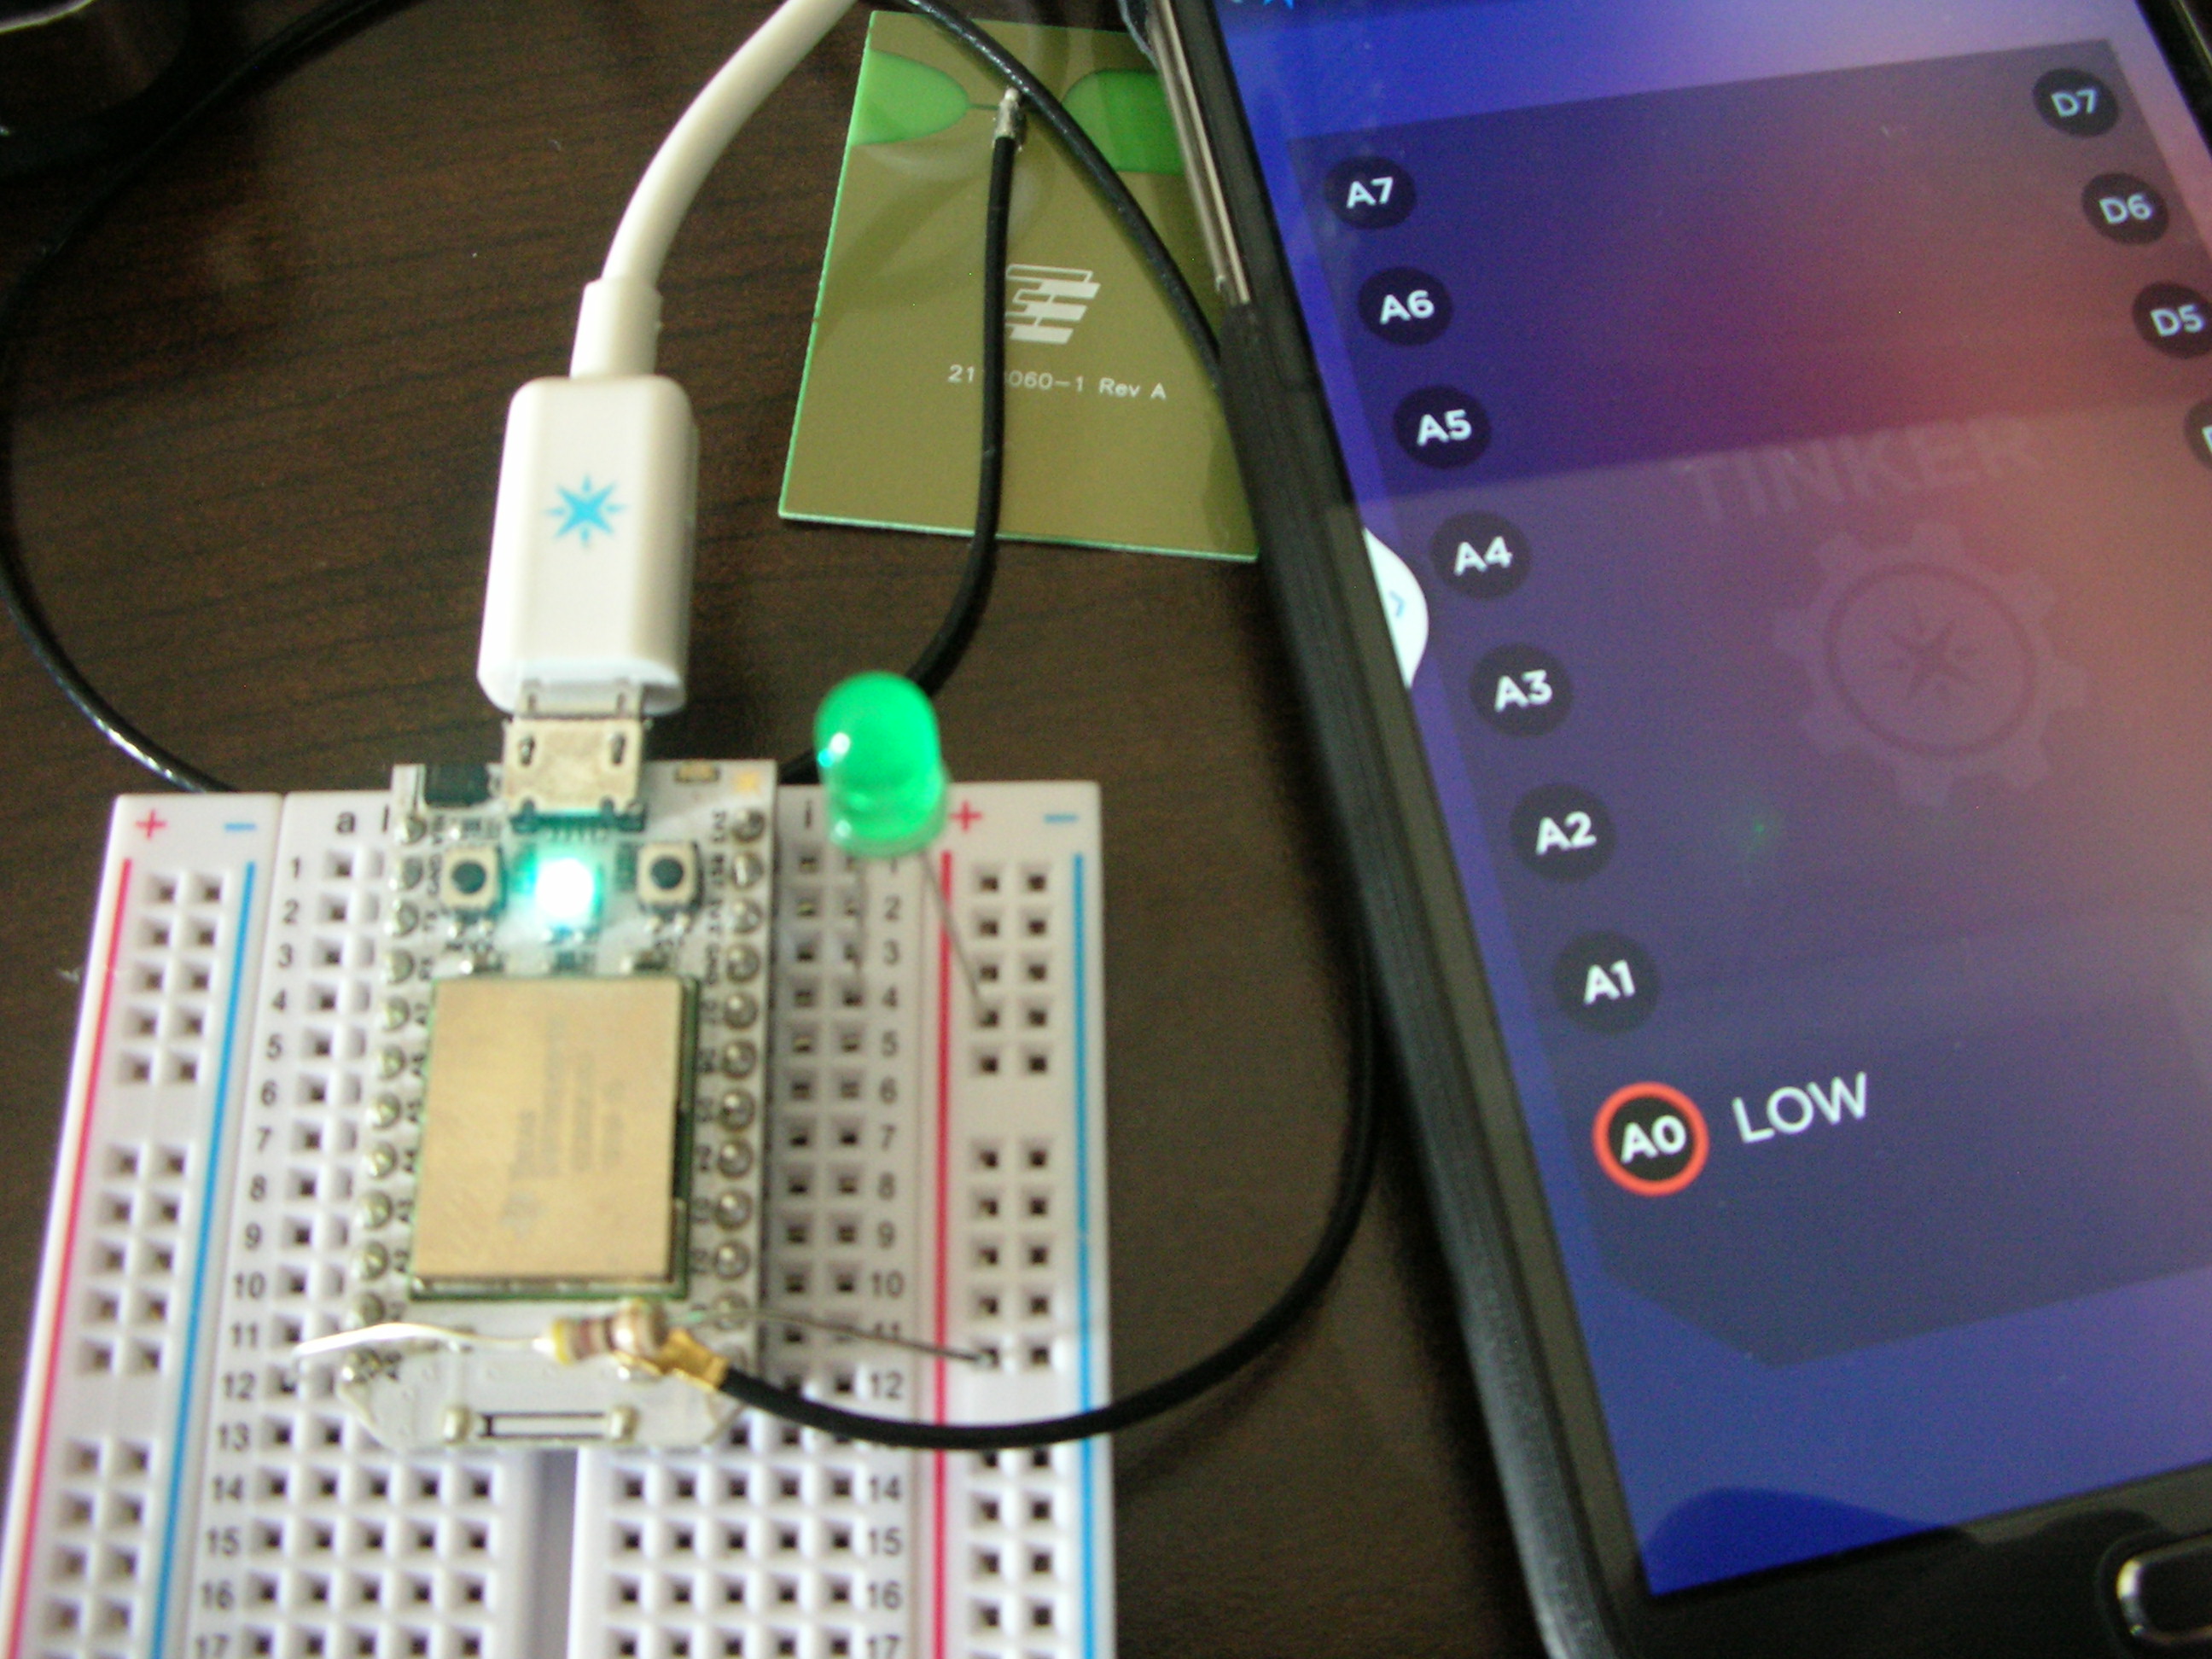
Enough already get to the pics you say… fine. Any respectable Arduino is not officially un-boxed until it is running Blink. I connected pin A0 to a resistor to a led to ground. Then set pin A0 to digital write. Using my cellphone I was able to toggle the pin from low (led off) to high (led on). I could toggle this on and off from anywhere in the world since the core is connected to the “cloud” (I hate that word since its so ambiguous).


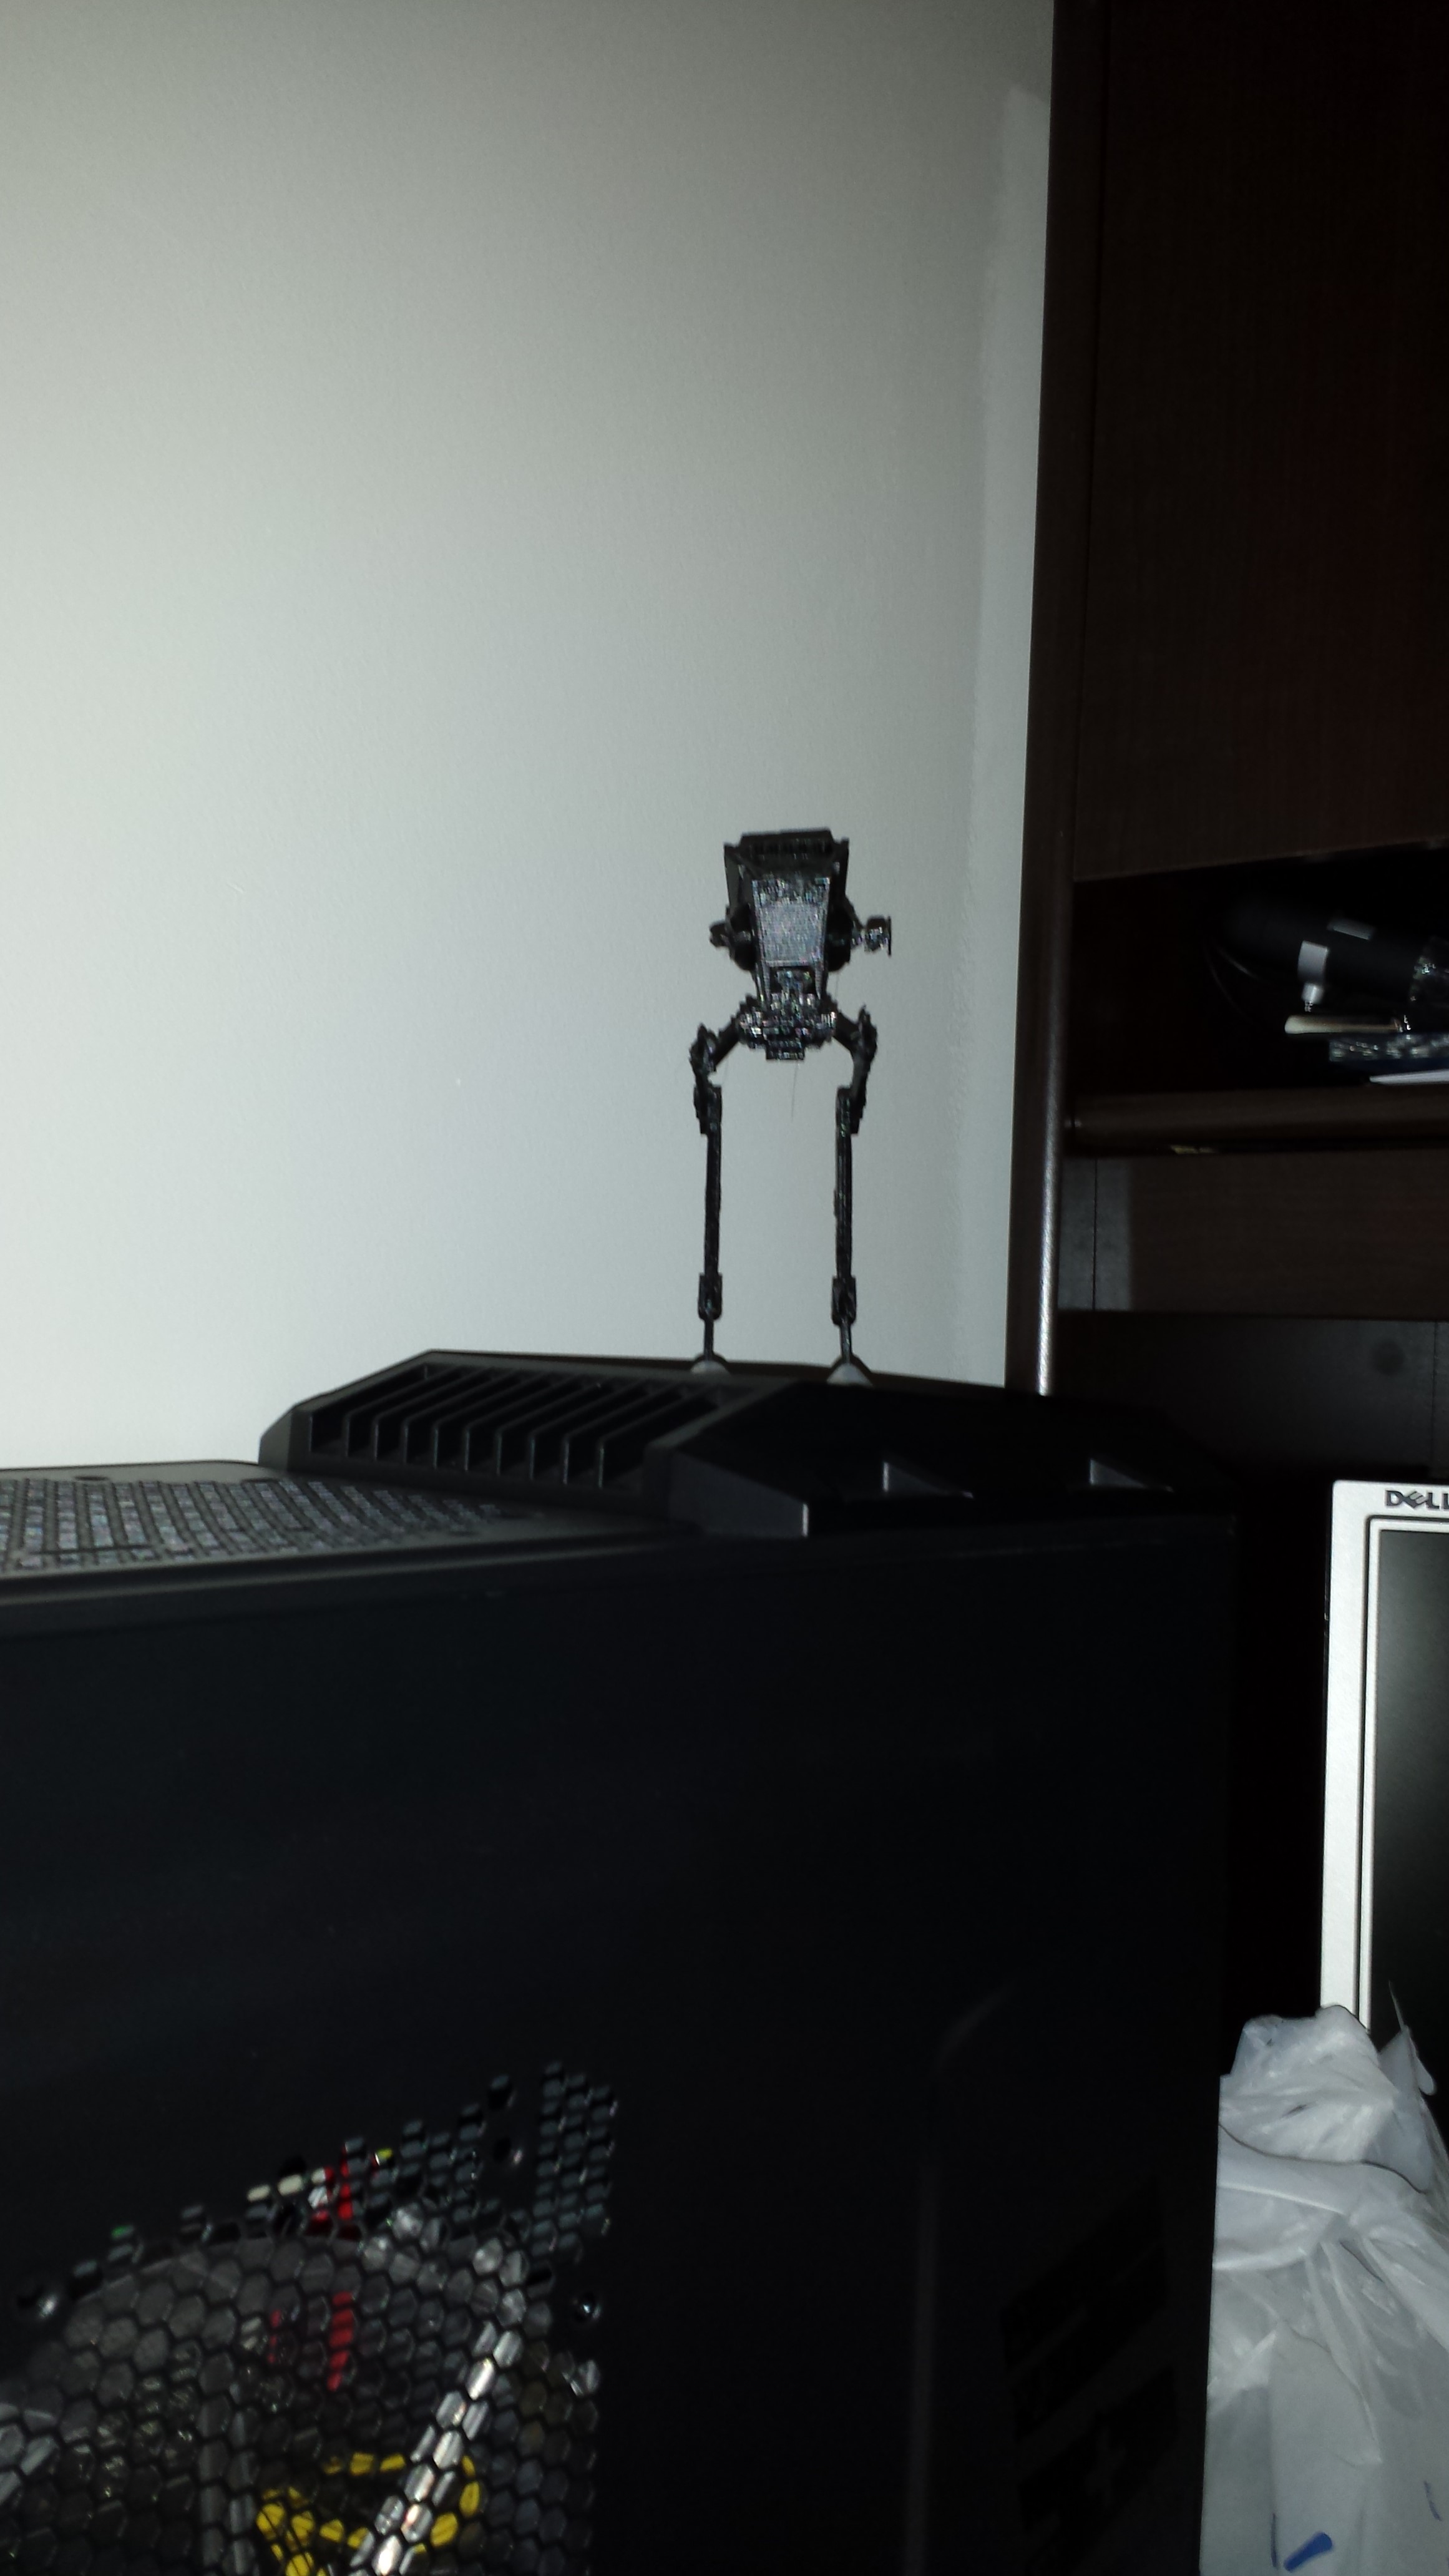
It has been a bit since I printed anything (been busy with BF4) so I decided to print something just for fun. Only took me seconds to find http://www.thingiverse.com/thing:24451.
Printing was quick and crude glue gun assembly I had this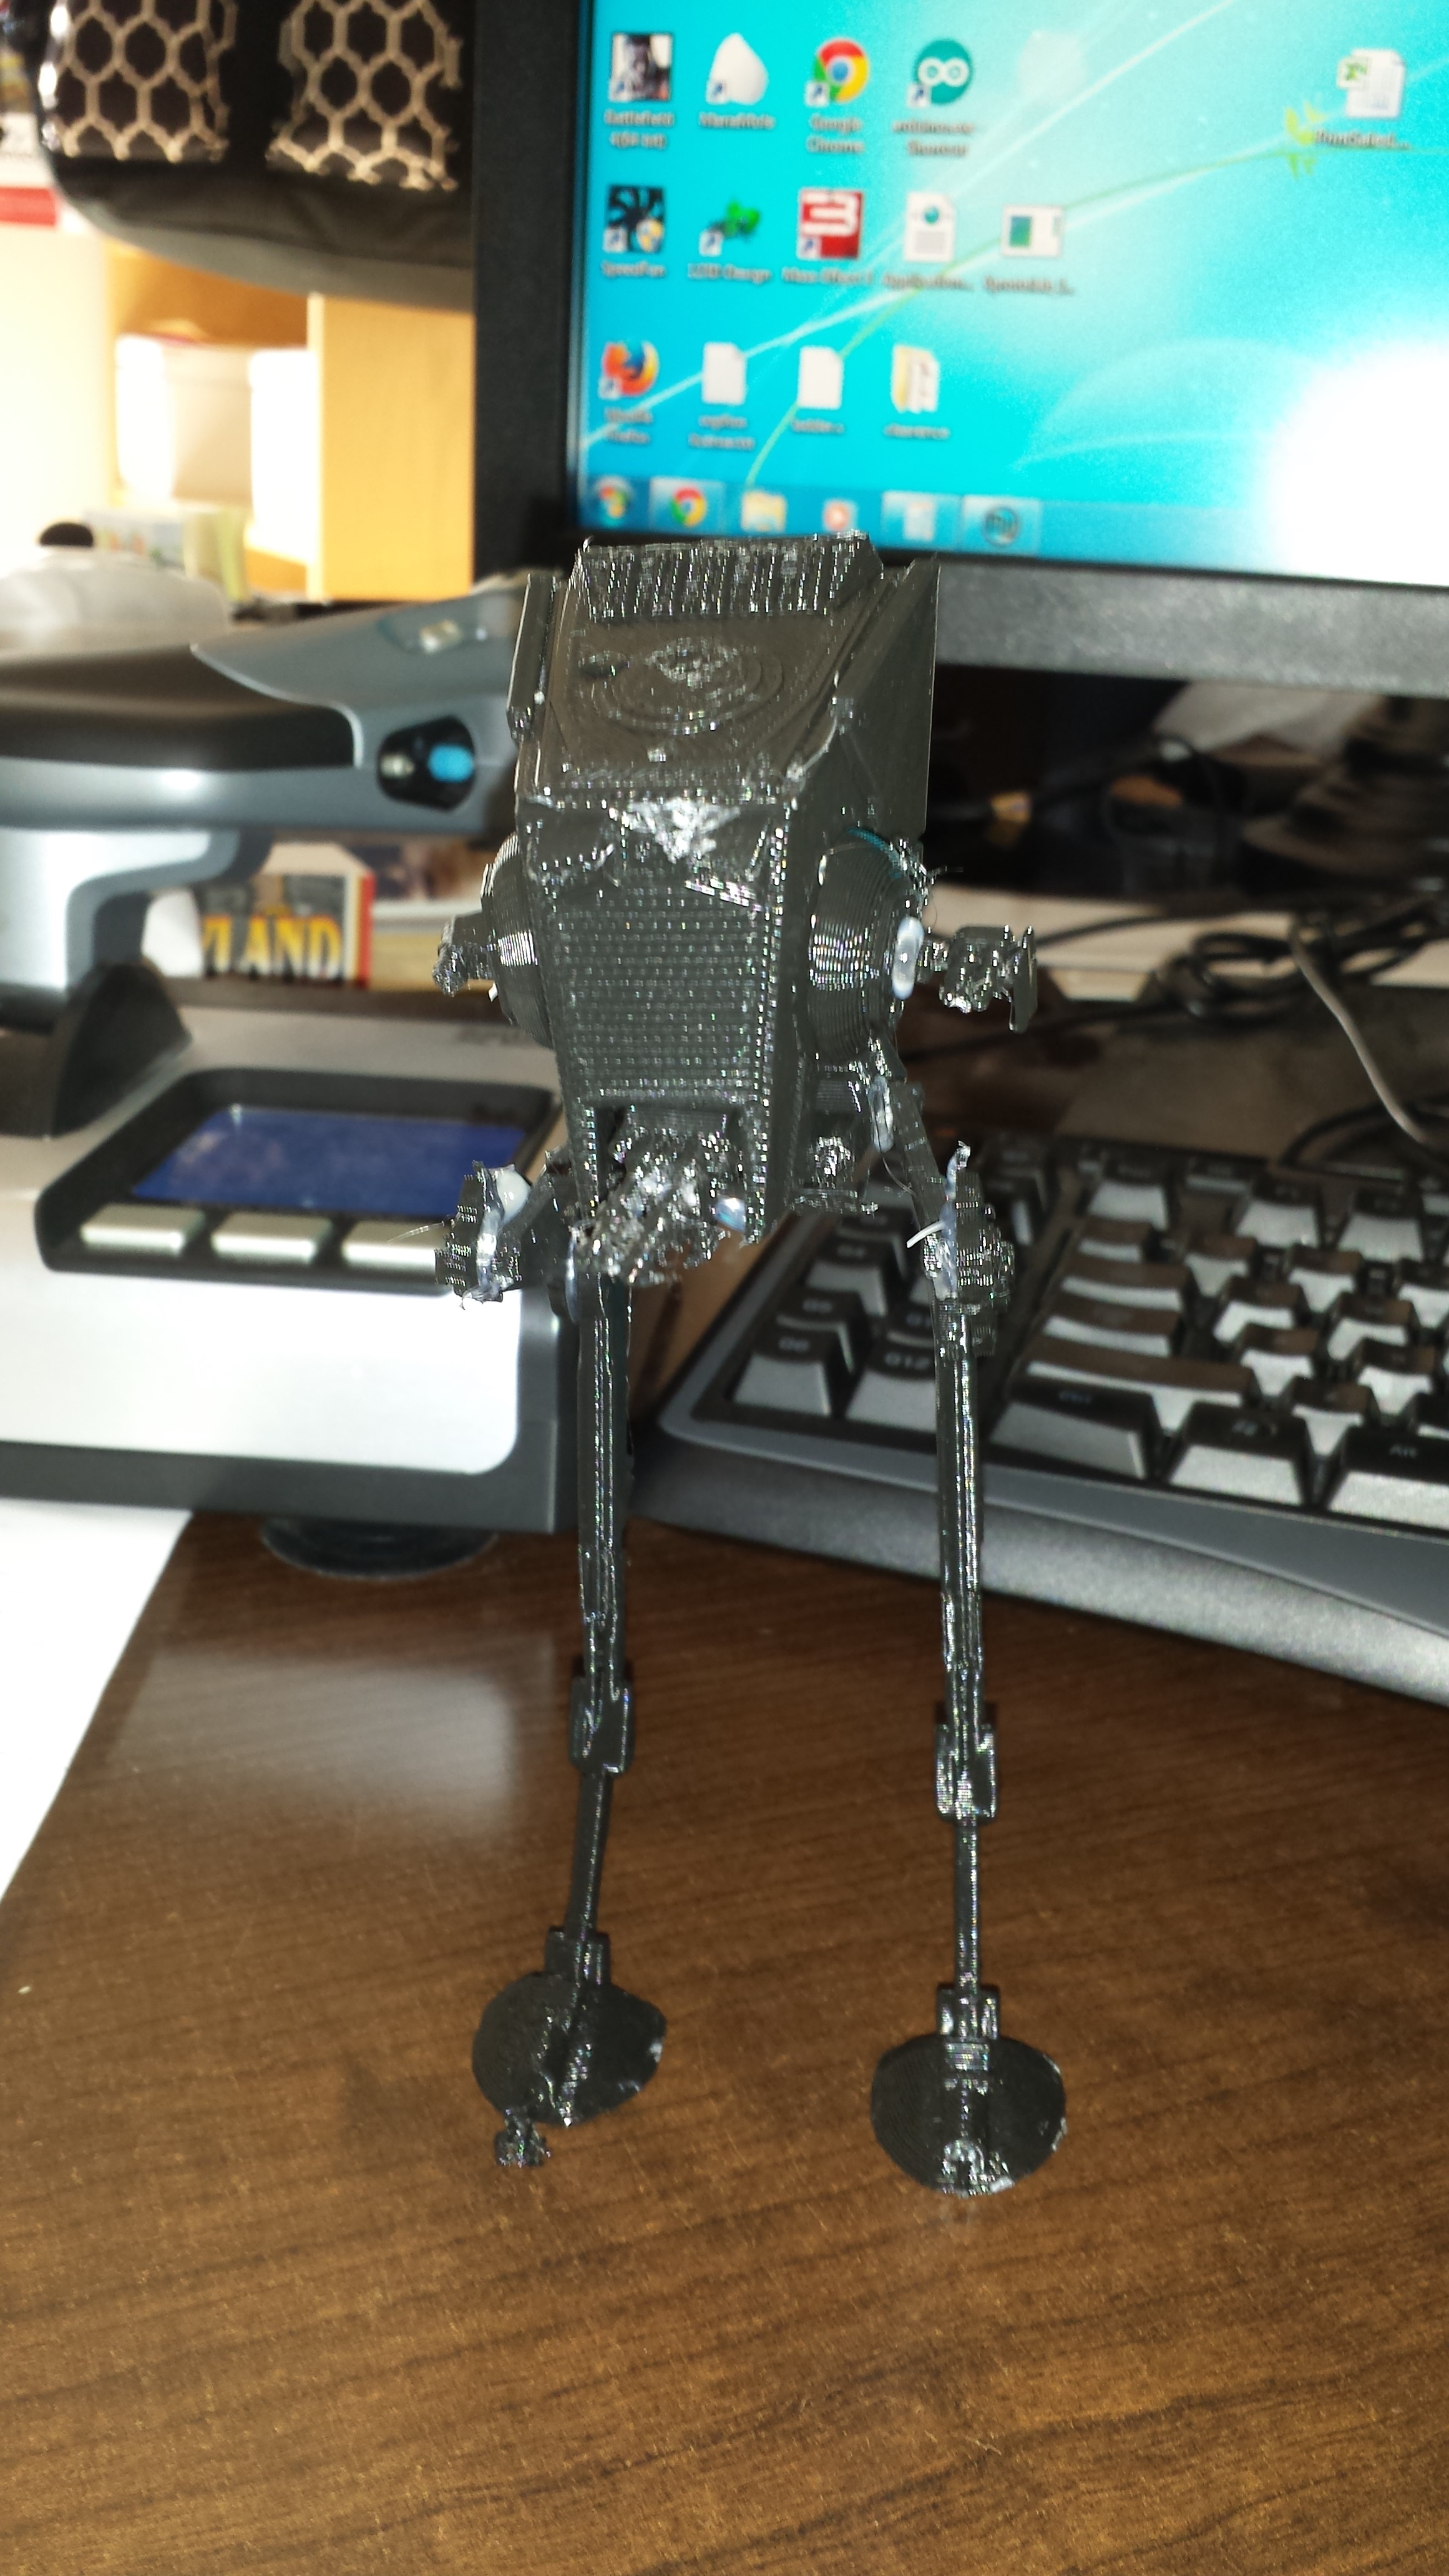
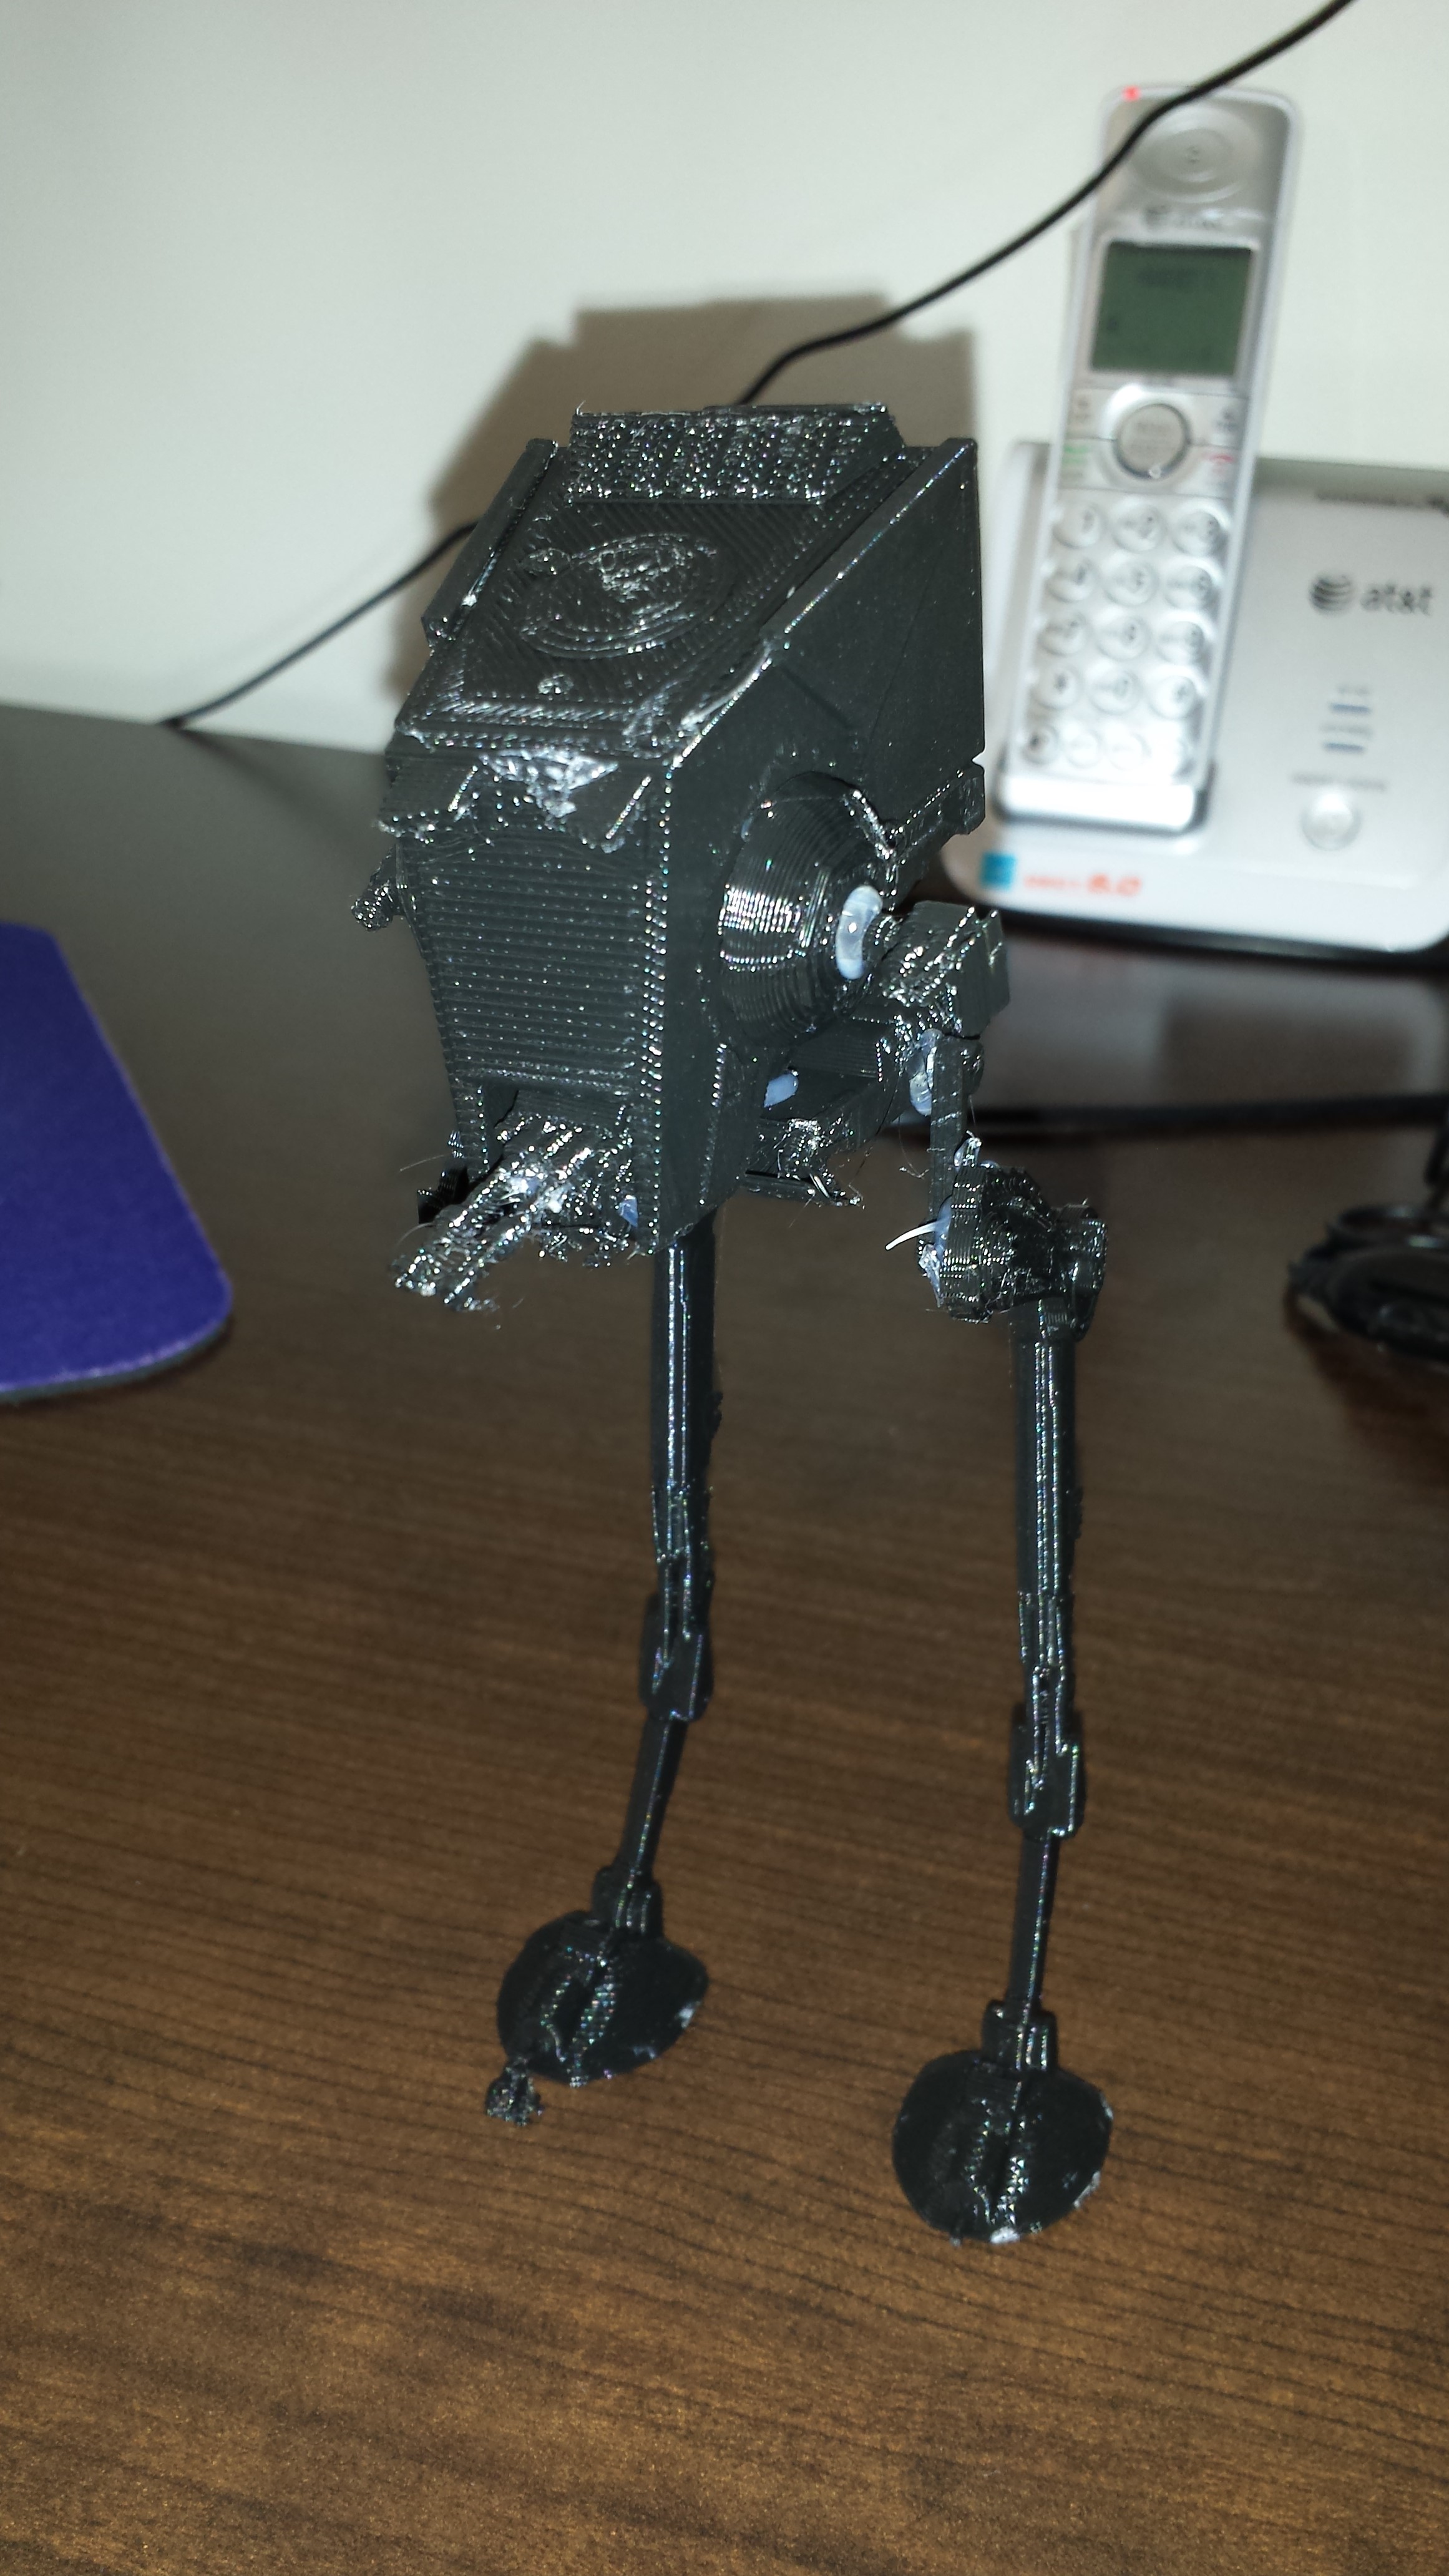
I have a new permanent fixture on my gaming PC
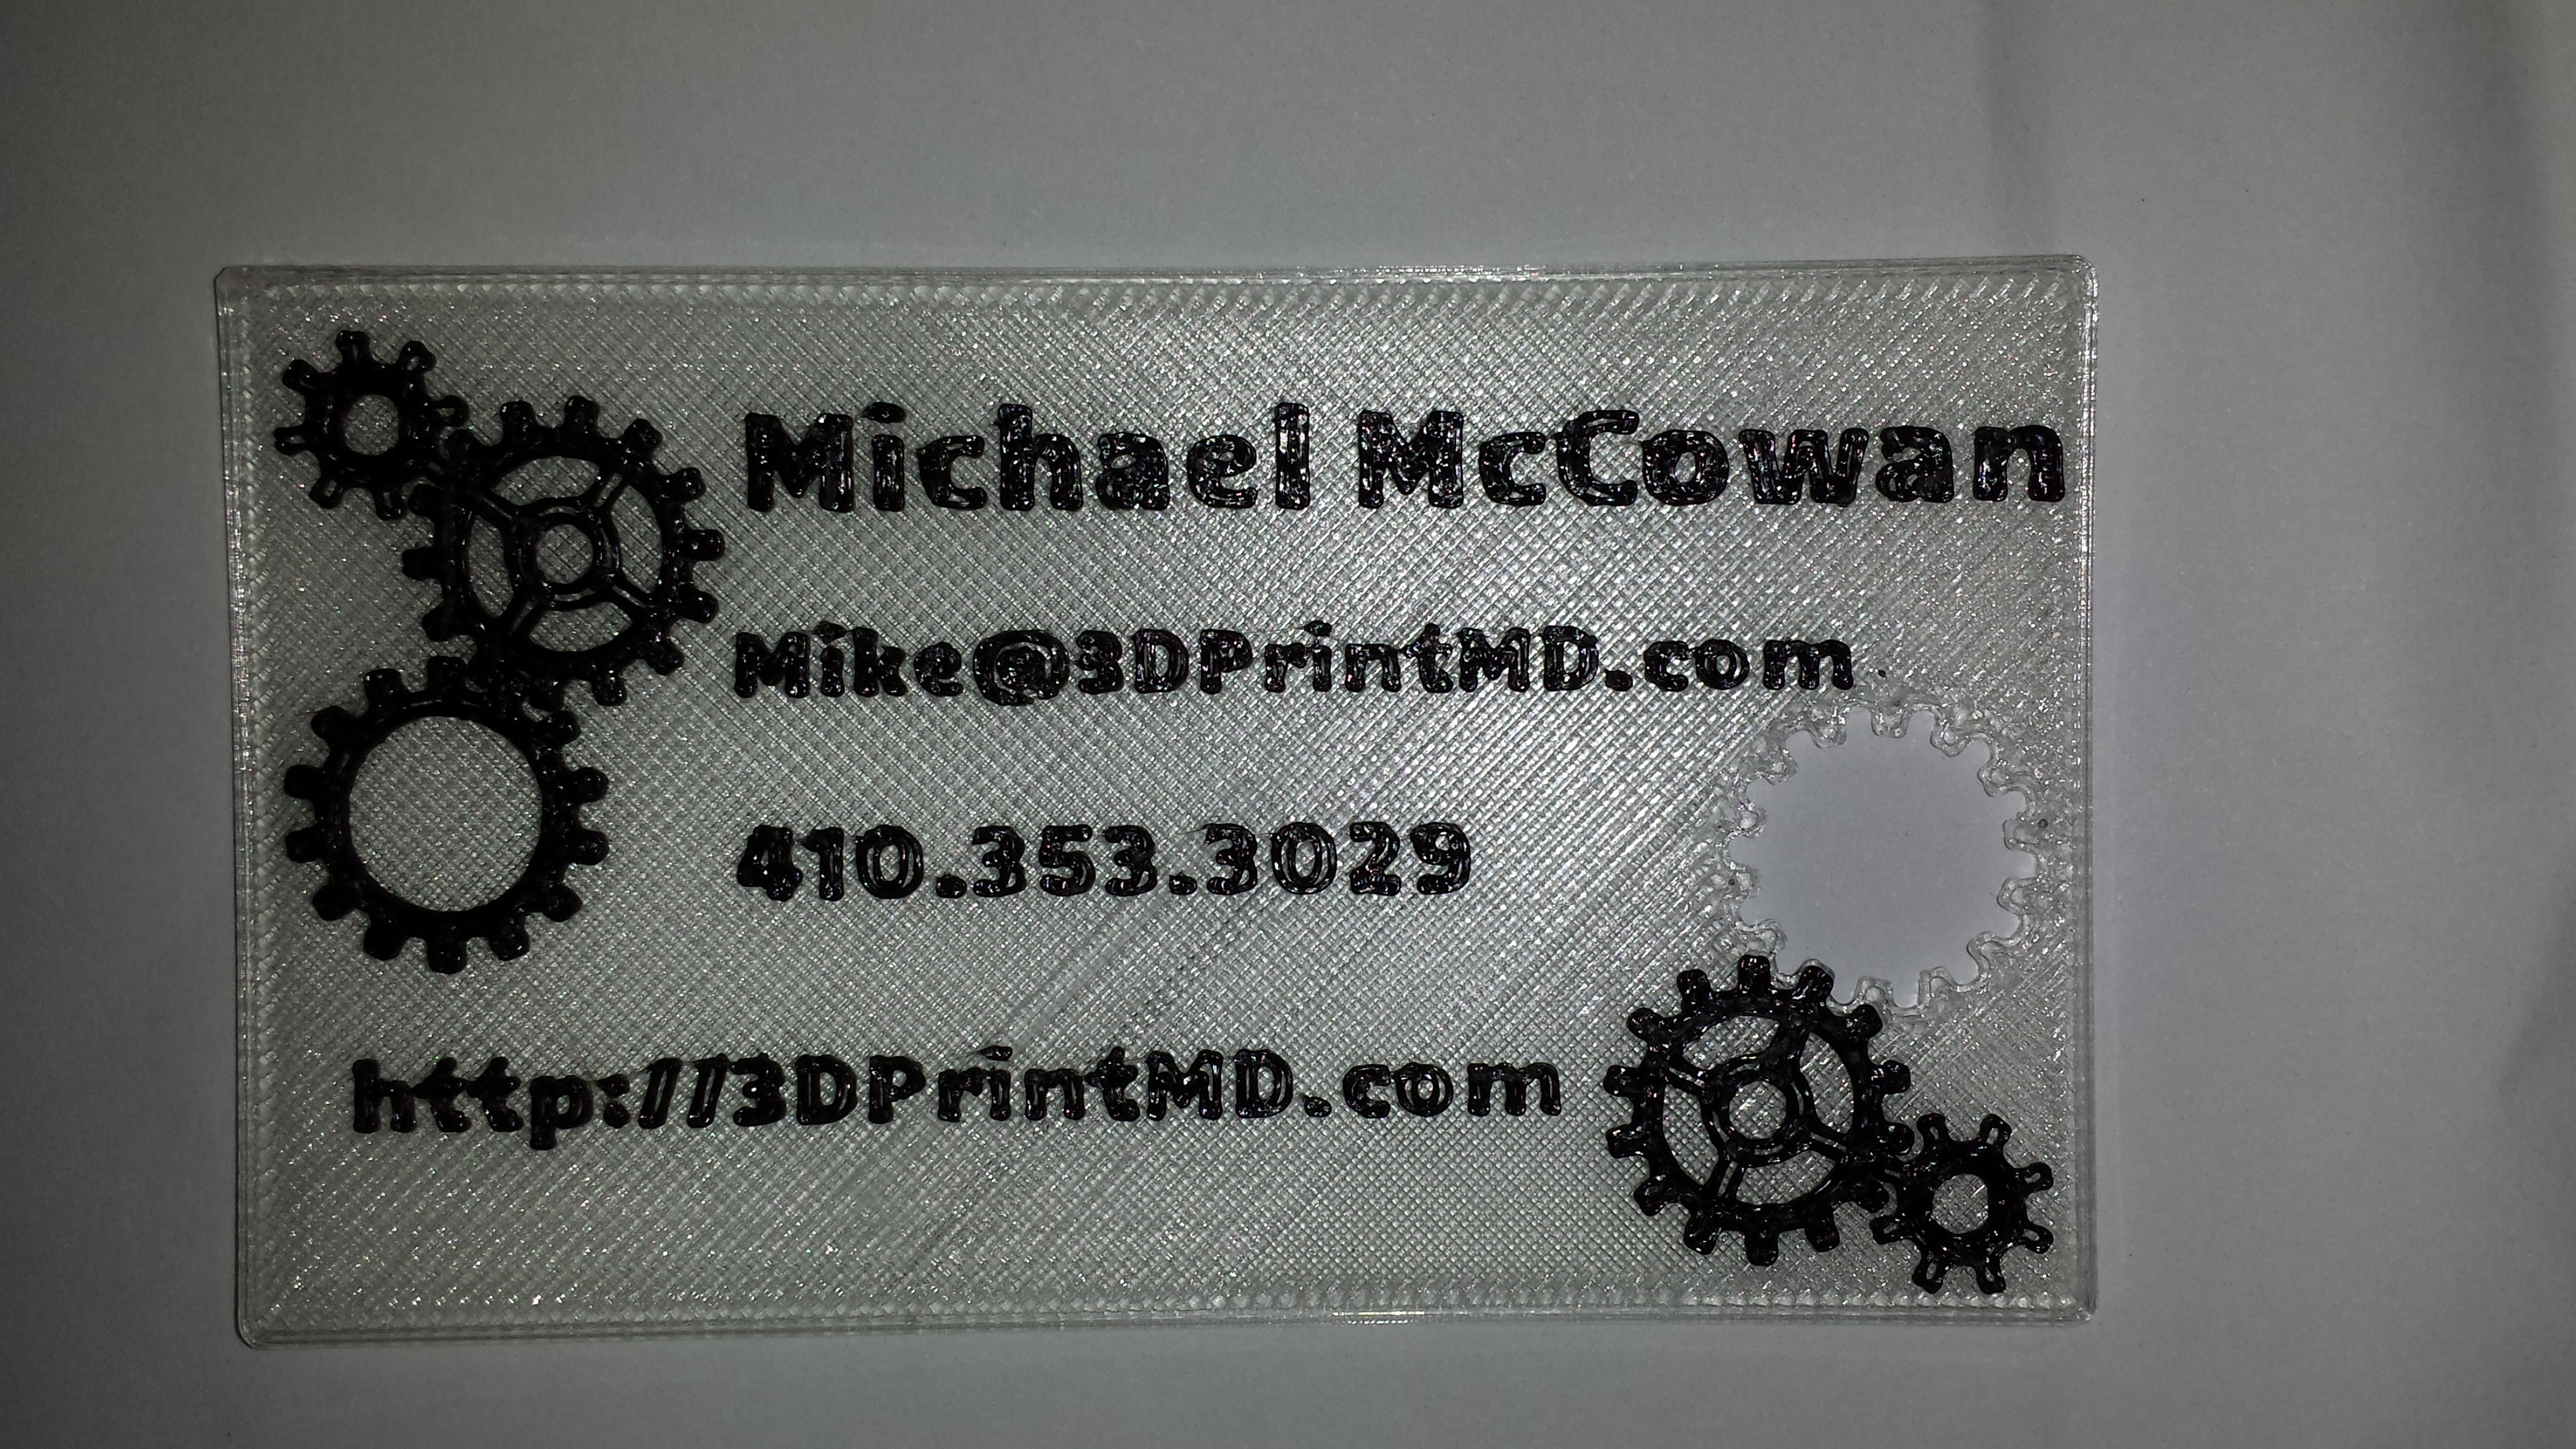
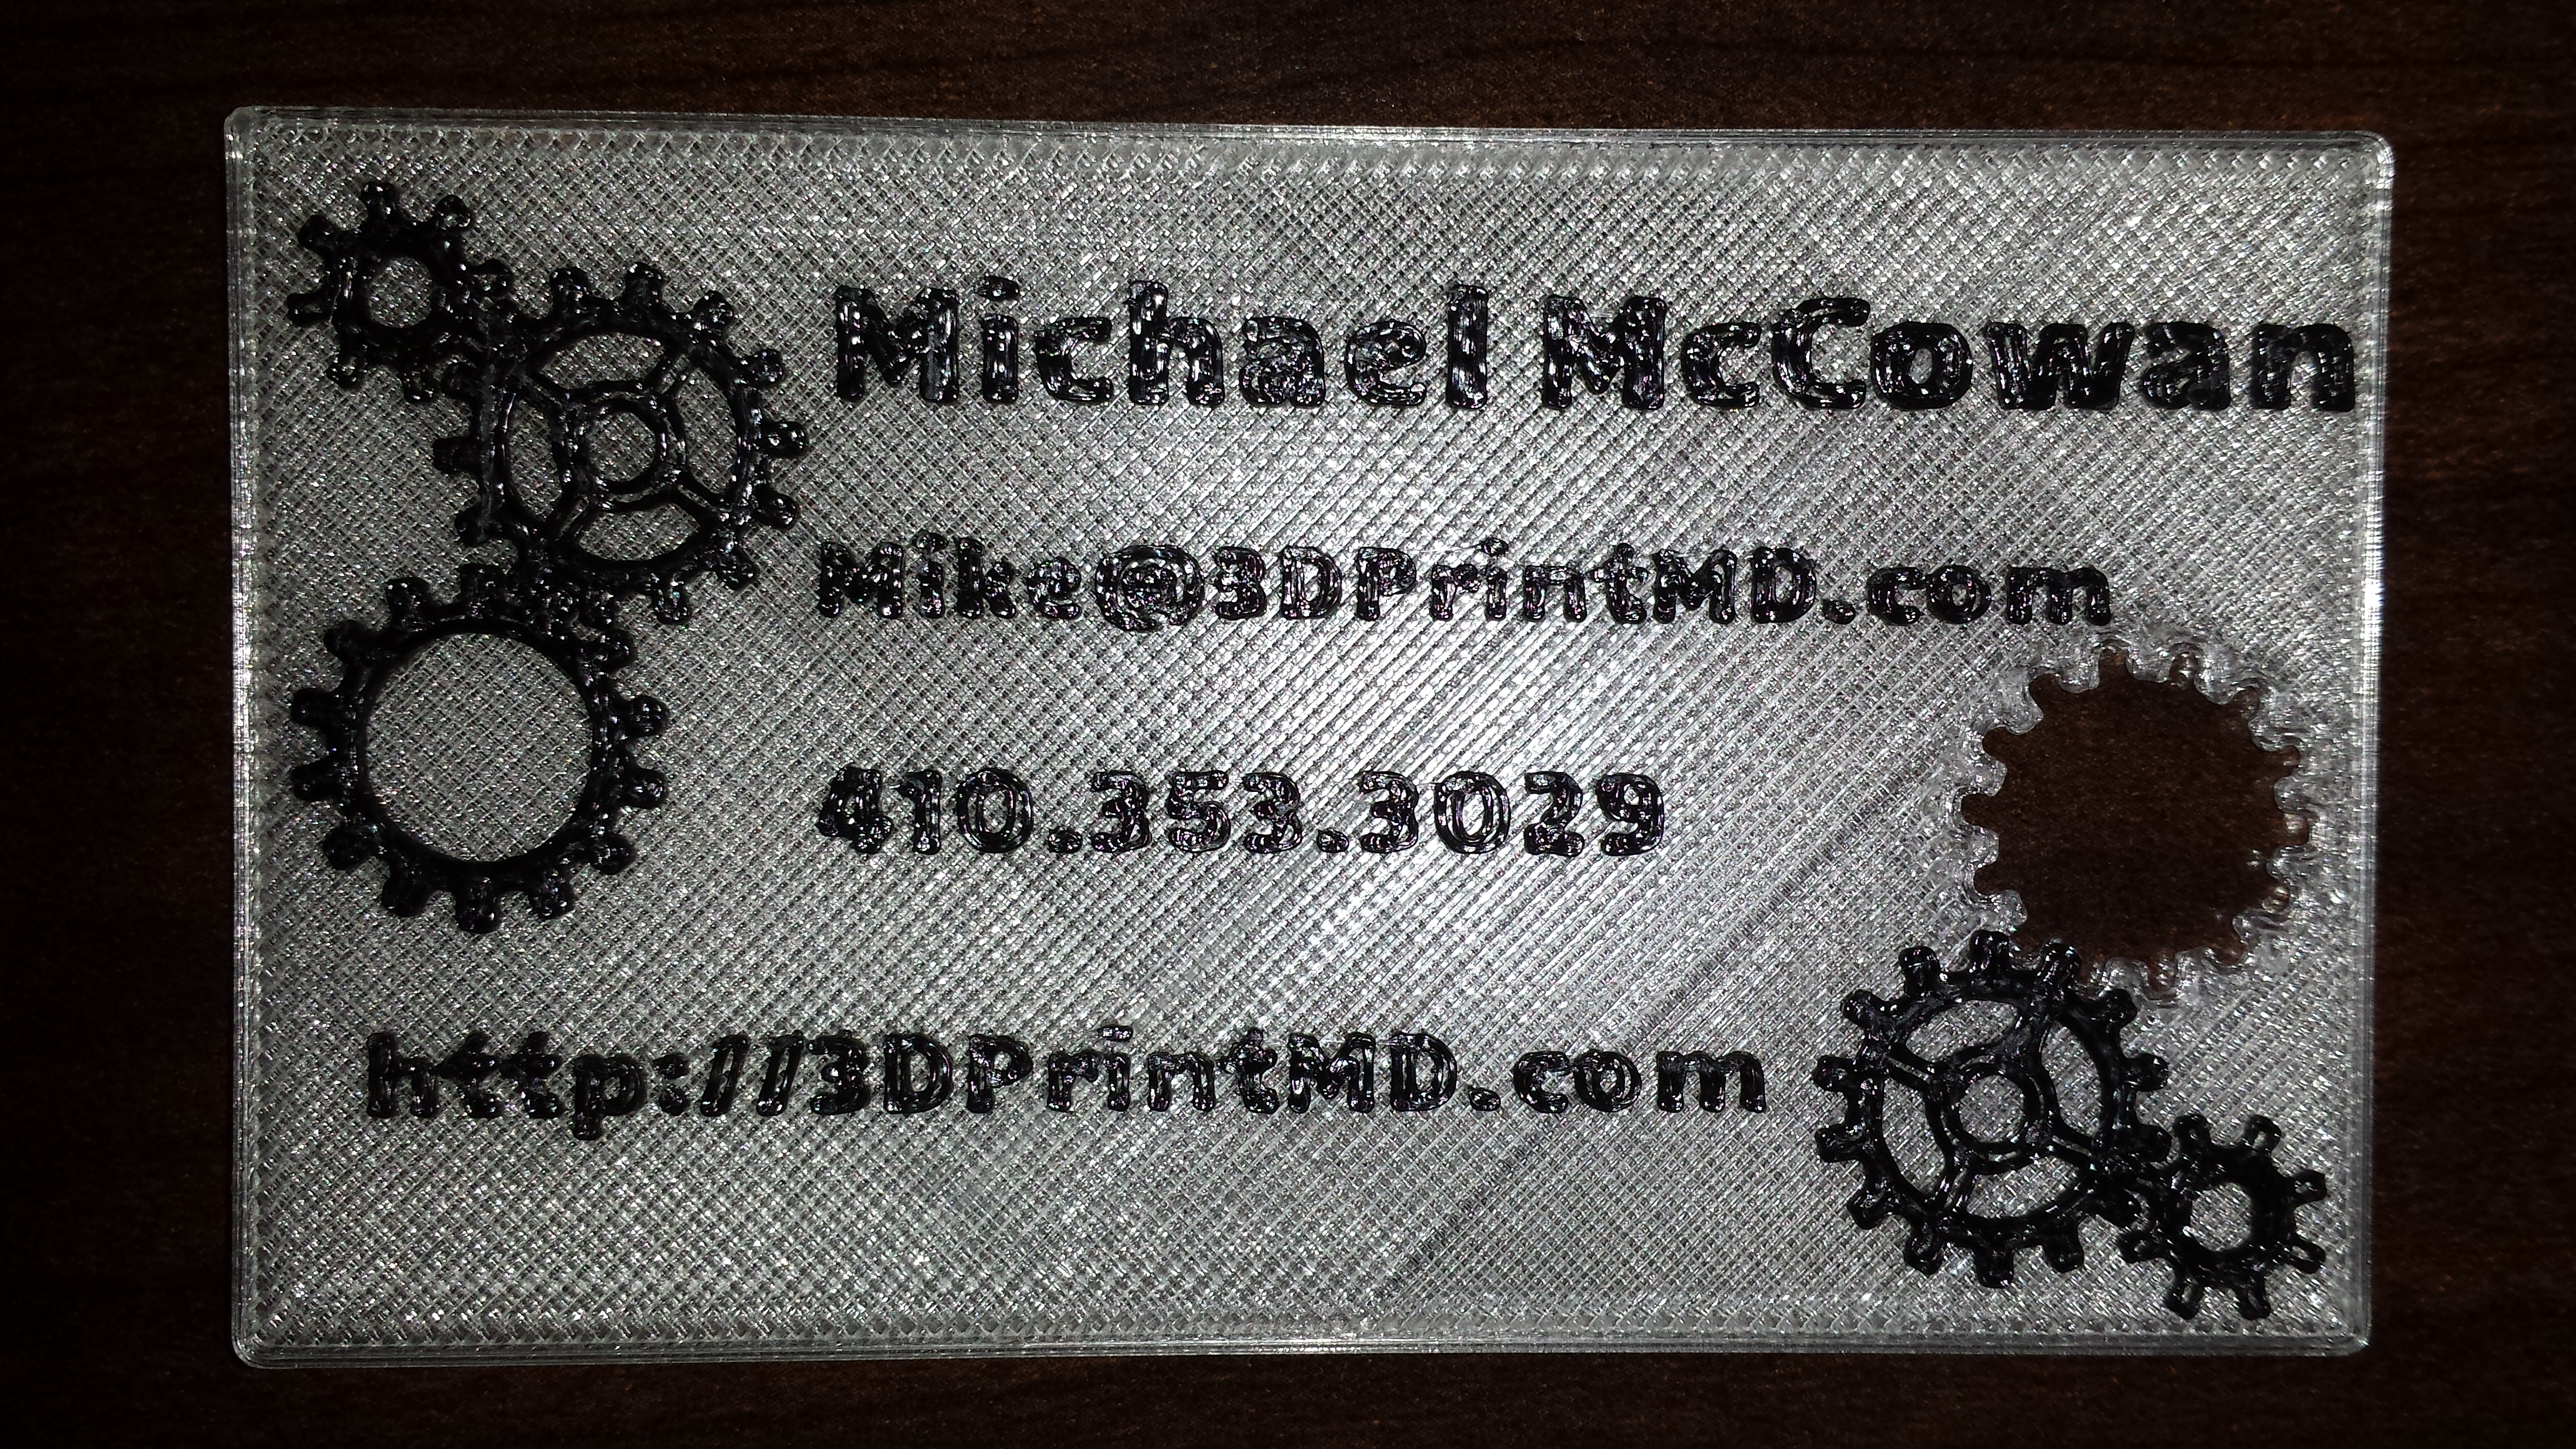
I was recently embarrassed at a presentation that I gave when asked for my business card. Sadly did not have one to give. Well no more! Here is my new card. I used the z-stop function on my printer to force a filament change at 1mm. So far, everyone that I show it to has loved it. It is a bit of an expensive card. It cost $0.175 of material and 22min of printing. Definitely not a card that I can give out en masse and is more of a card to impress. The semi-transparent natural filament allow the text to standout even more (but is hard to capture in a picture)