Filistruder First Test :-(

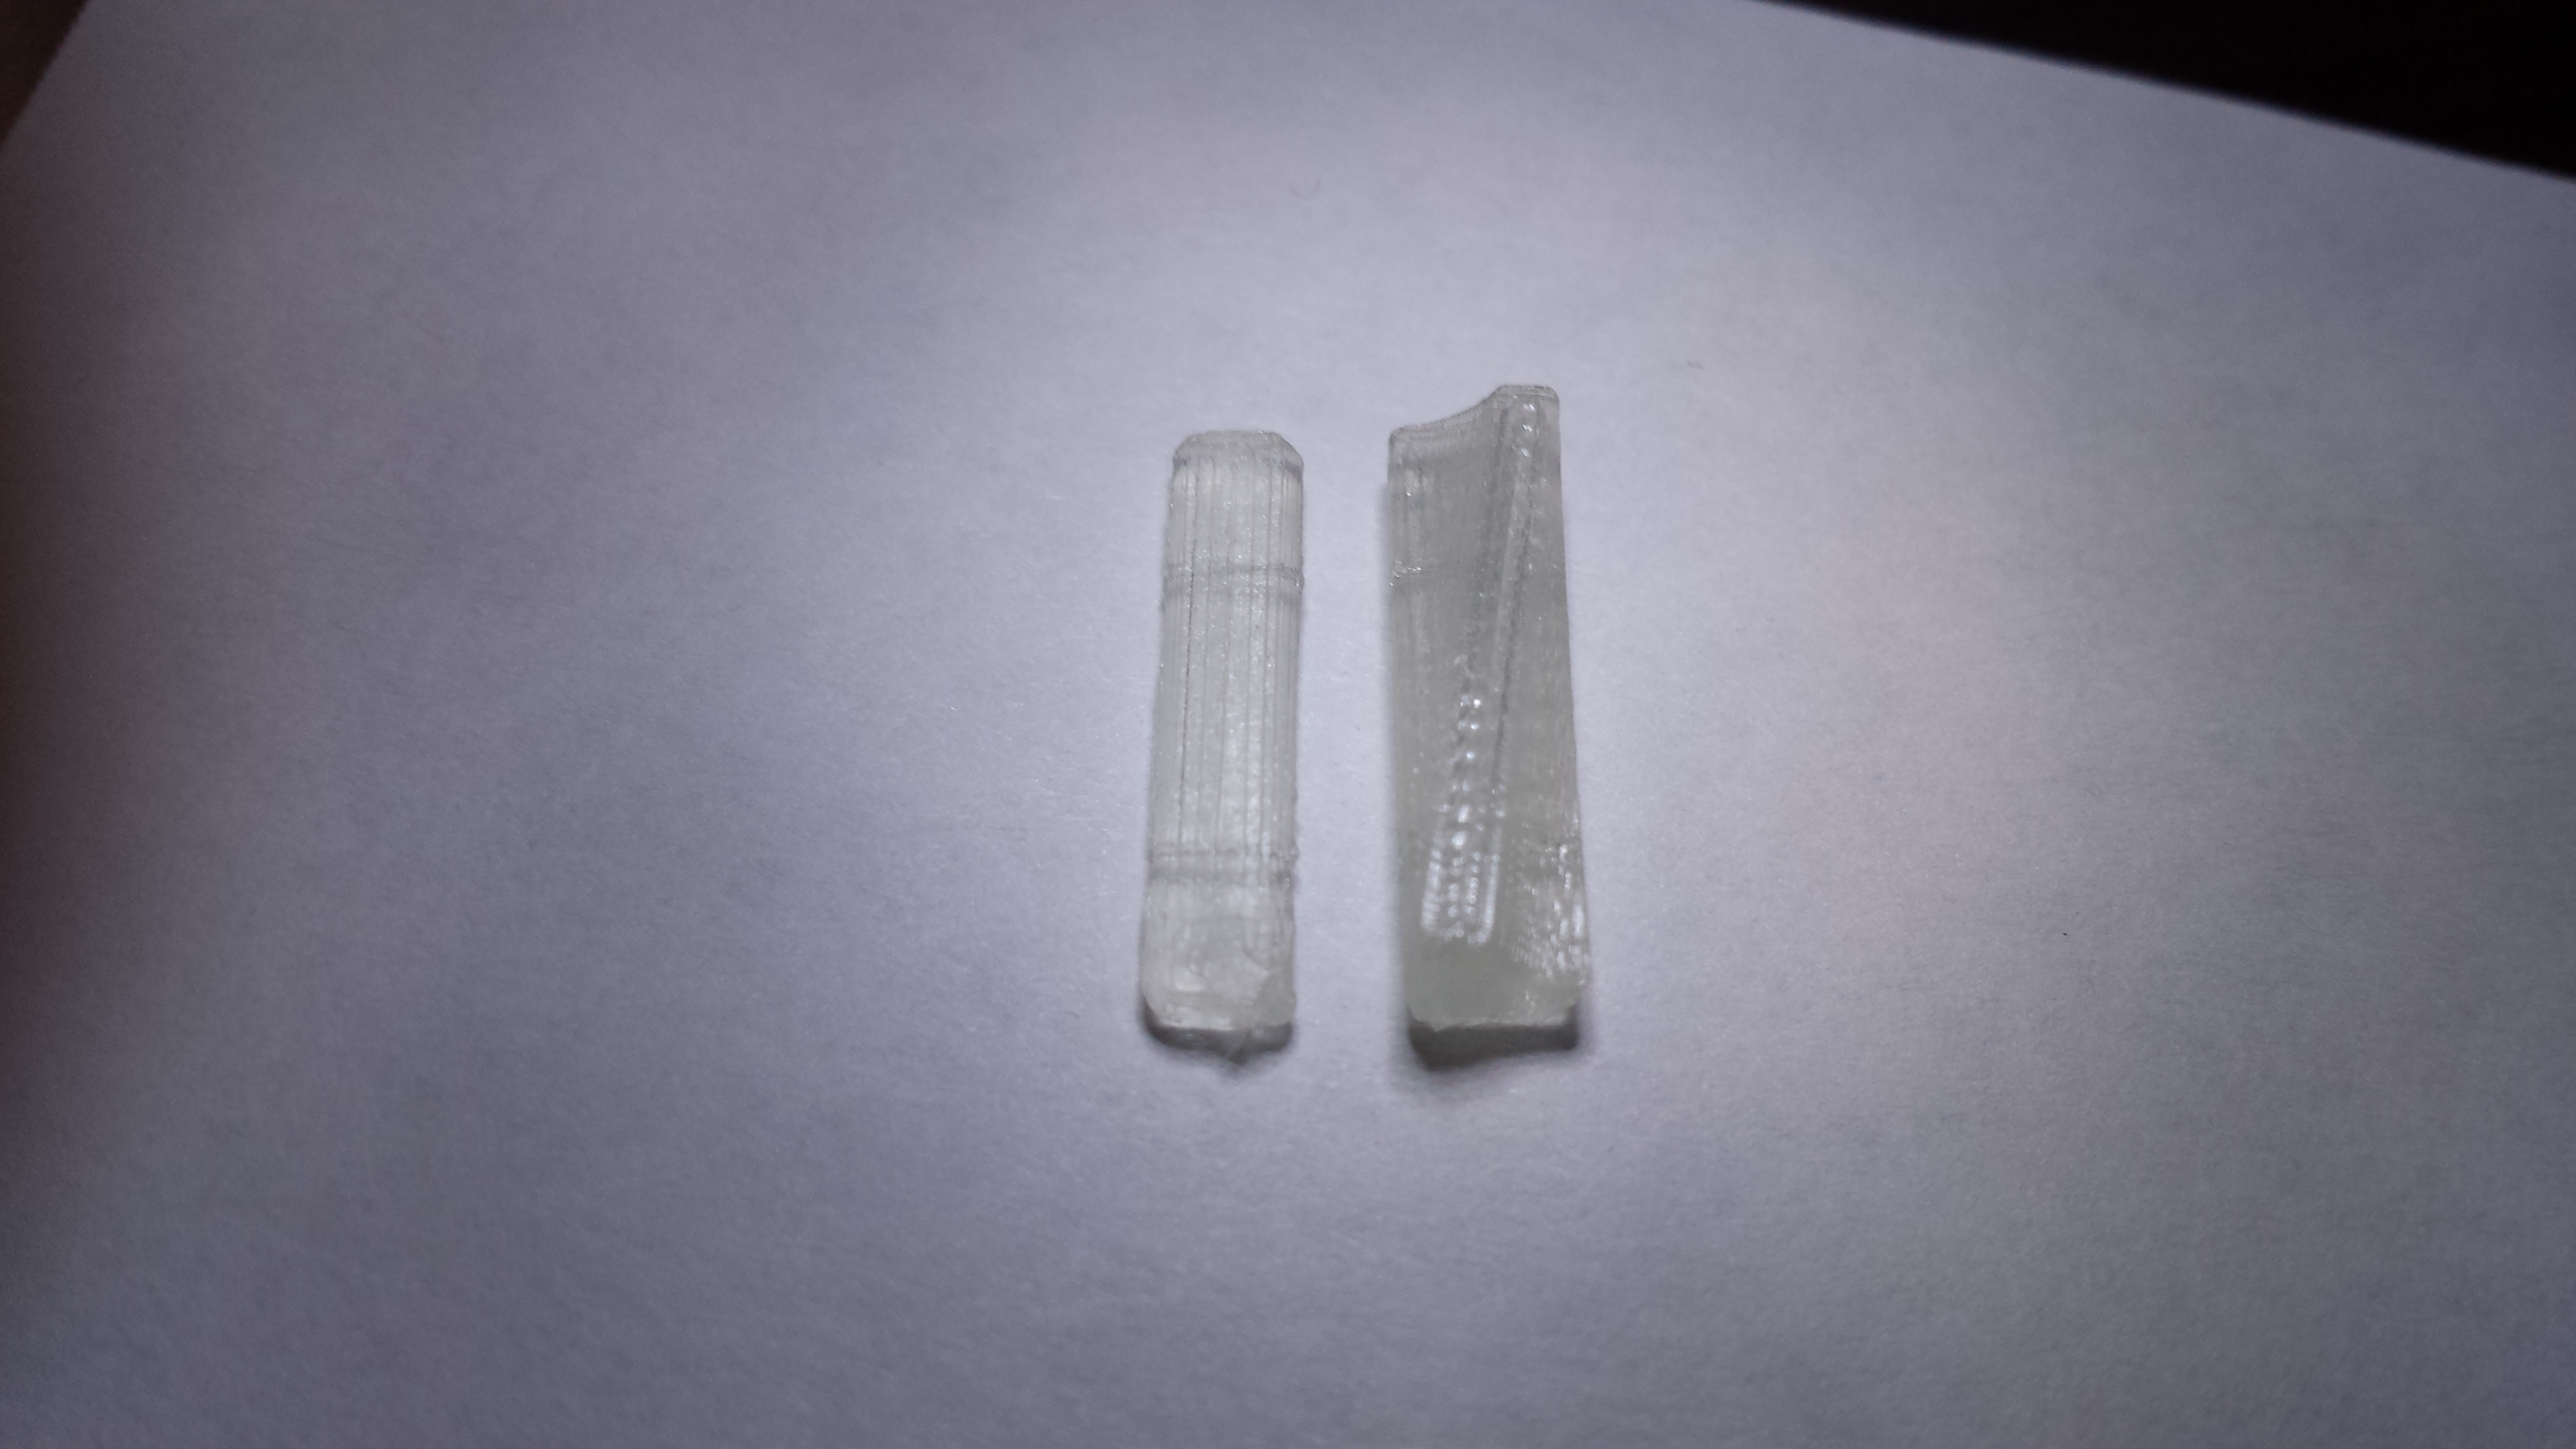
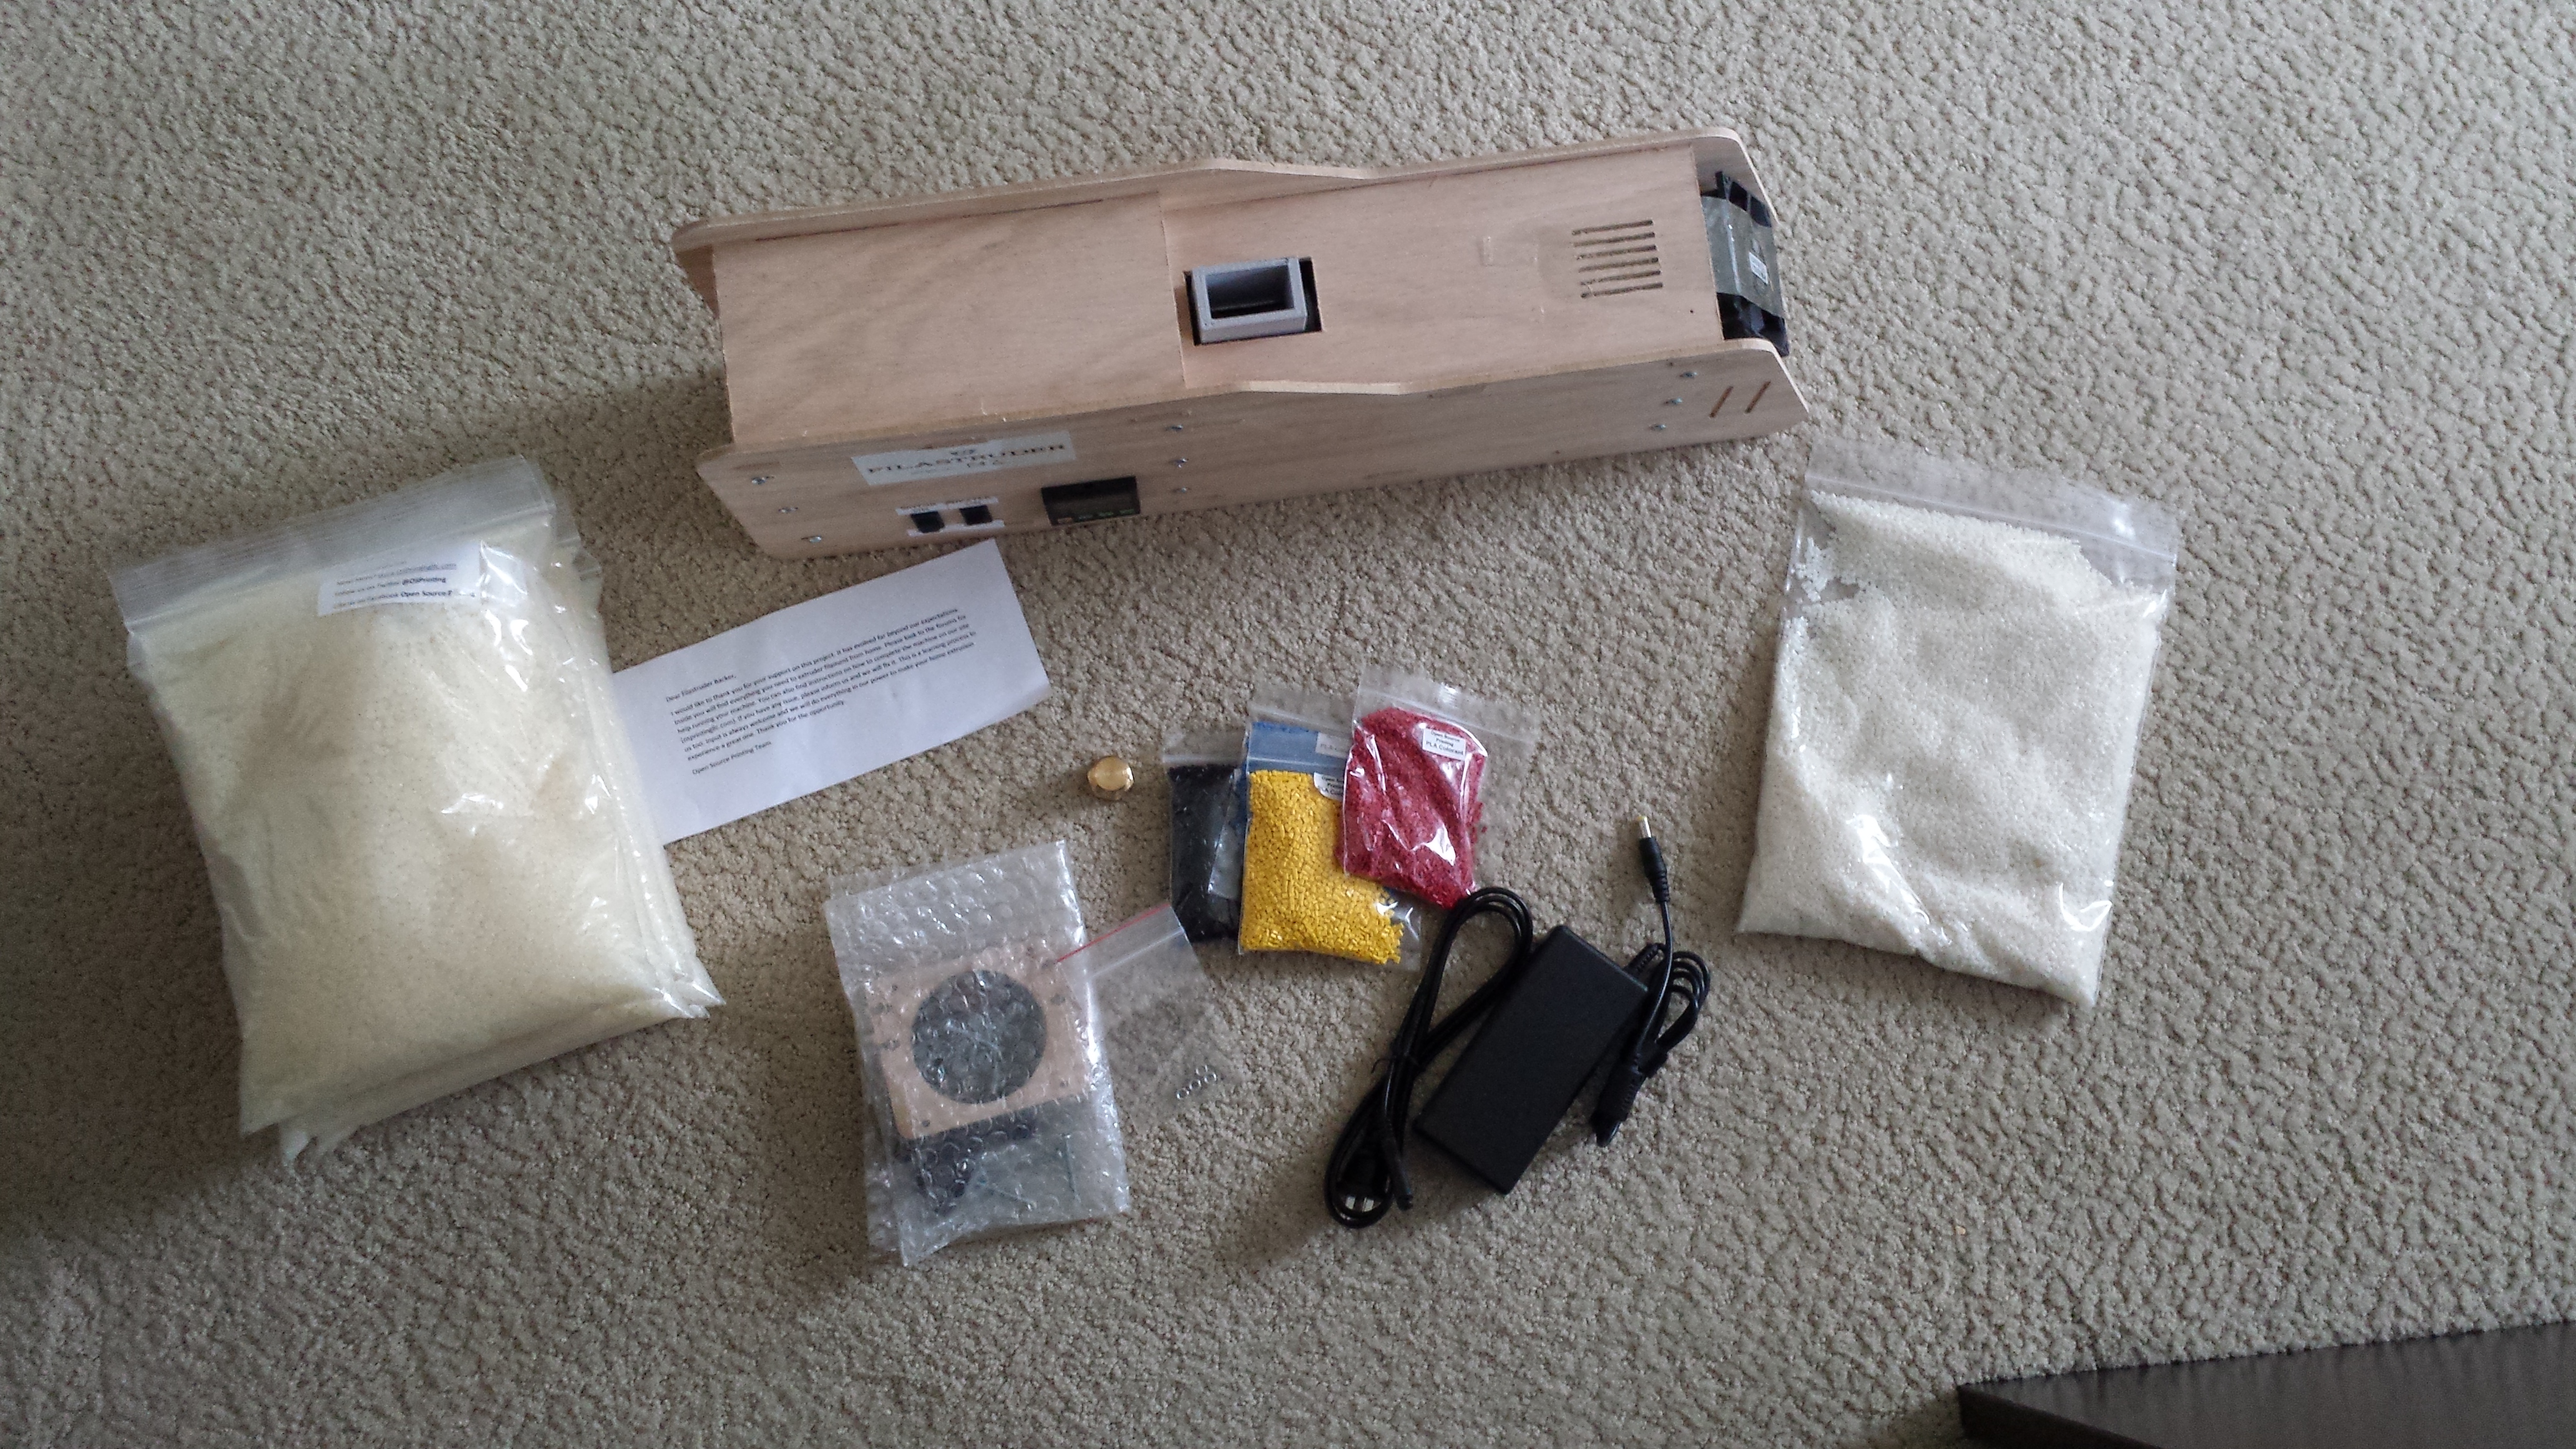
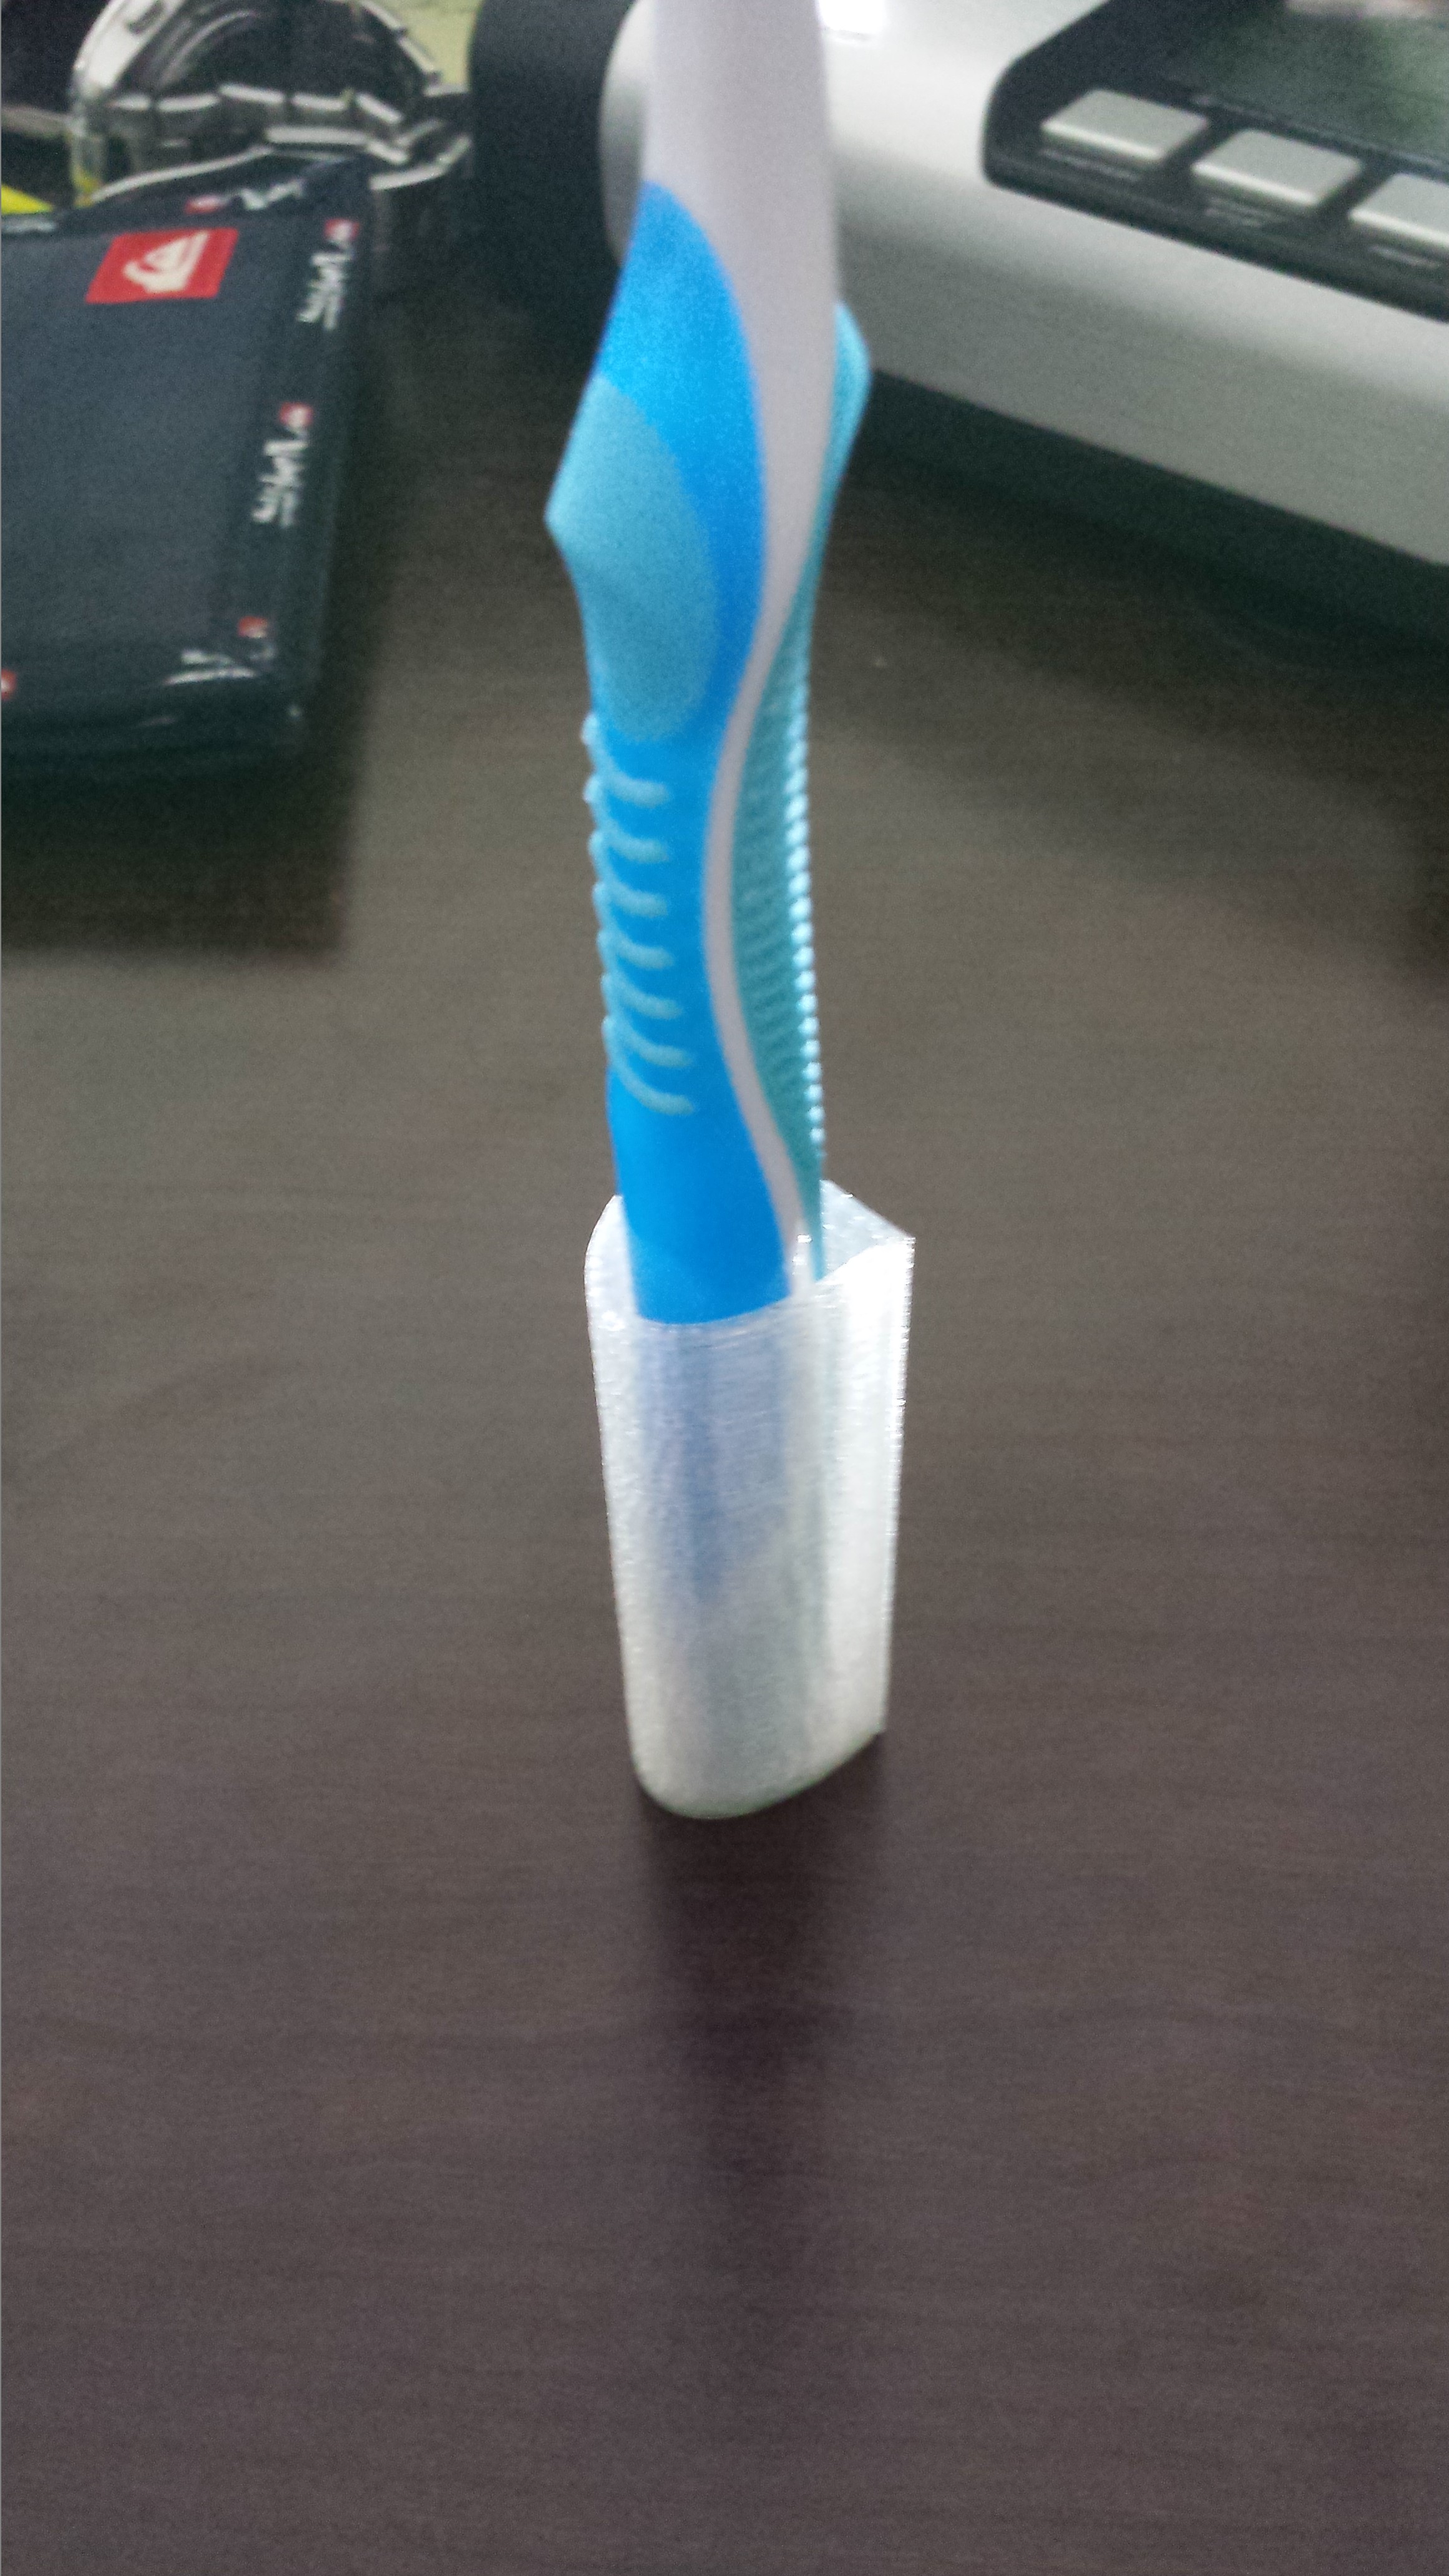
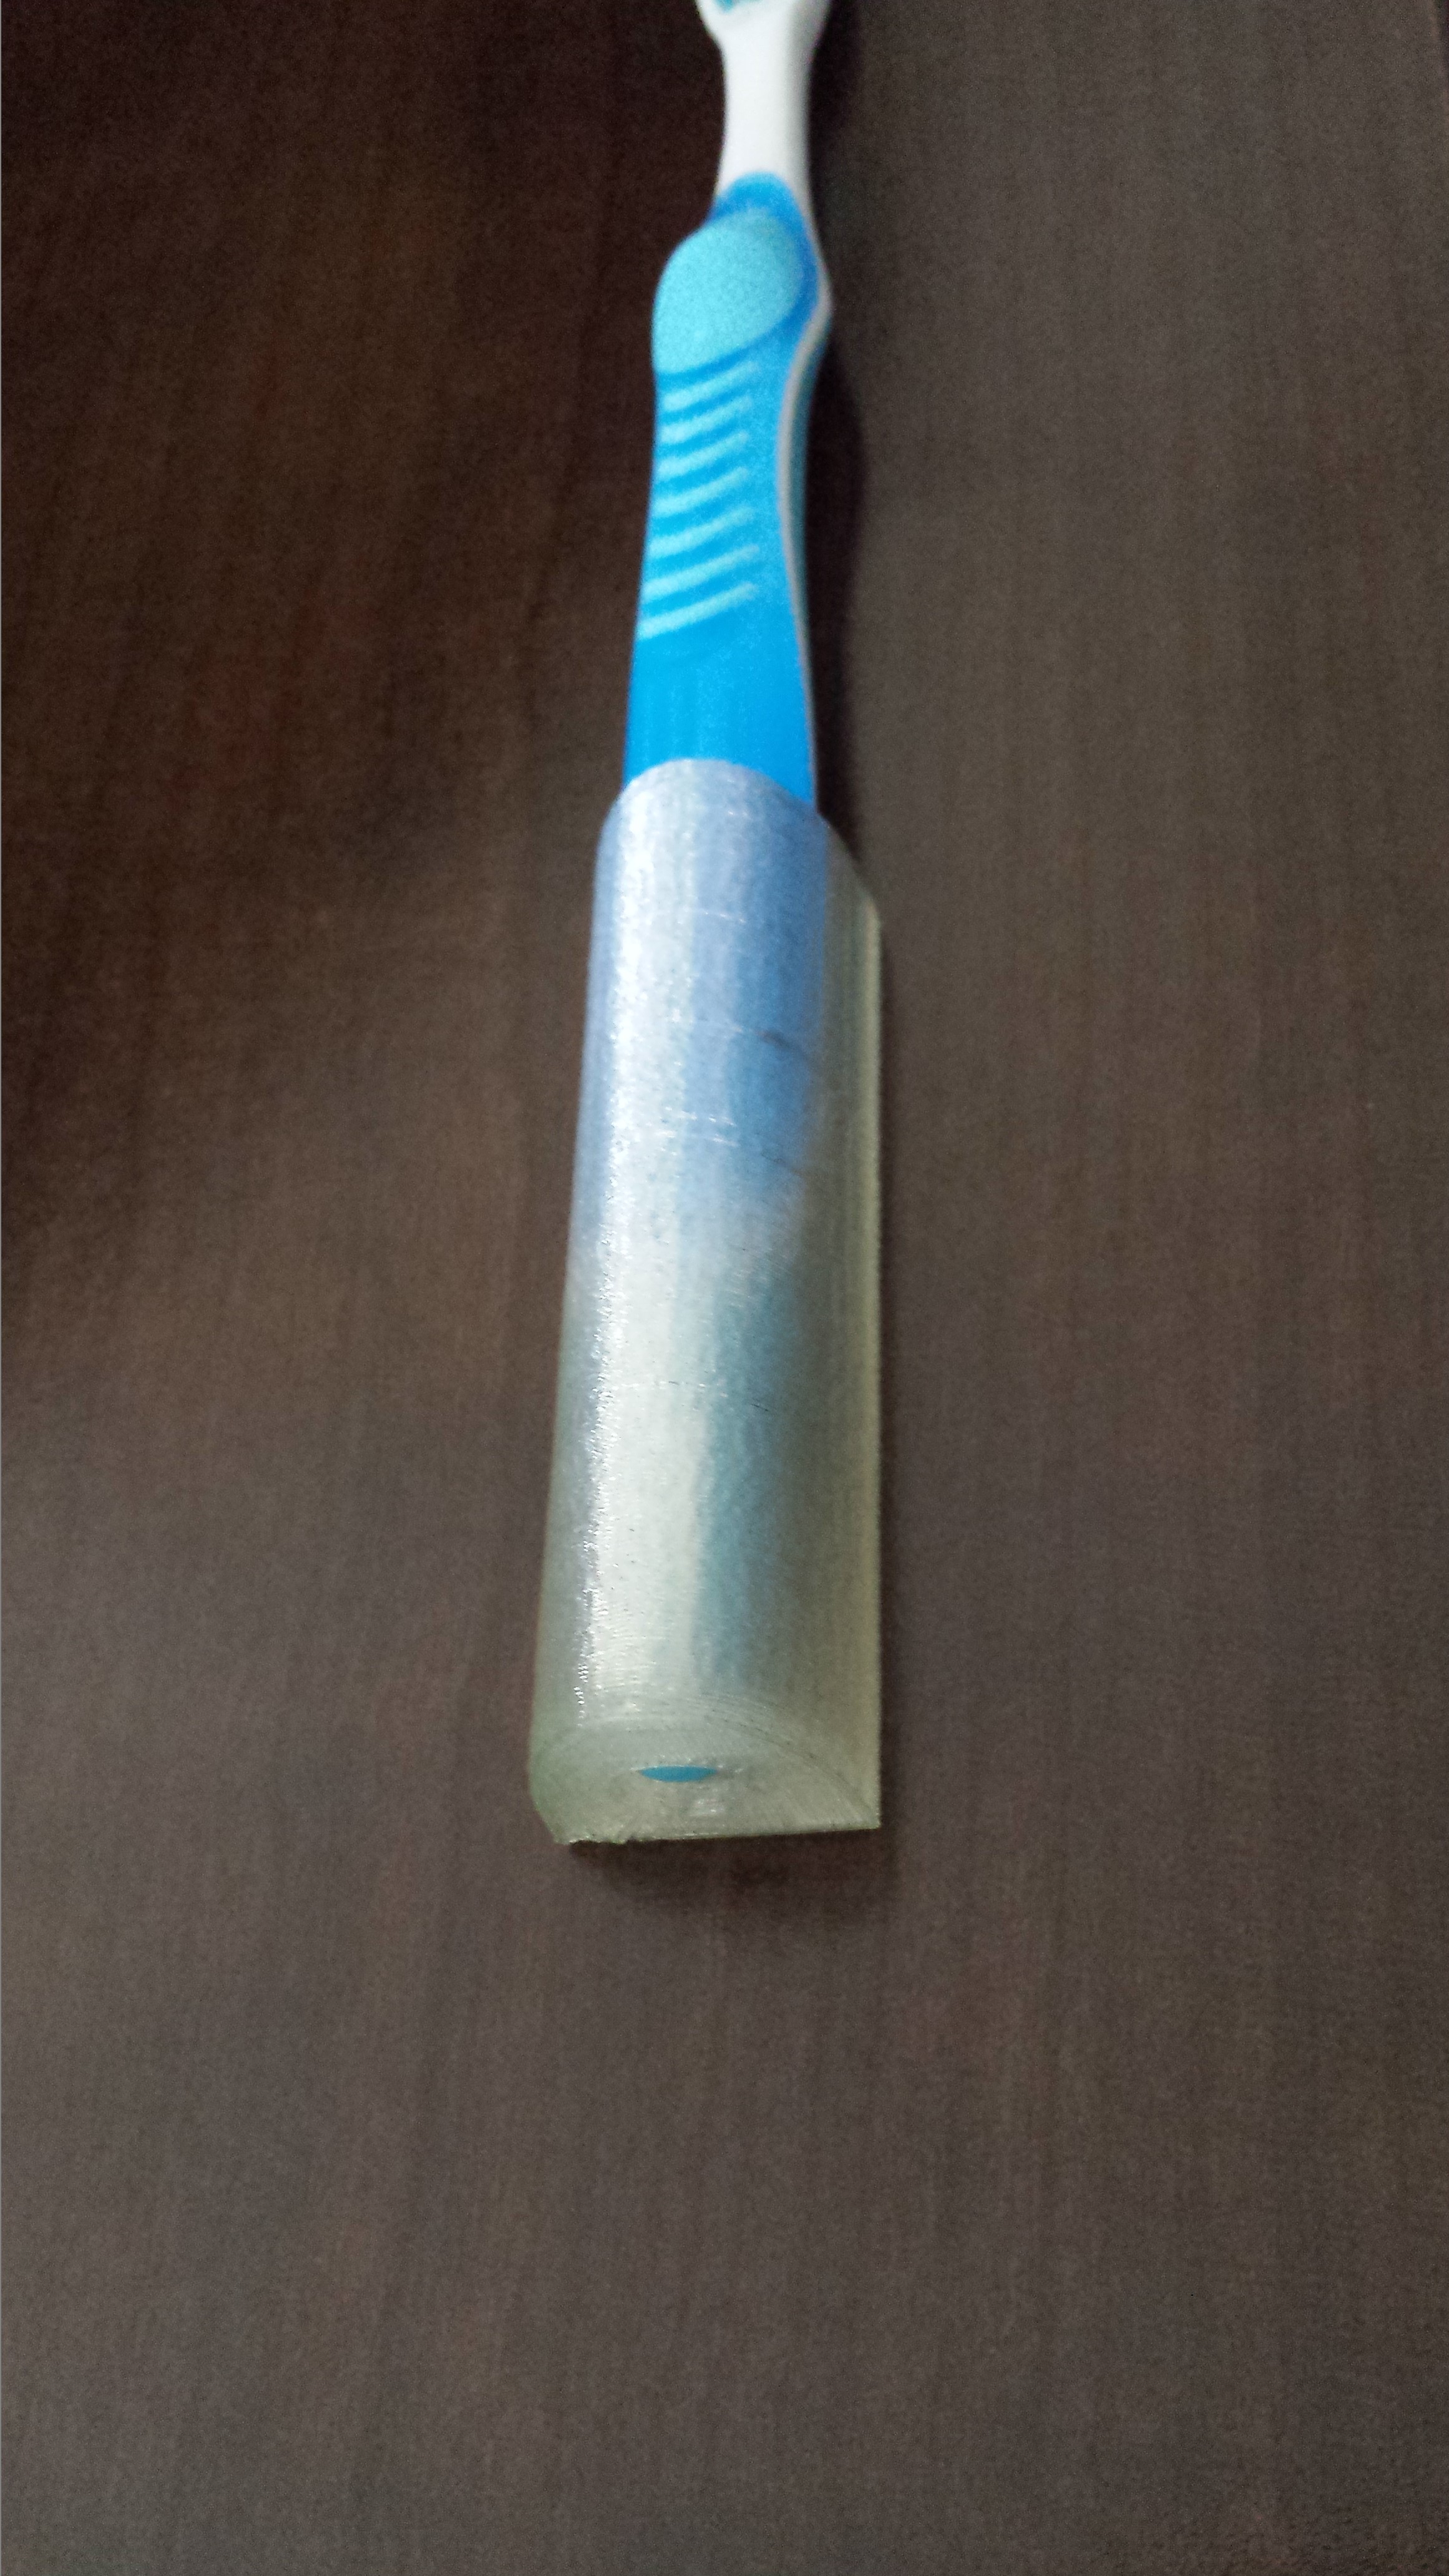
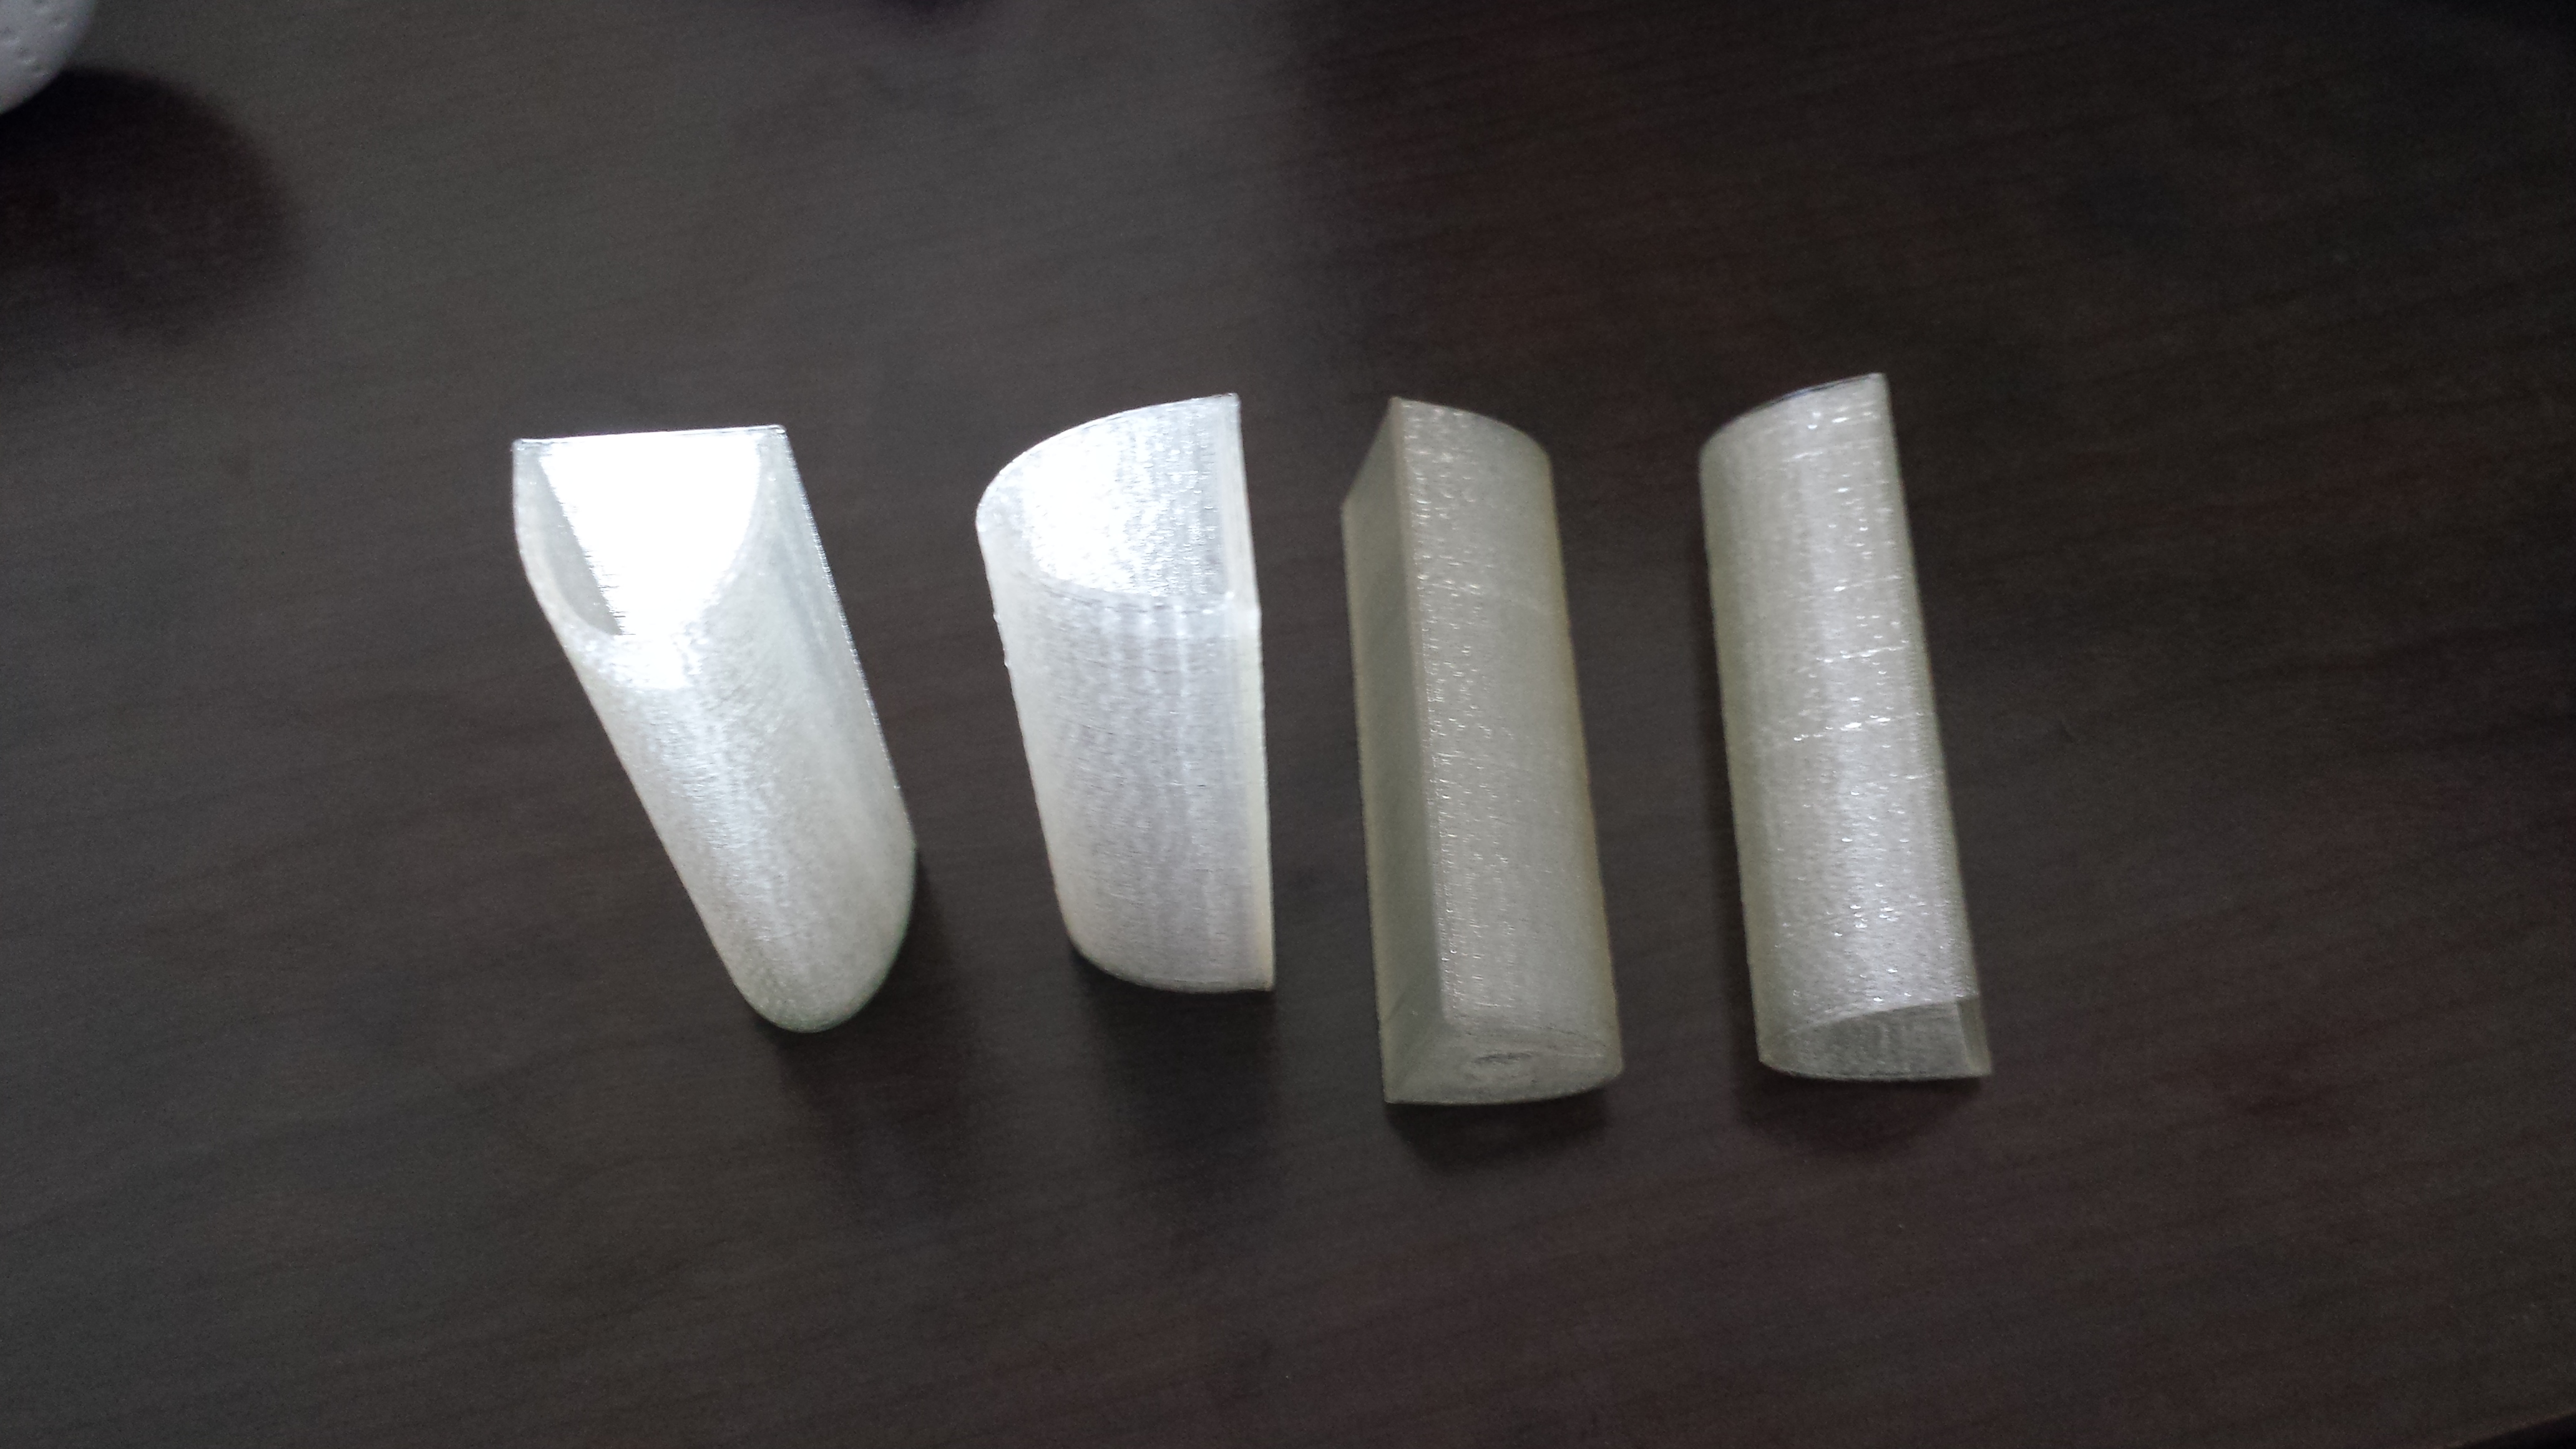
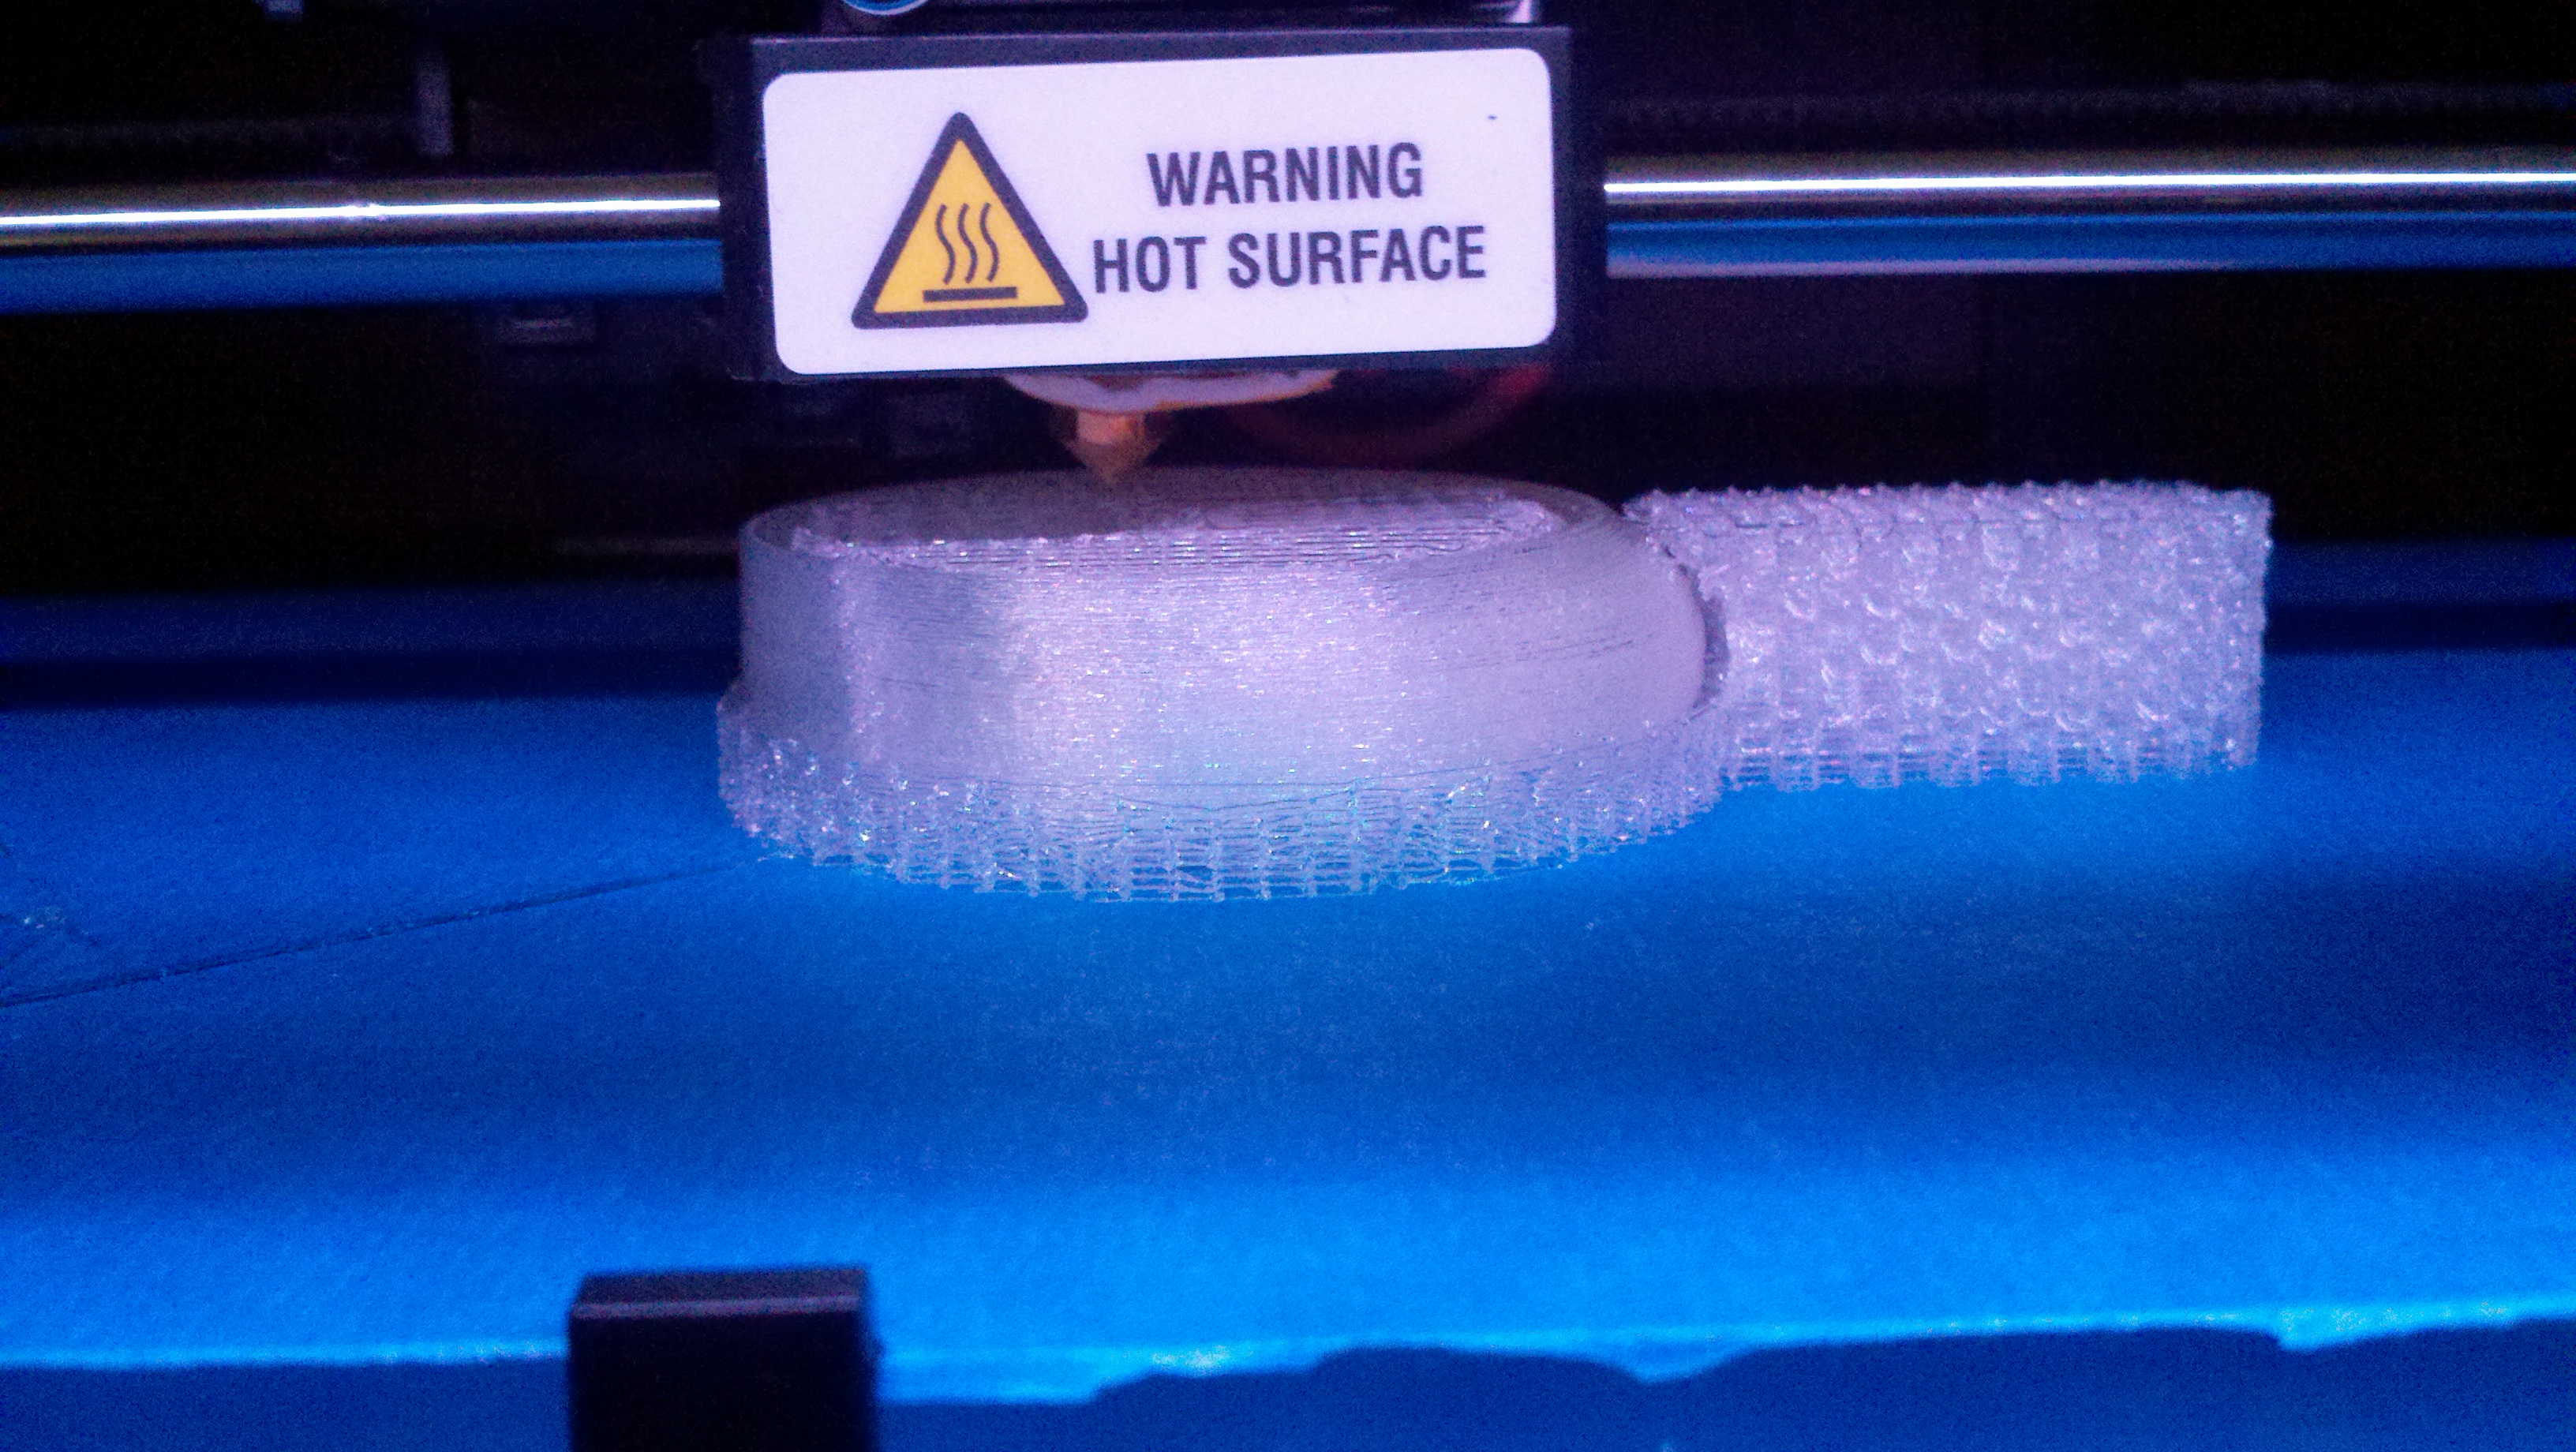
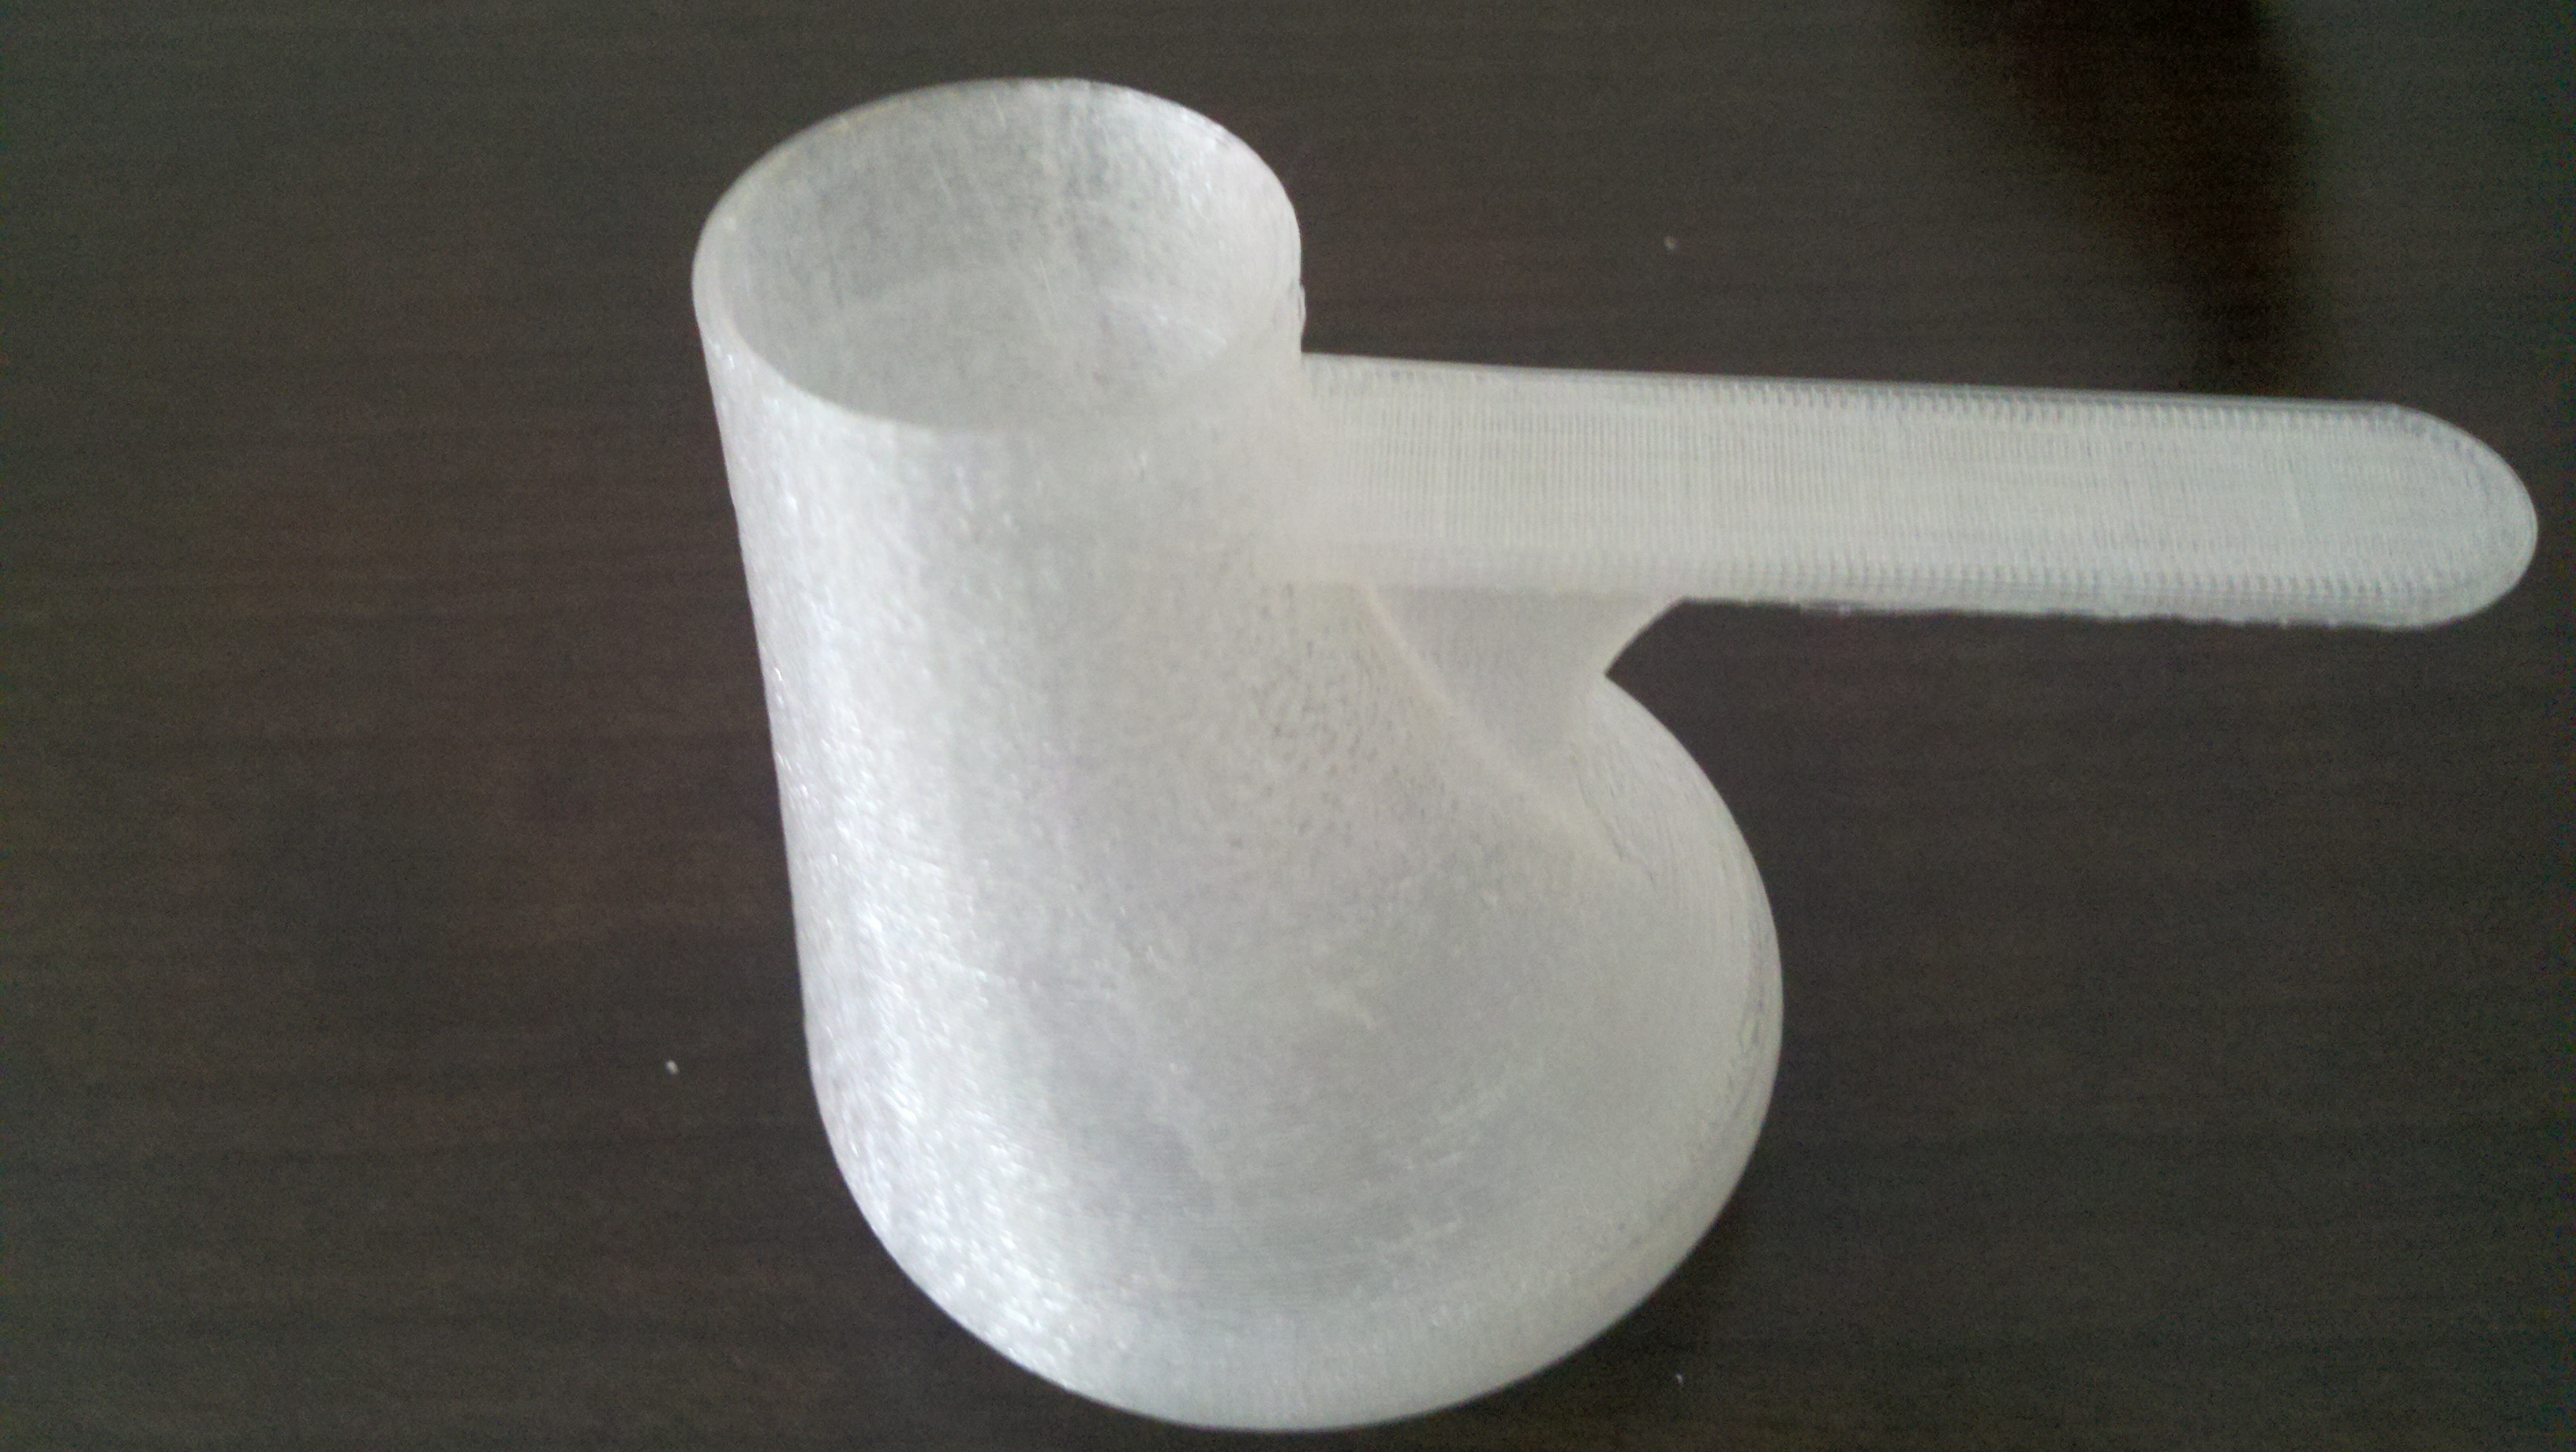
I finally got around to testing the Filistruder and let just say it could have gone better. At first I got a tangled mess of PLA.20130727_103359_resized
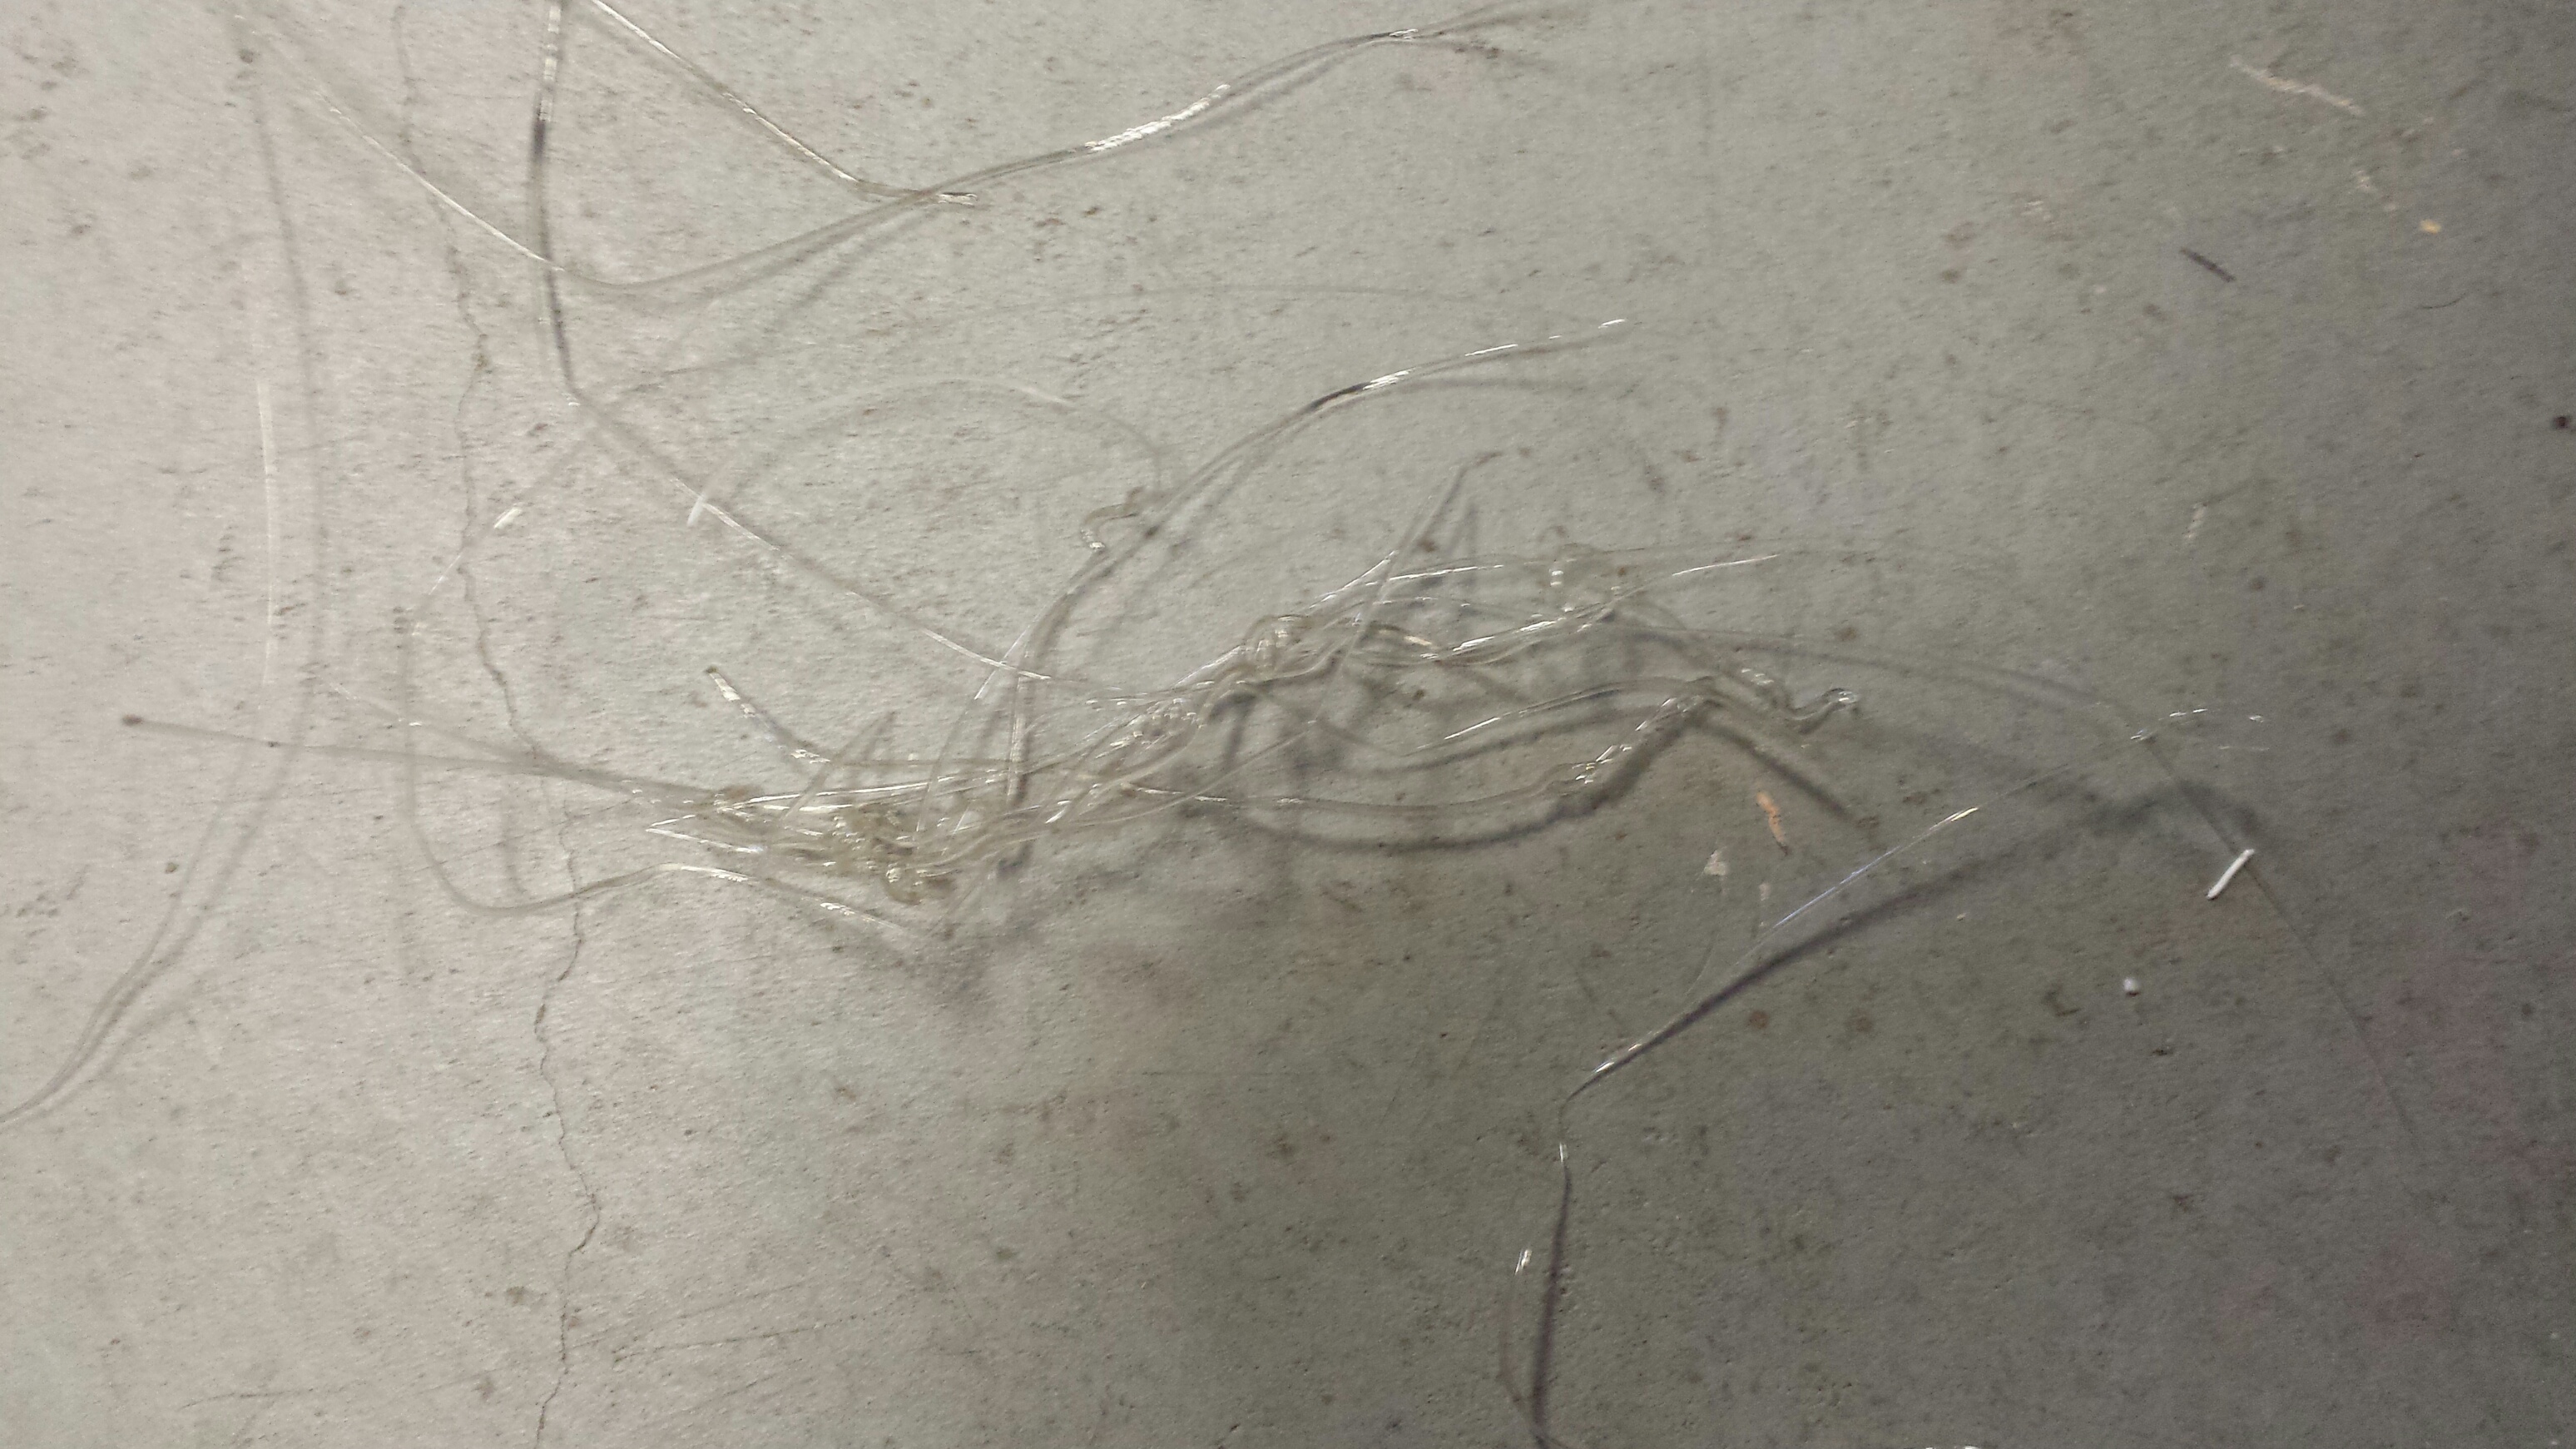
Apparently extruding PLA was not the best choice on the first run of extruding since it turns out to be much harder to extrude consistently.  I decided to do PLA since that is what I use in the Replicator 2.  The filament that comes out of the nozzle is VERY pliable.  I suspect that I can reduce this some by lowering the temperature but not by much.  By supporting the filament by had and monitoring it very closely I ended up making some filament that might be usable (although its probably not worth the trouble).

20130727_103343_resized
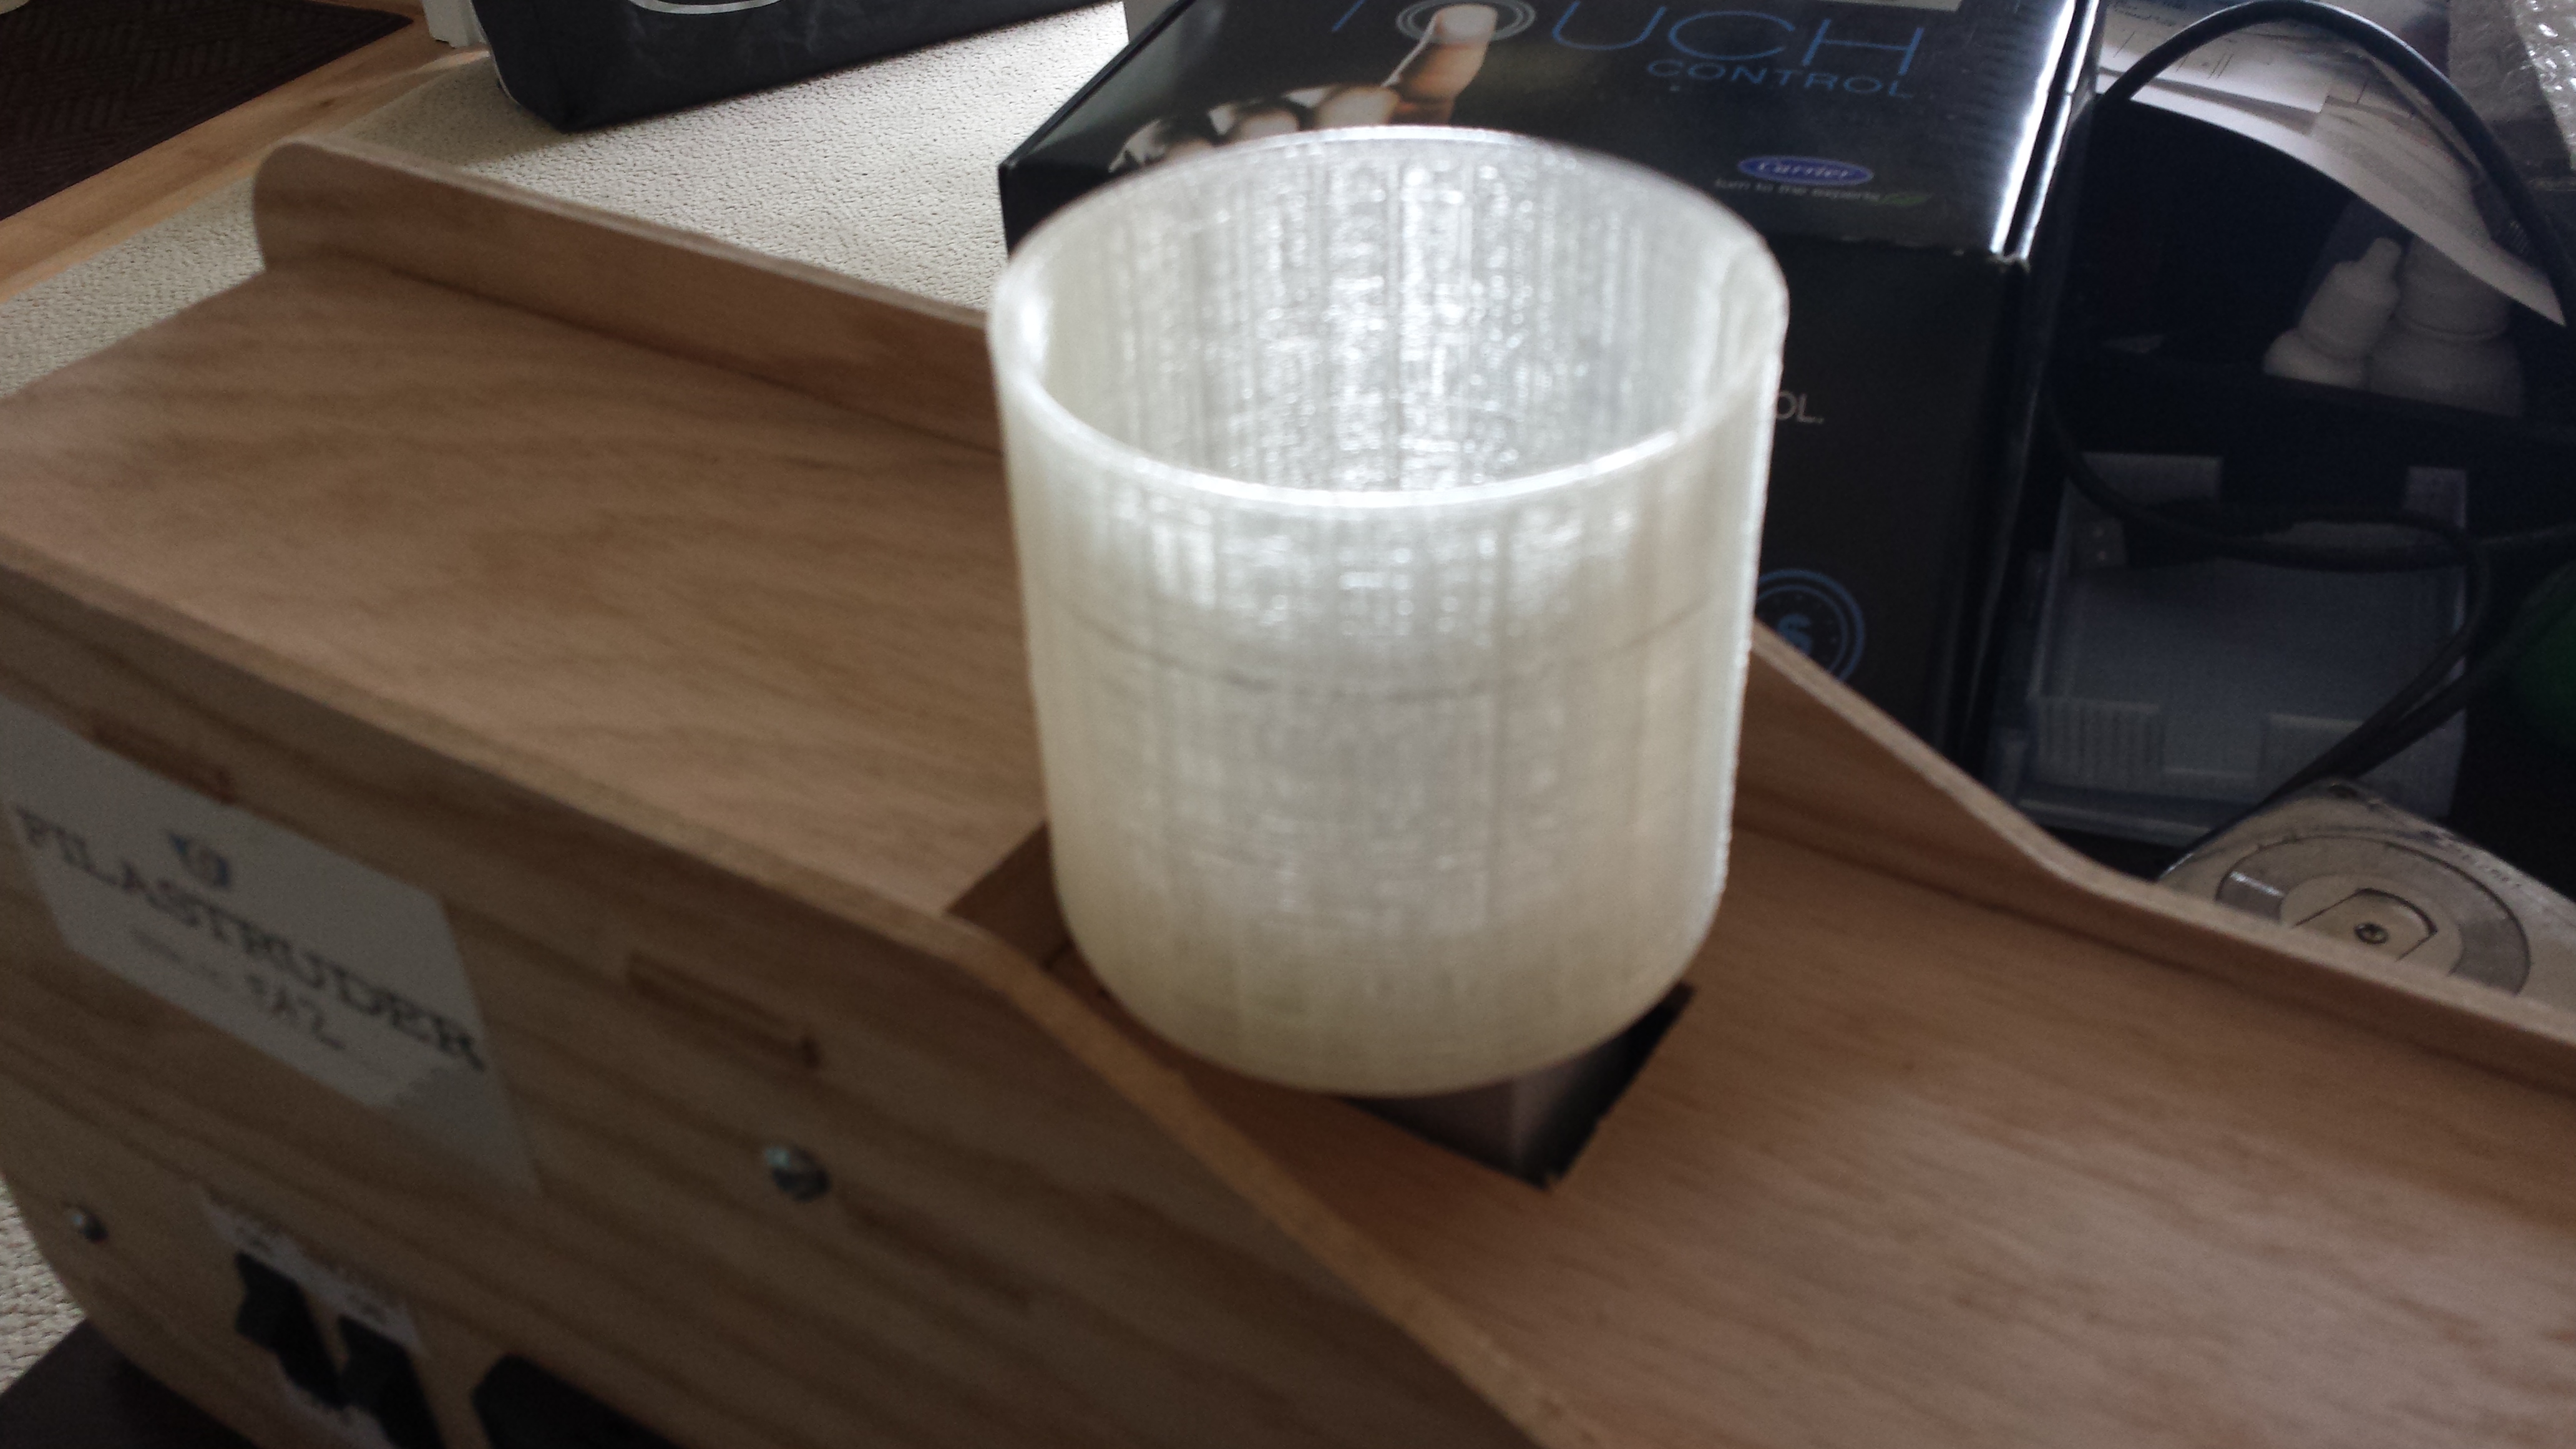
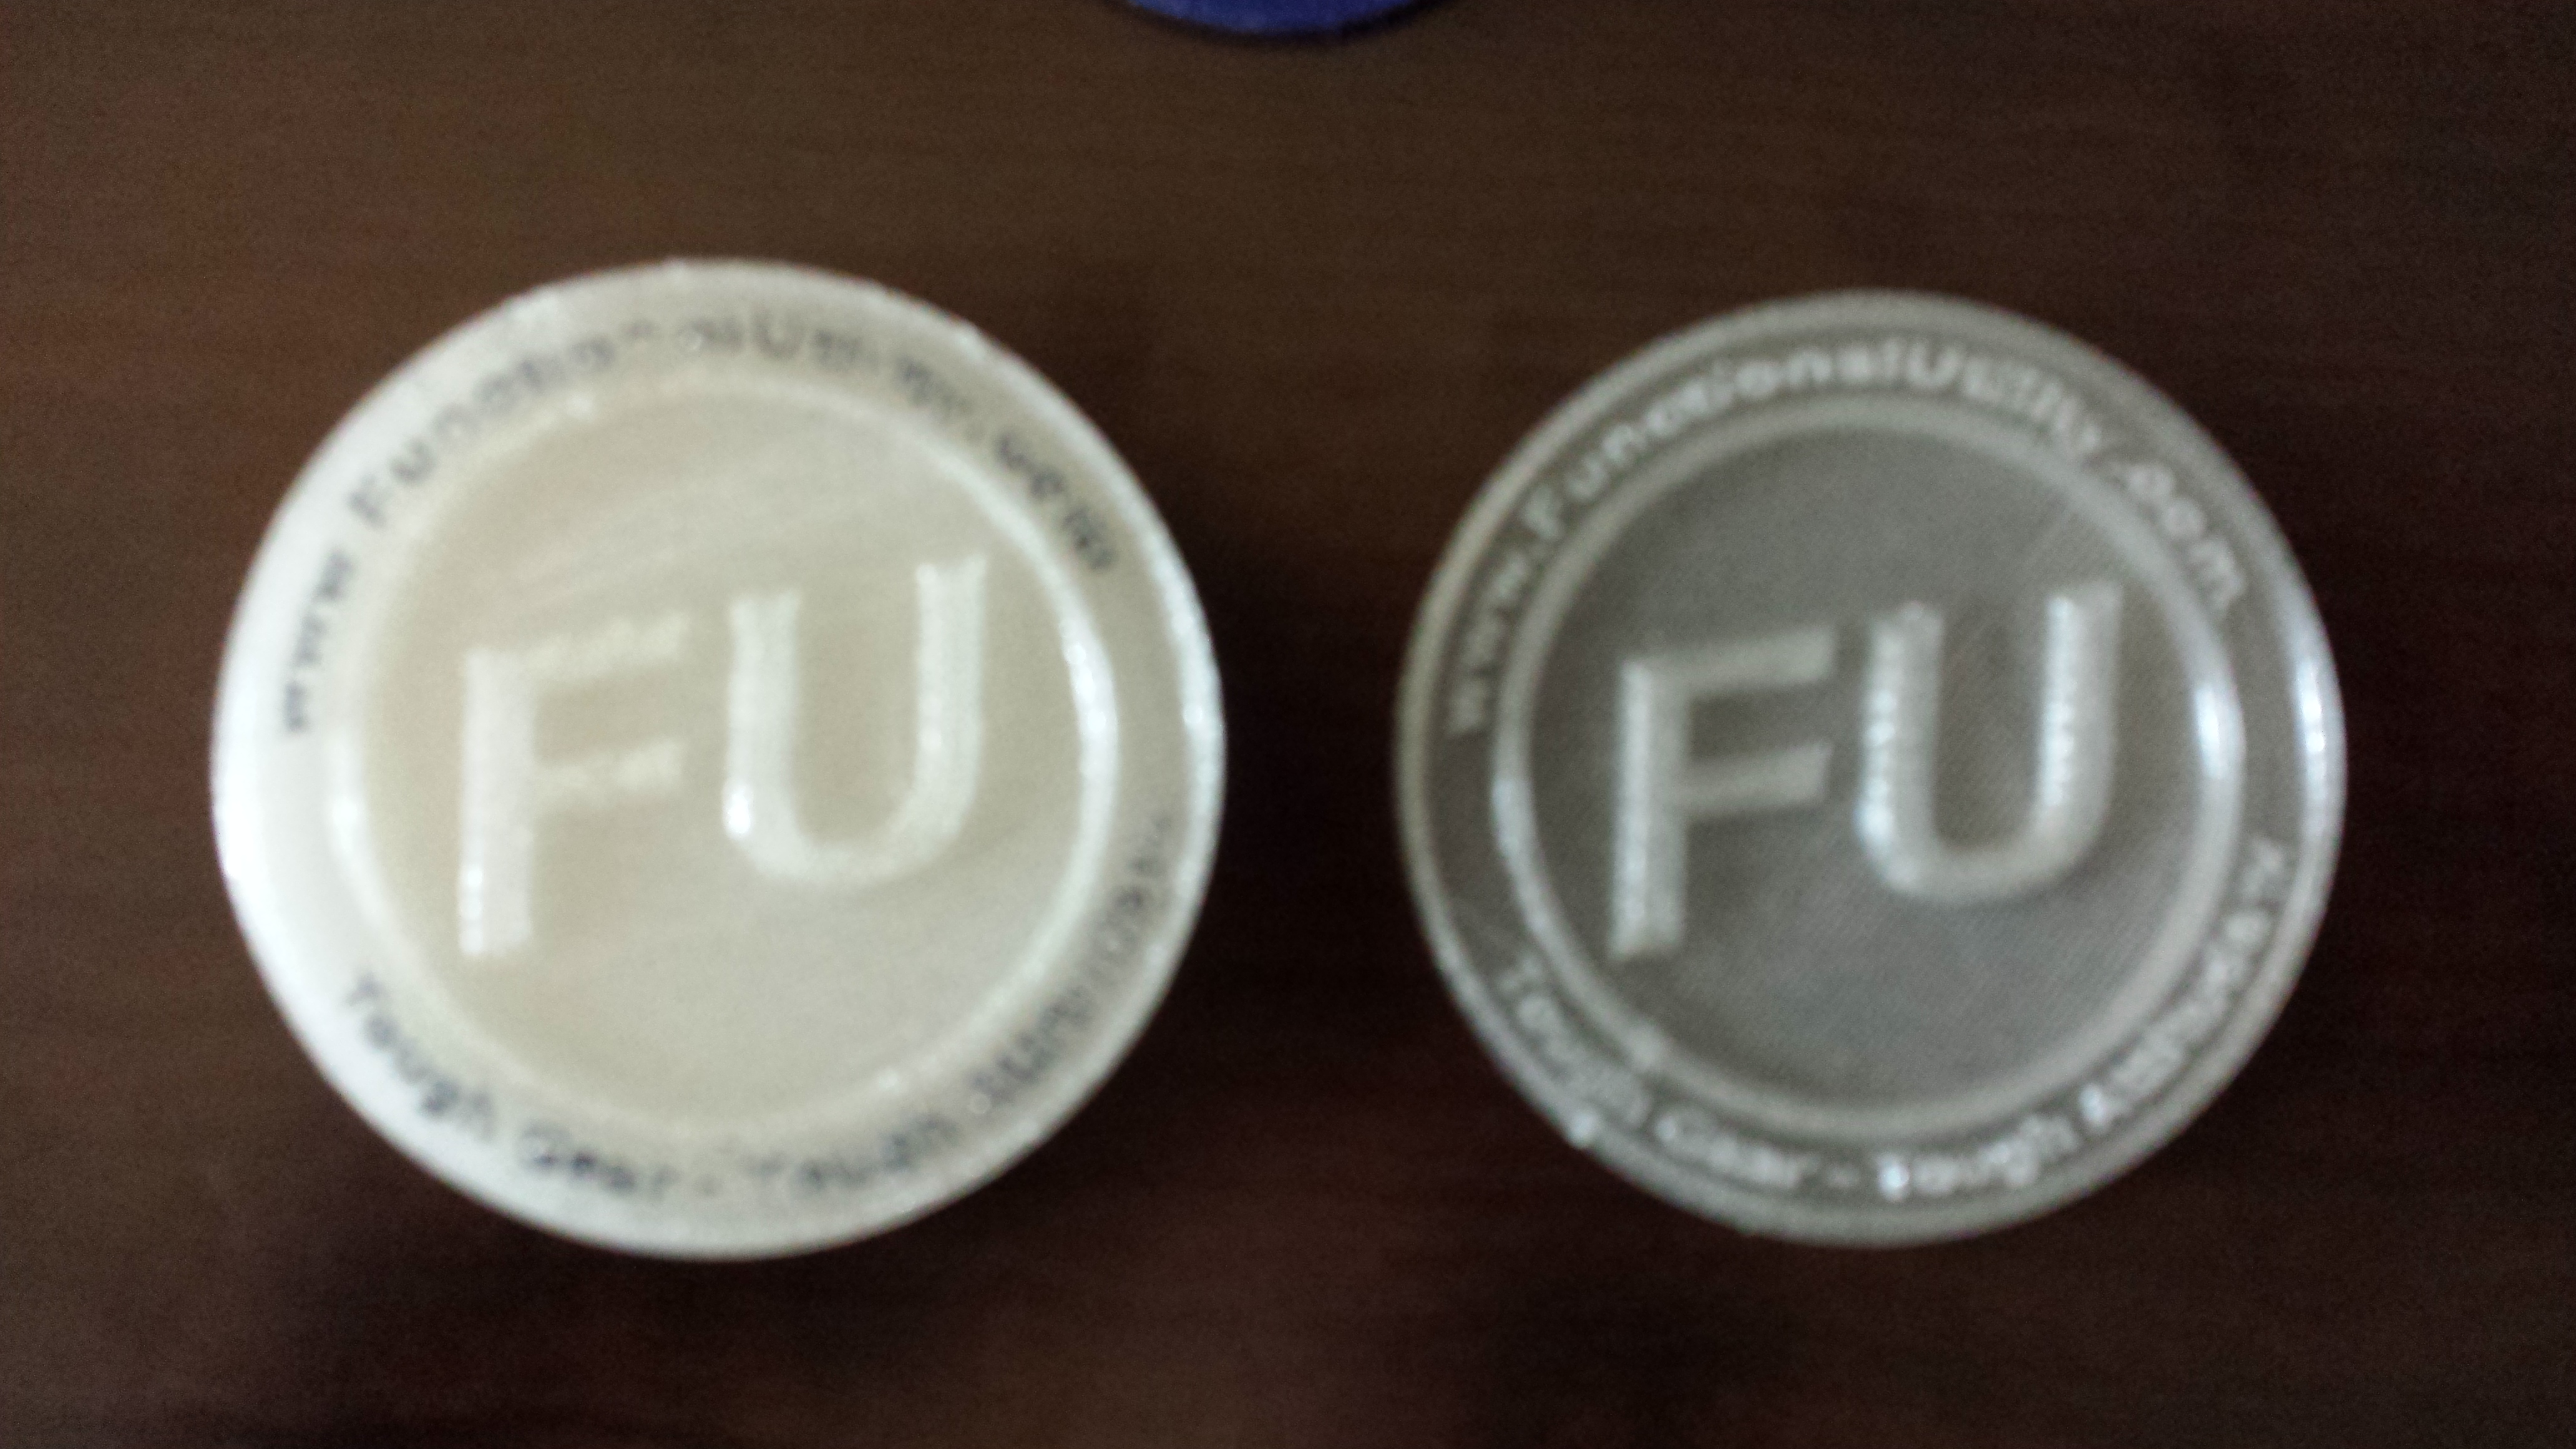
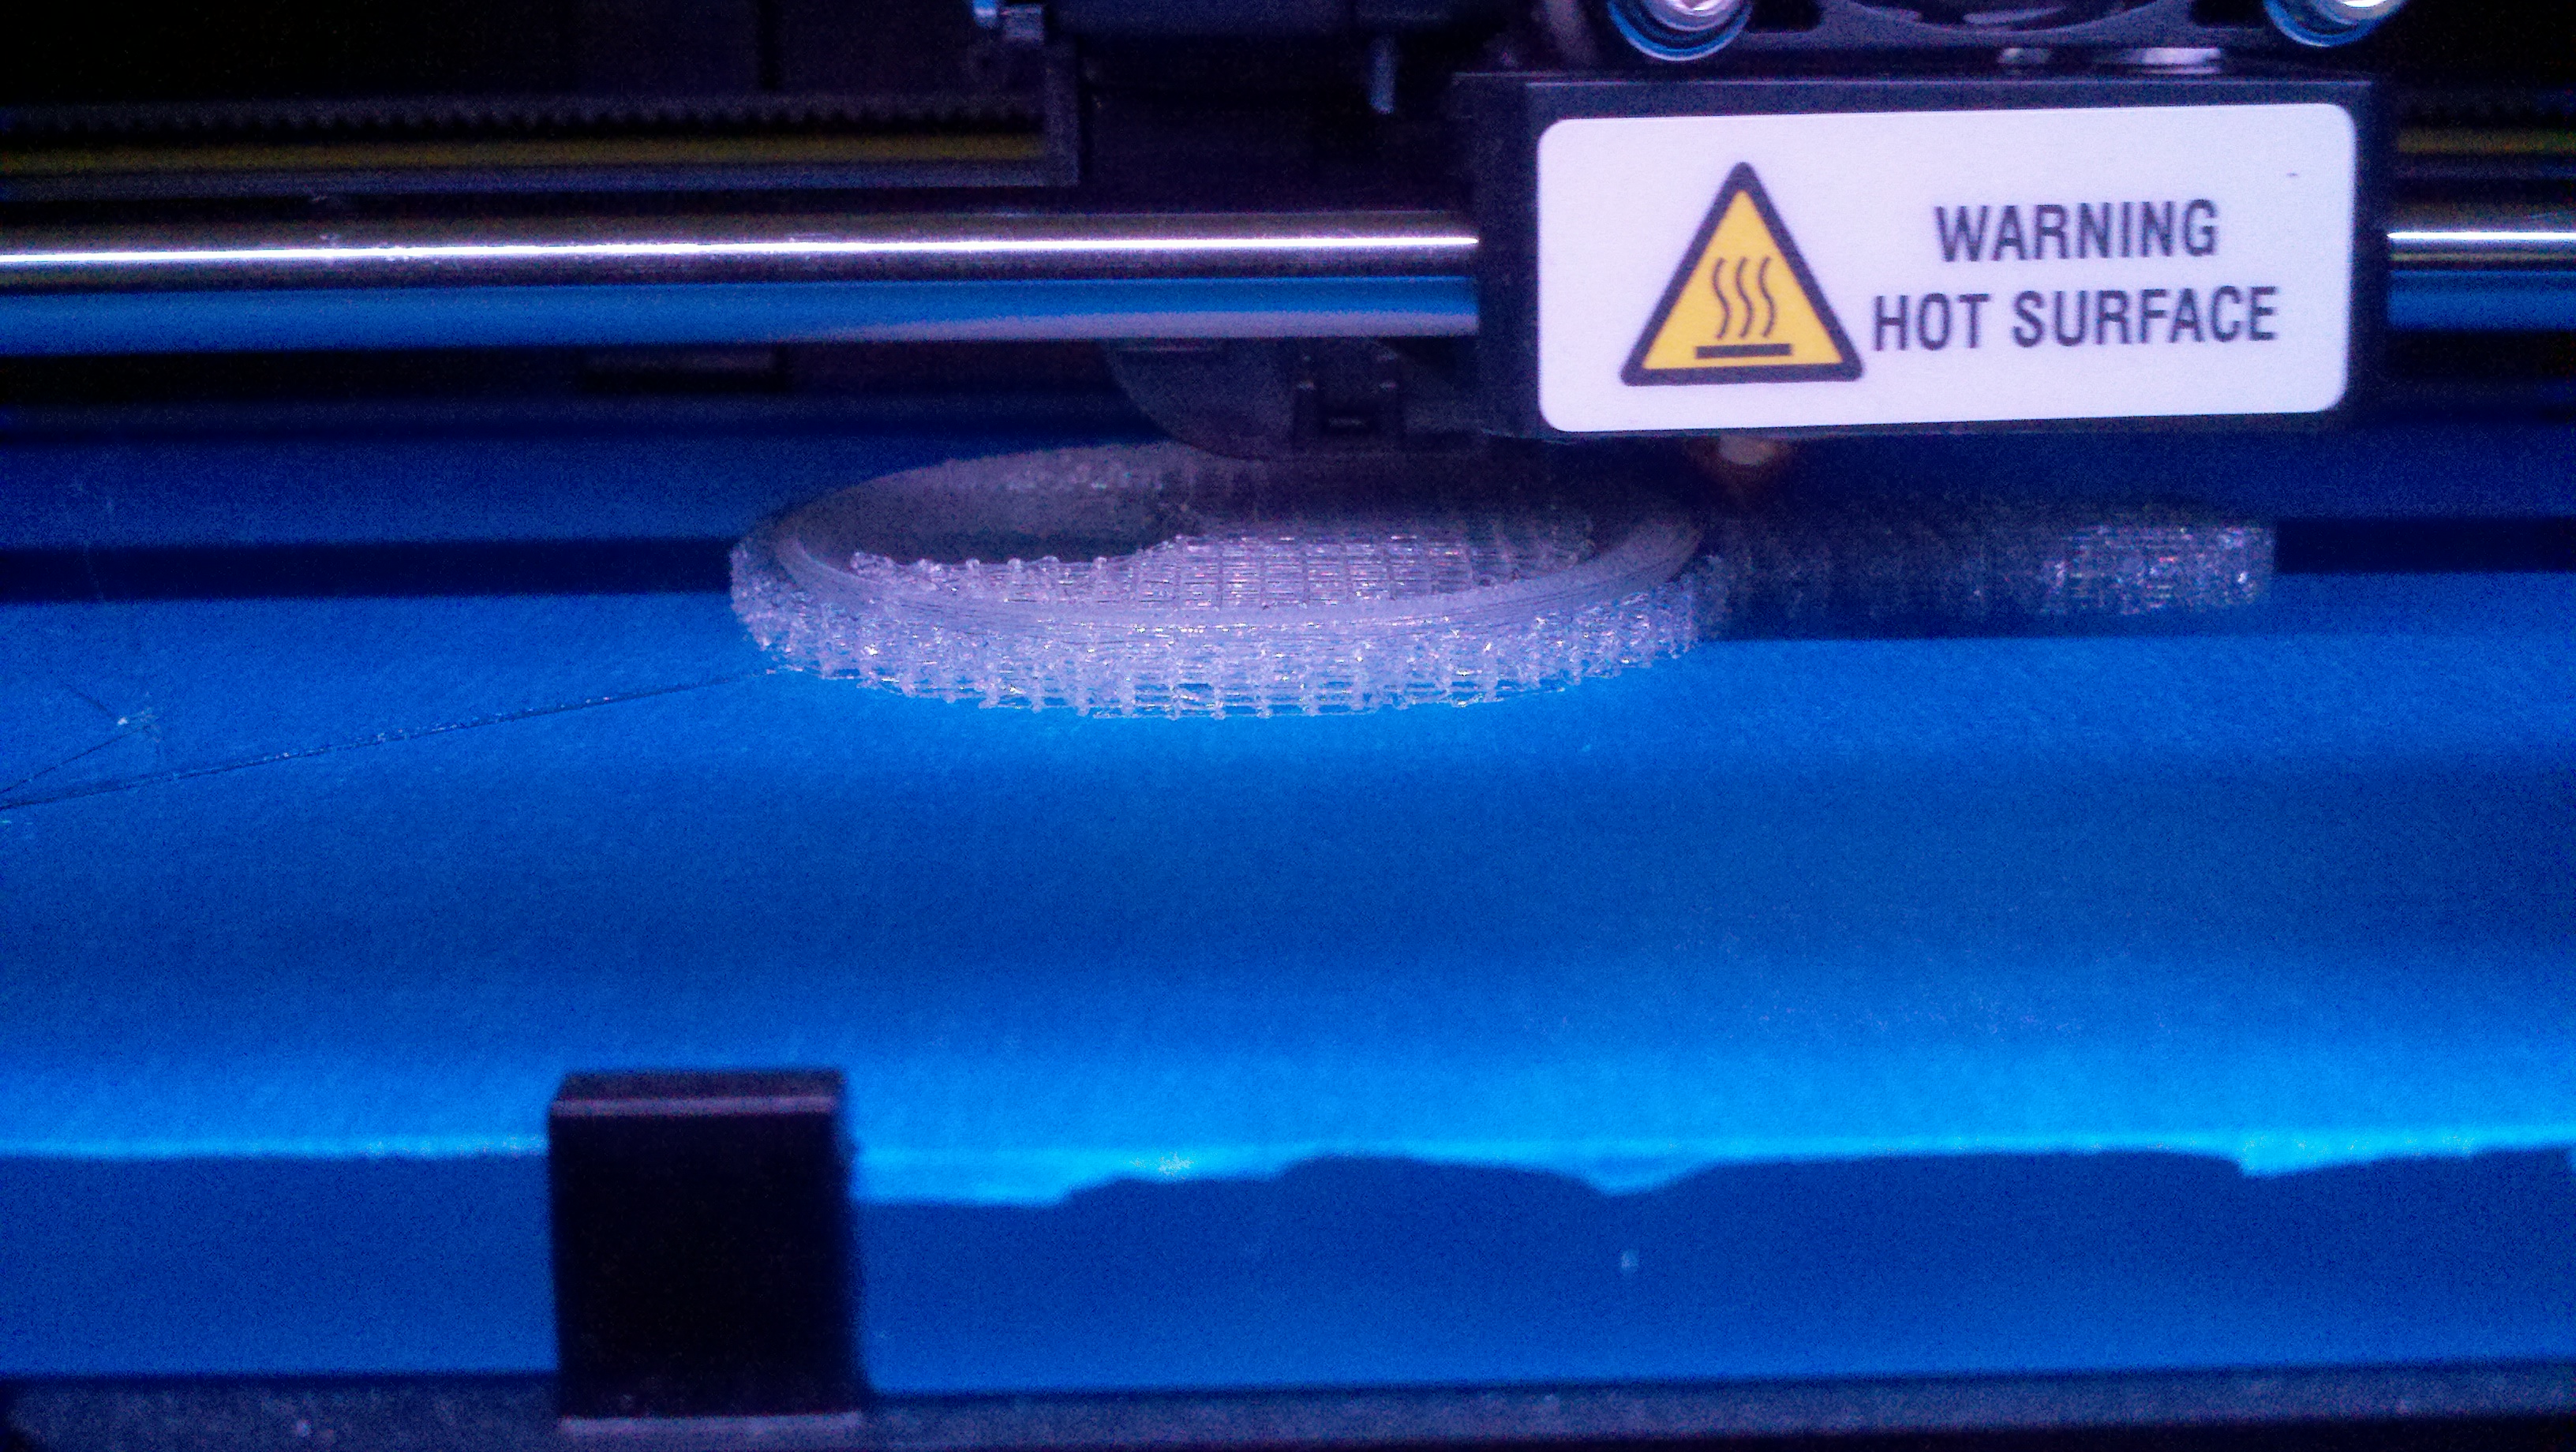
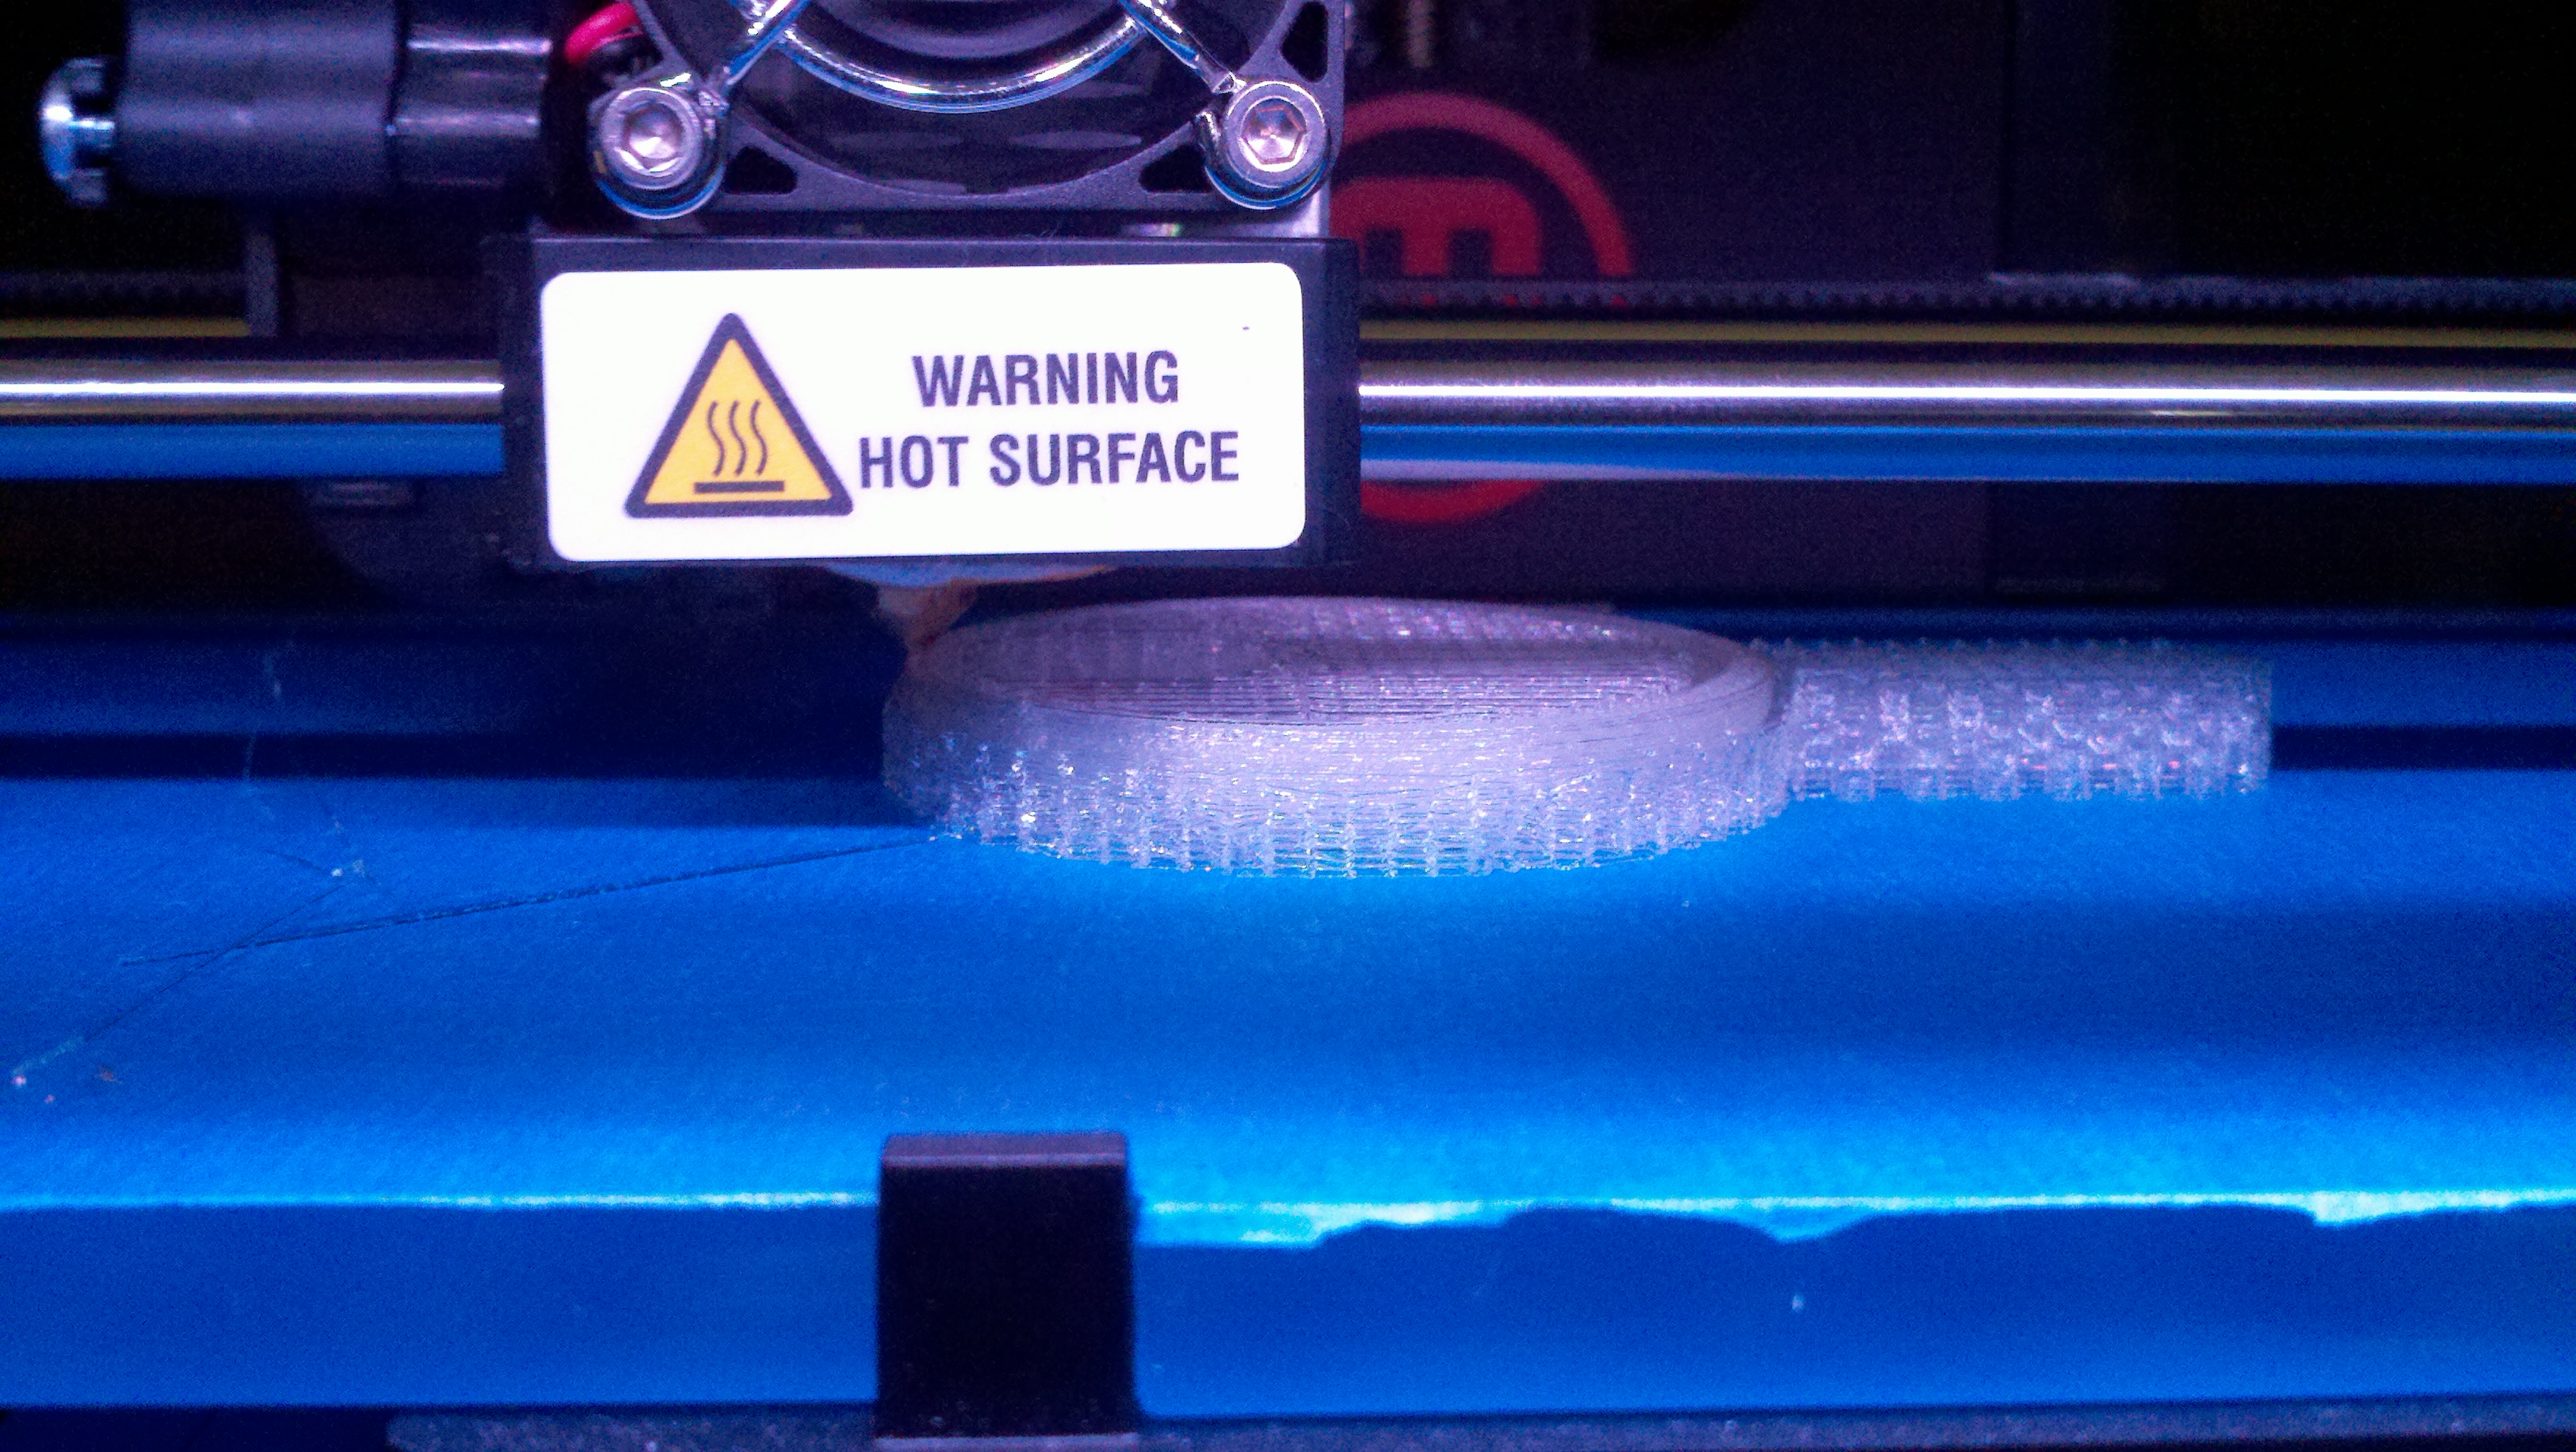
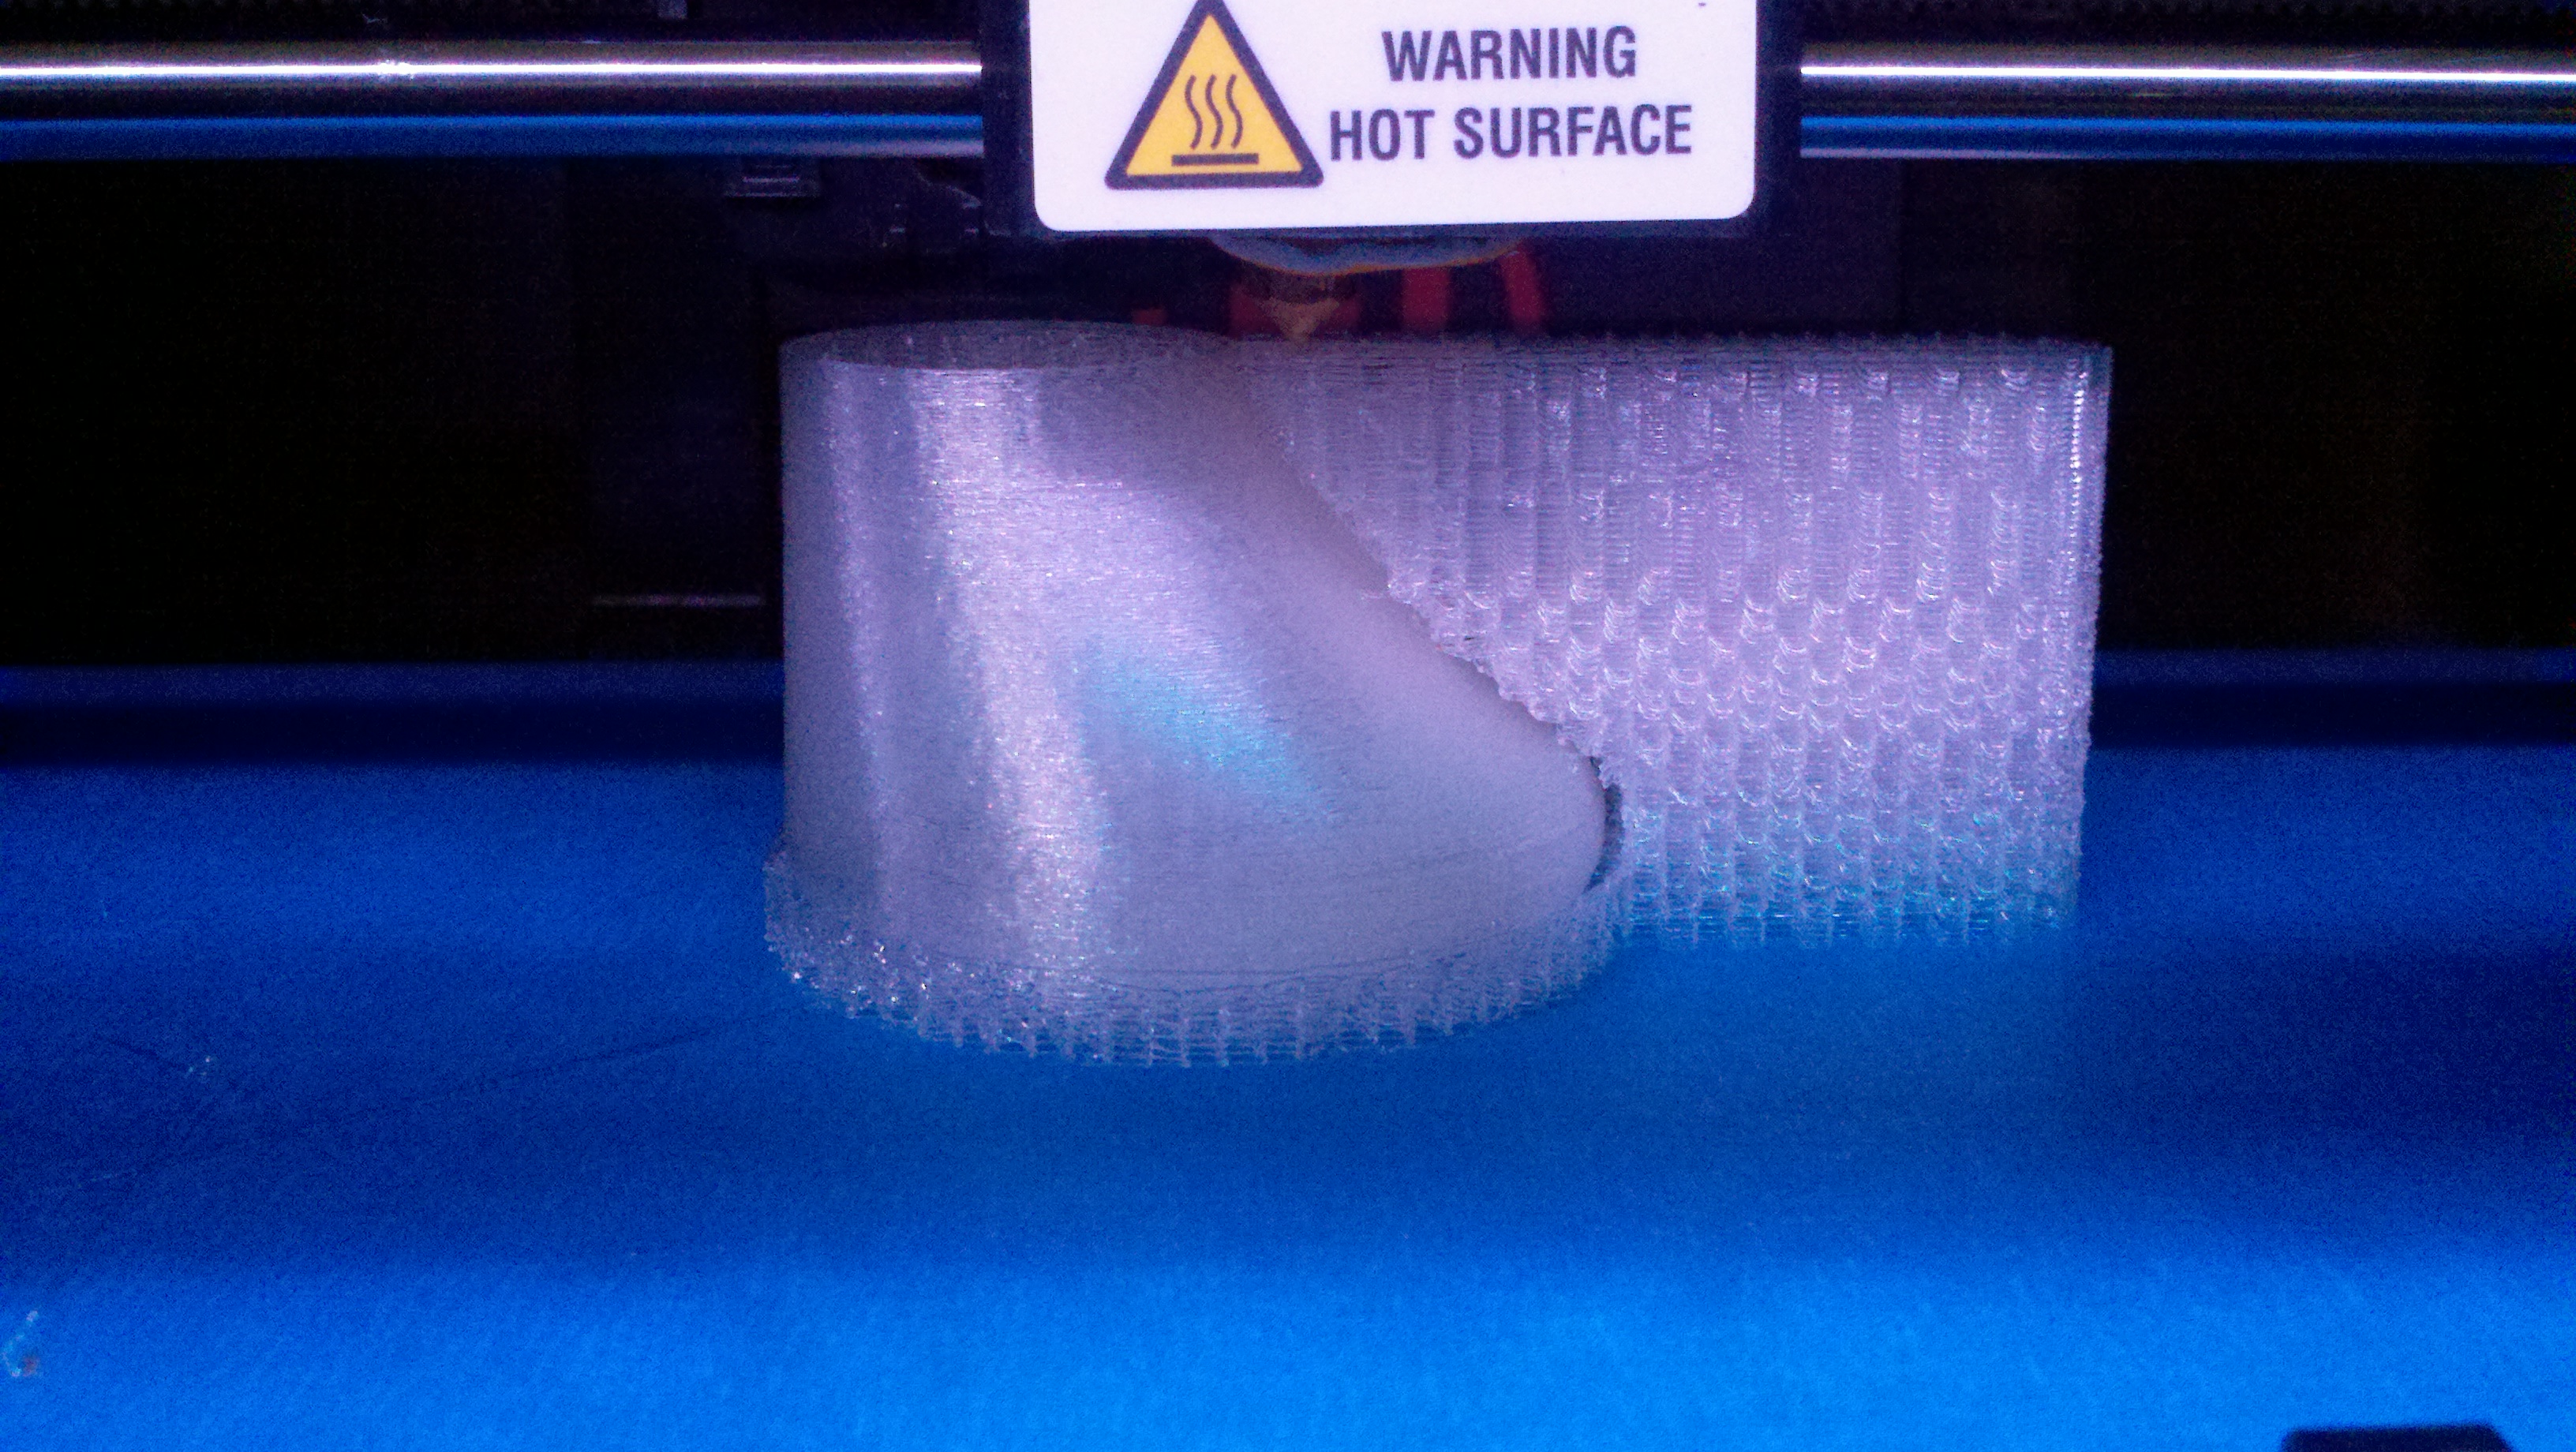
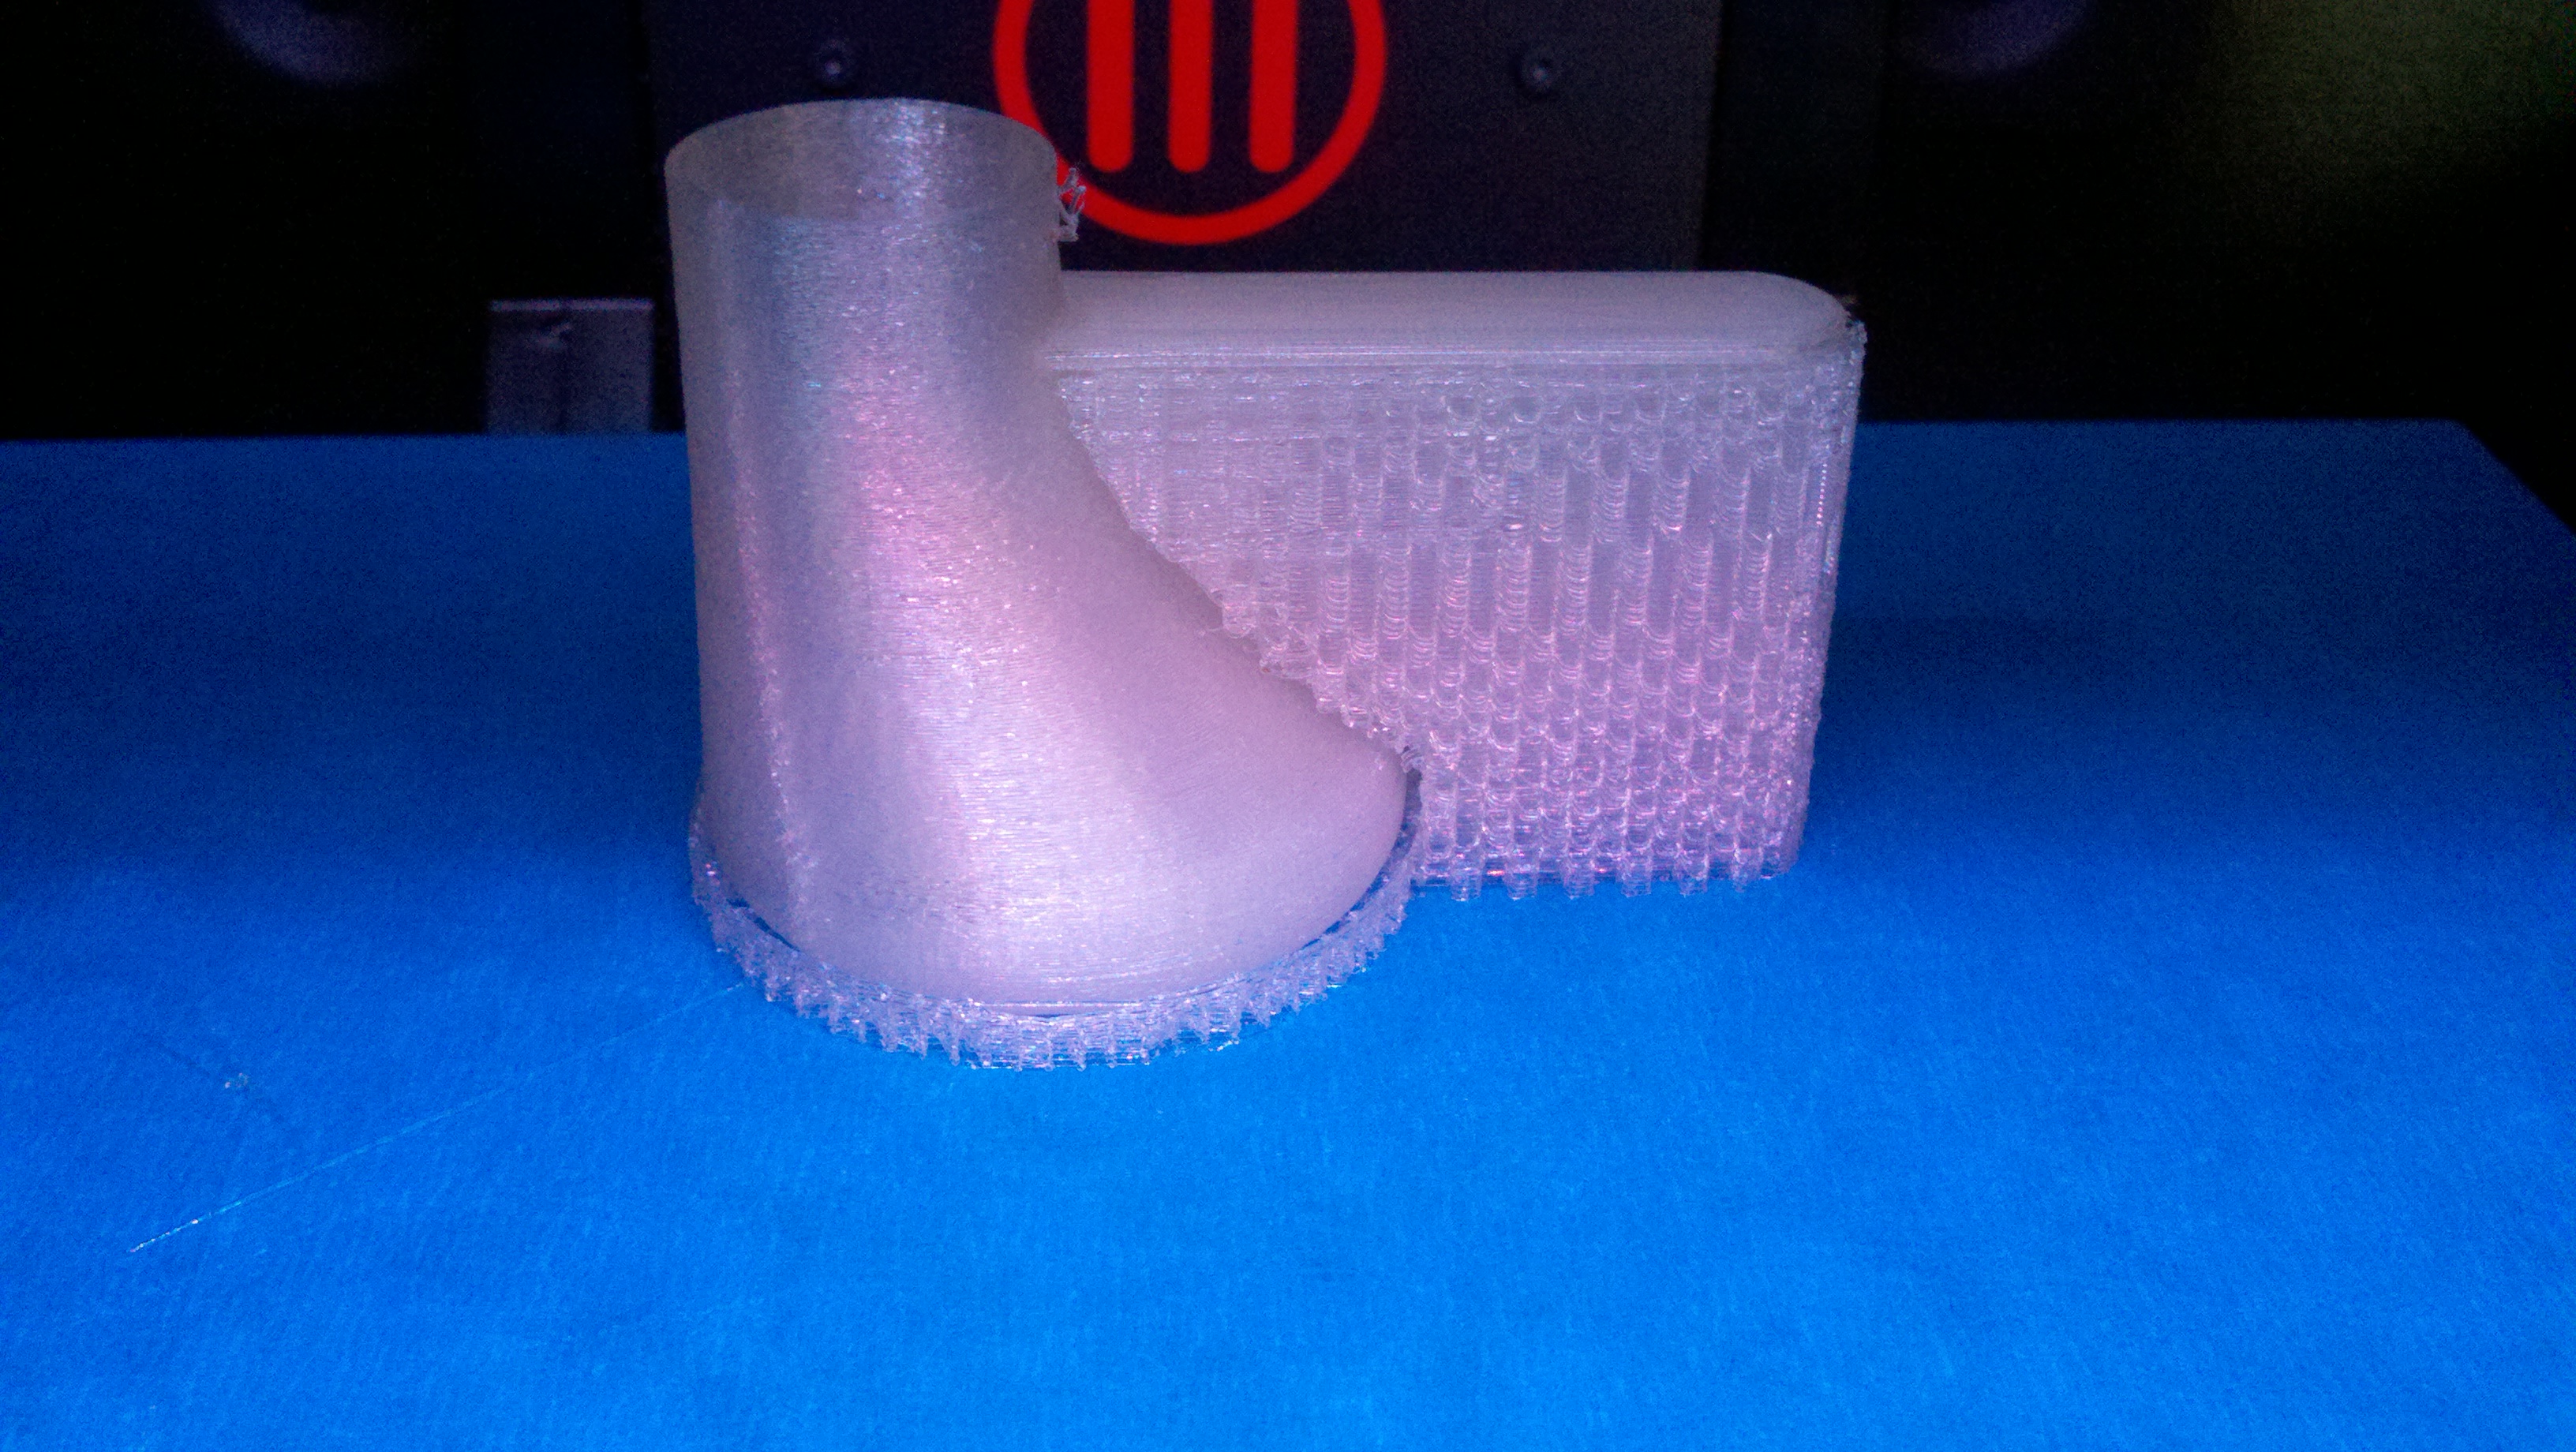
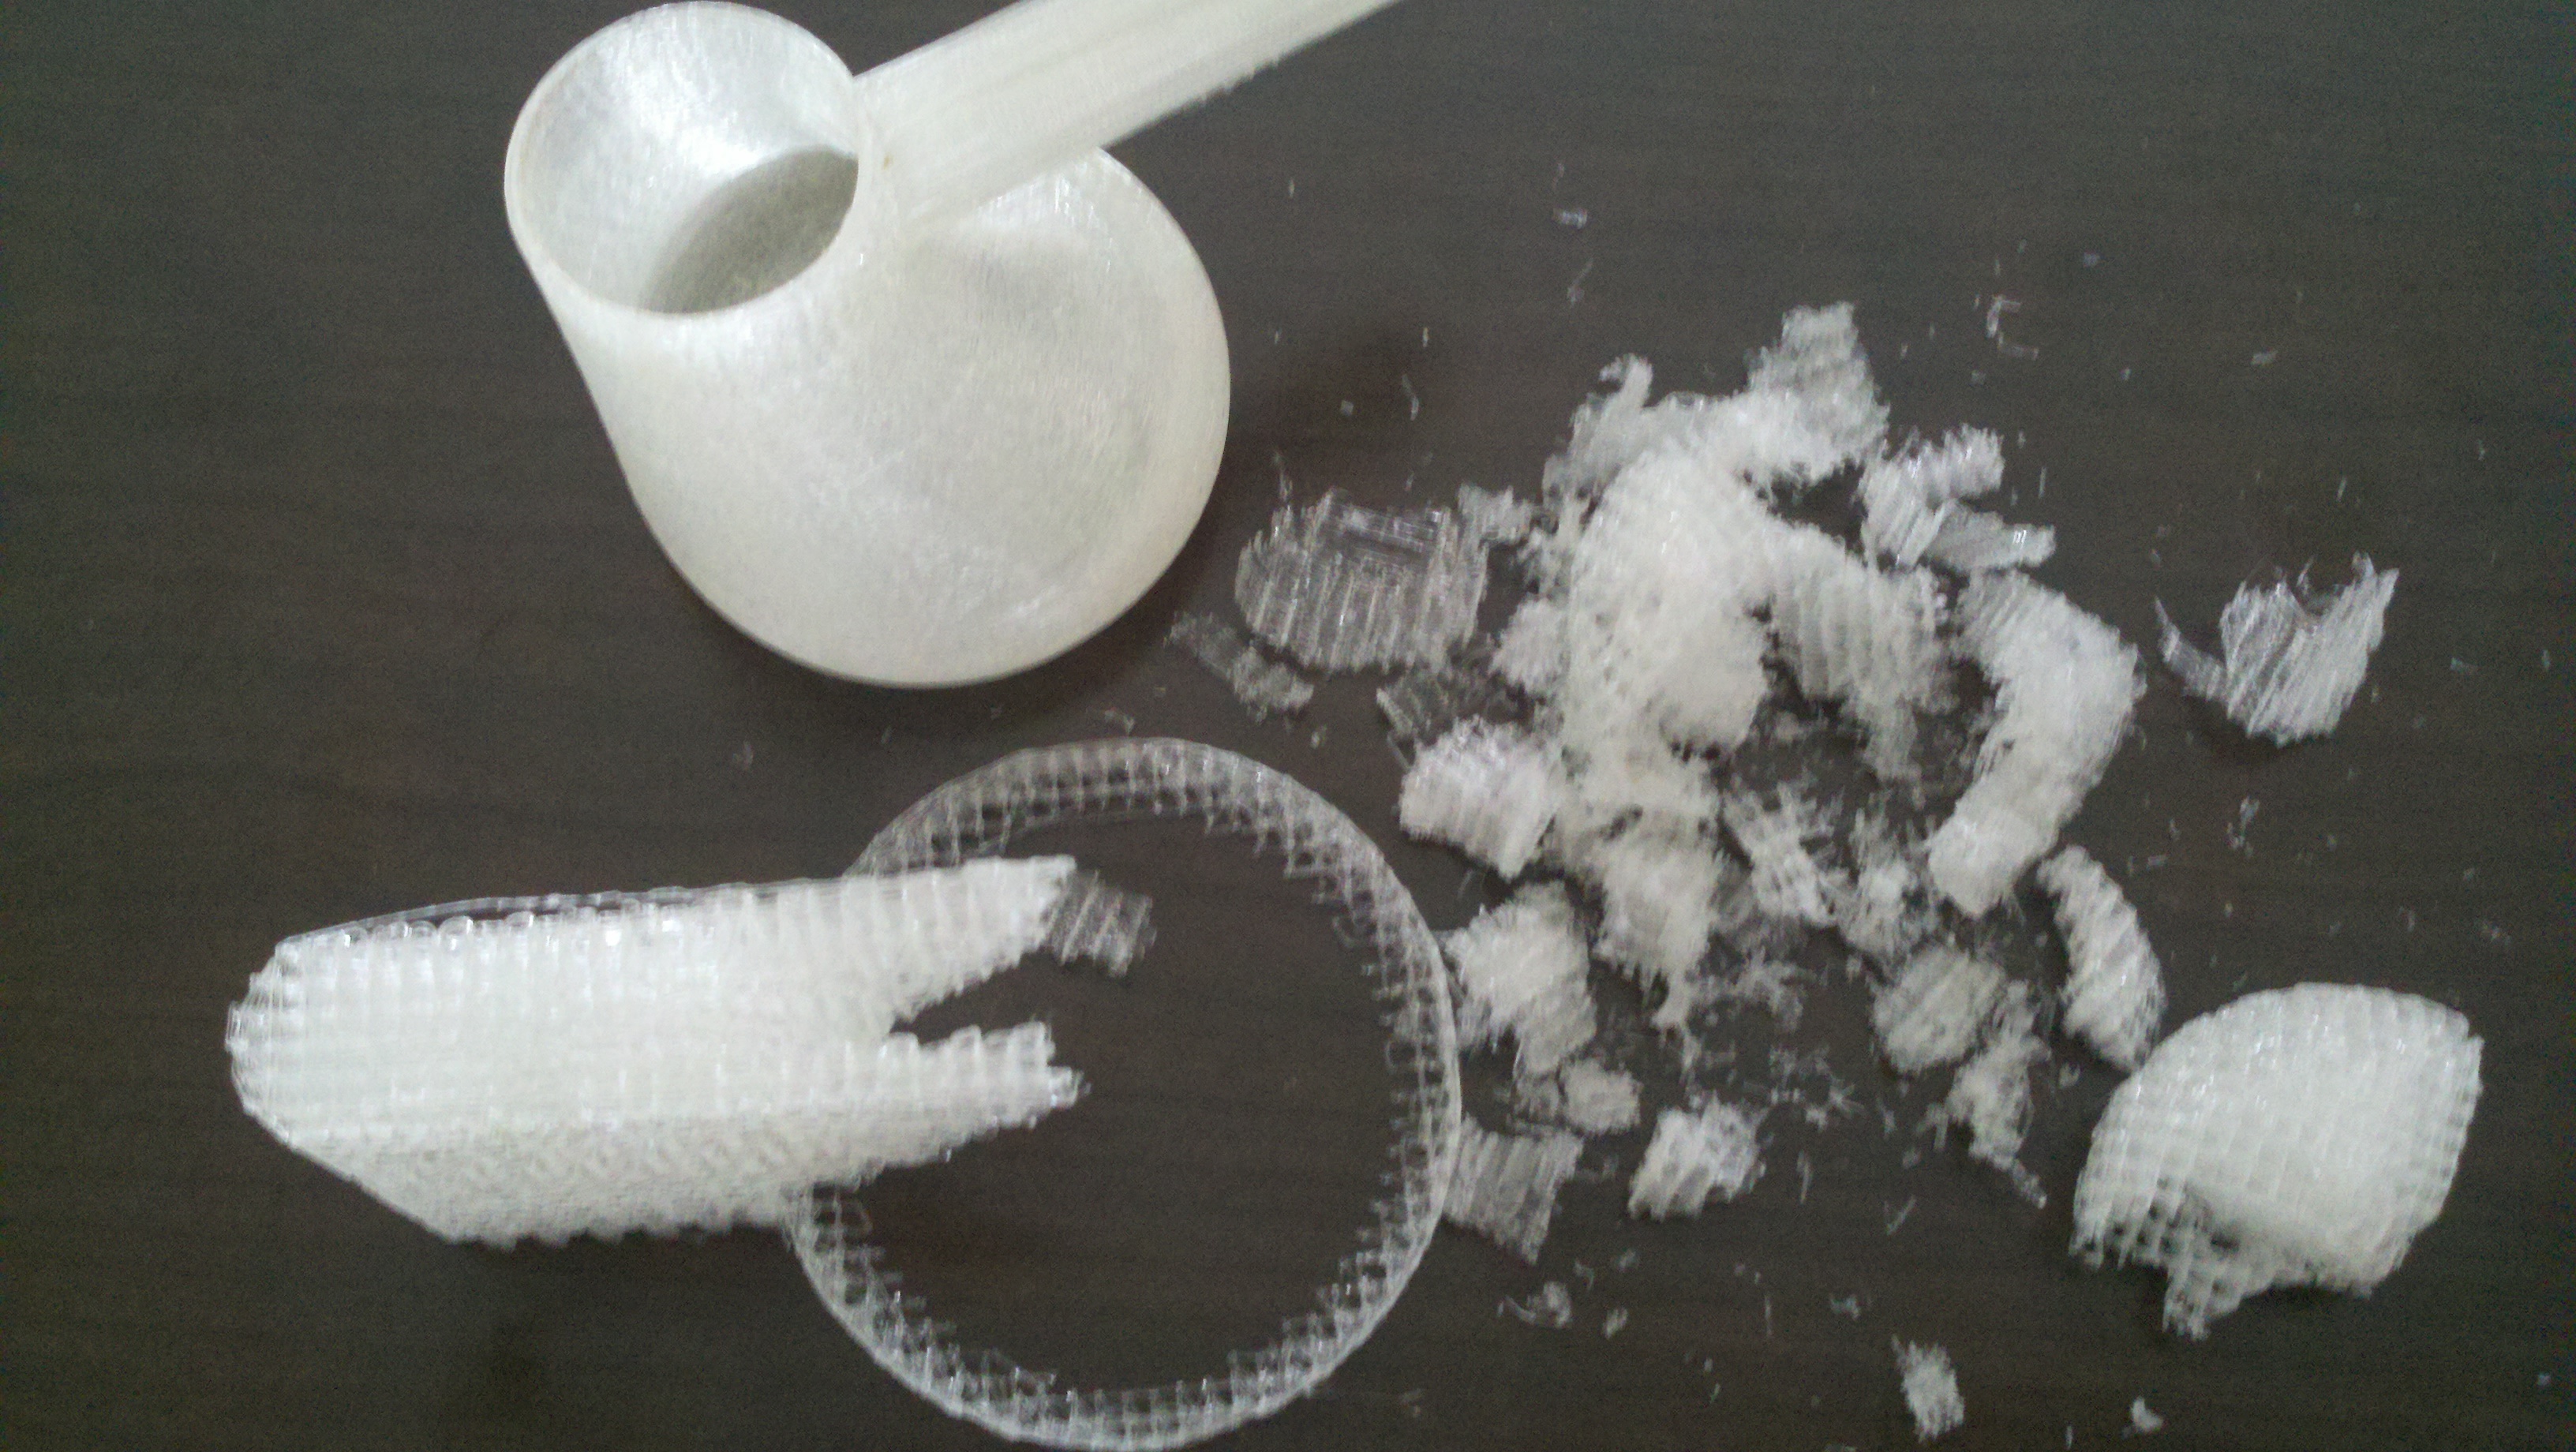
On a positive note the filament that comes out is very clear and if I try really, hard supporting the filament by hand, it is consistent in color and shape.  I am also surprised at how much filament is made from a small handful of pellets.

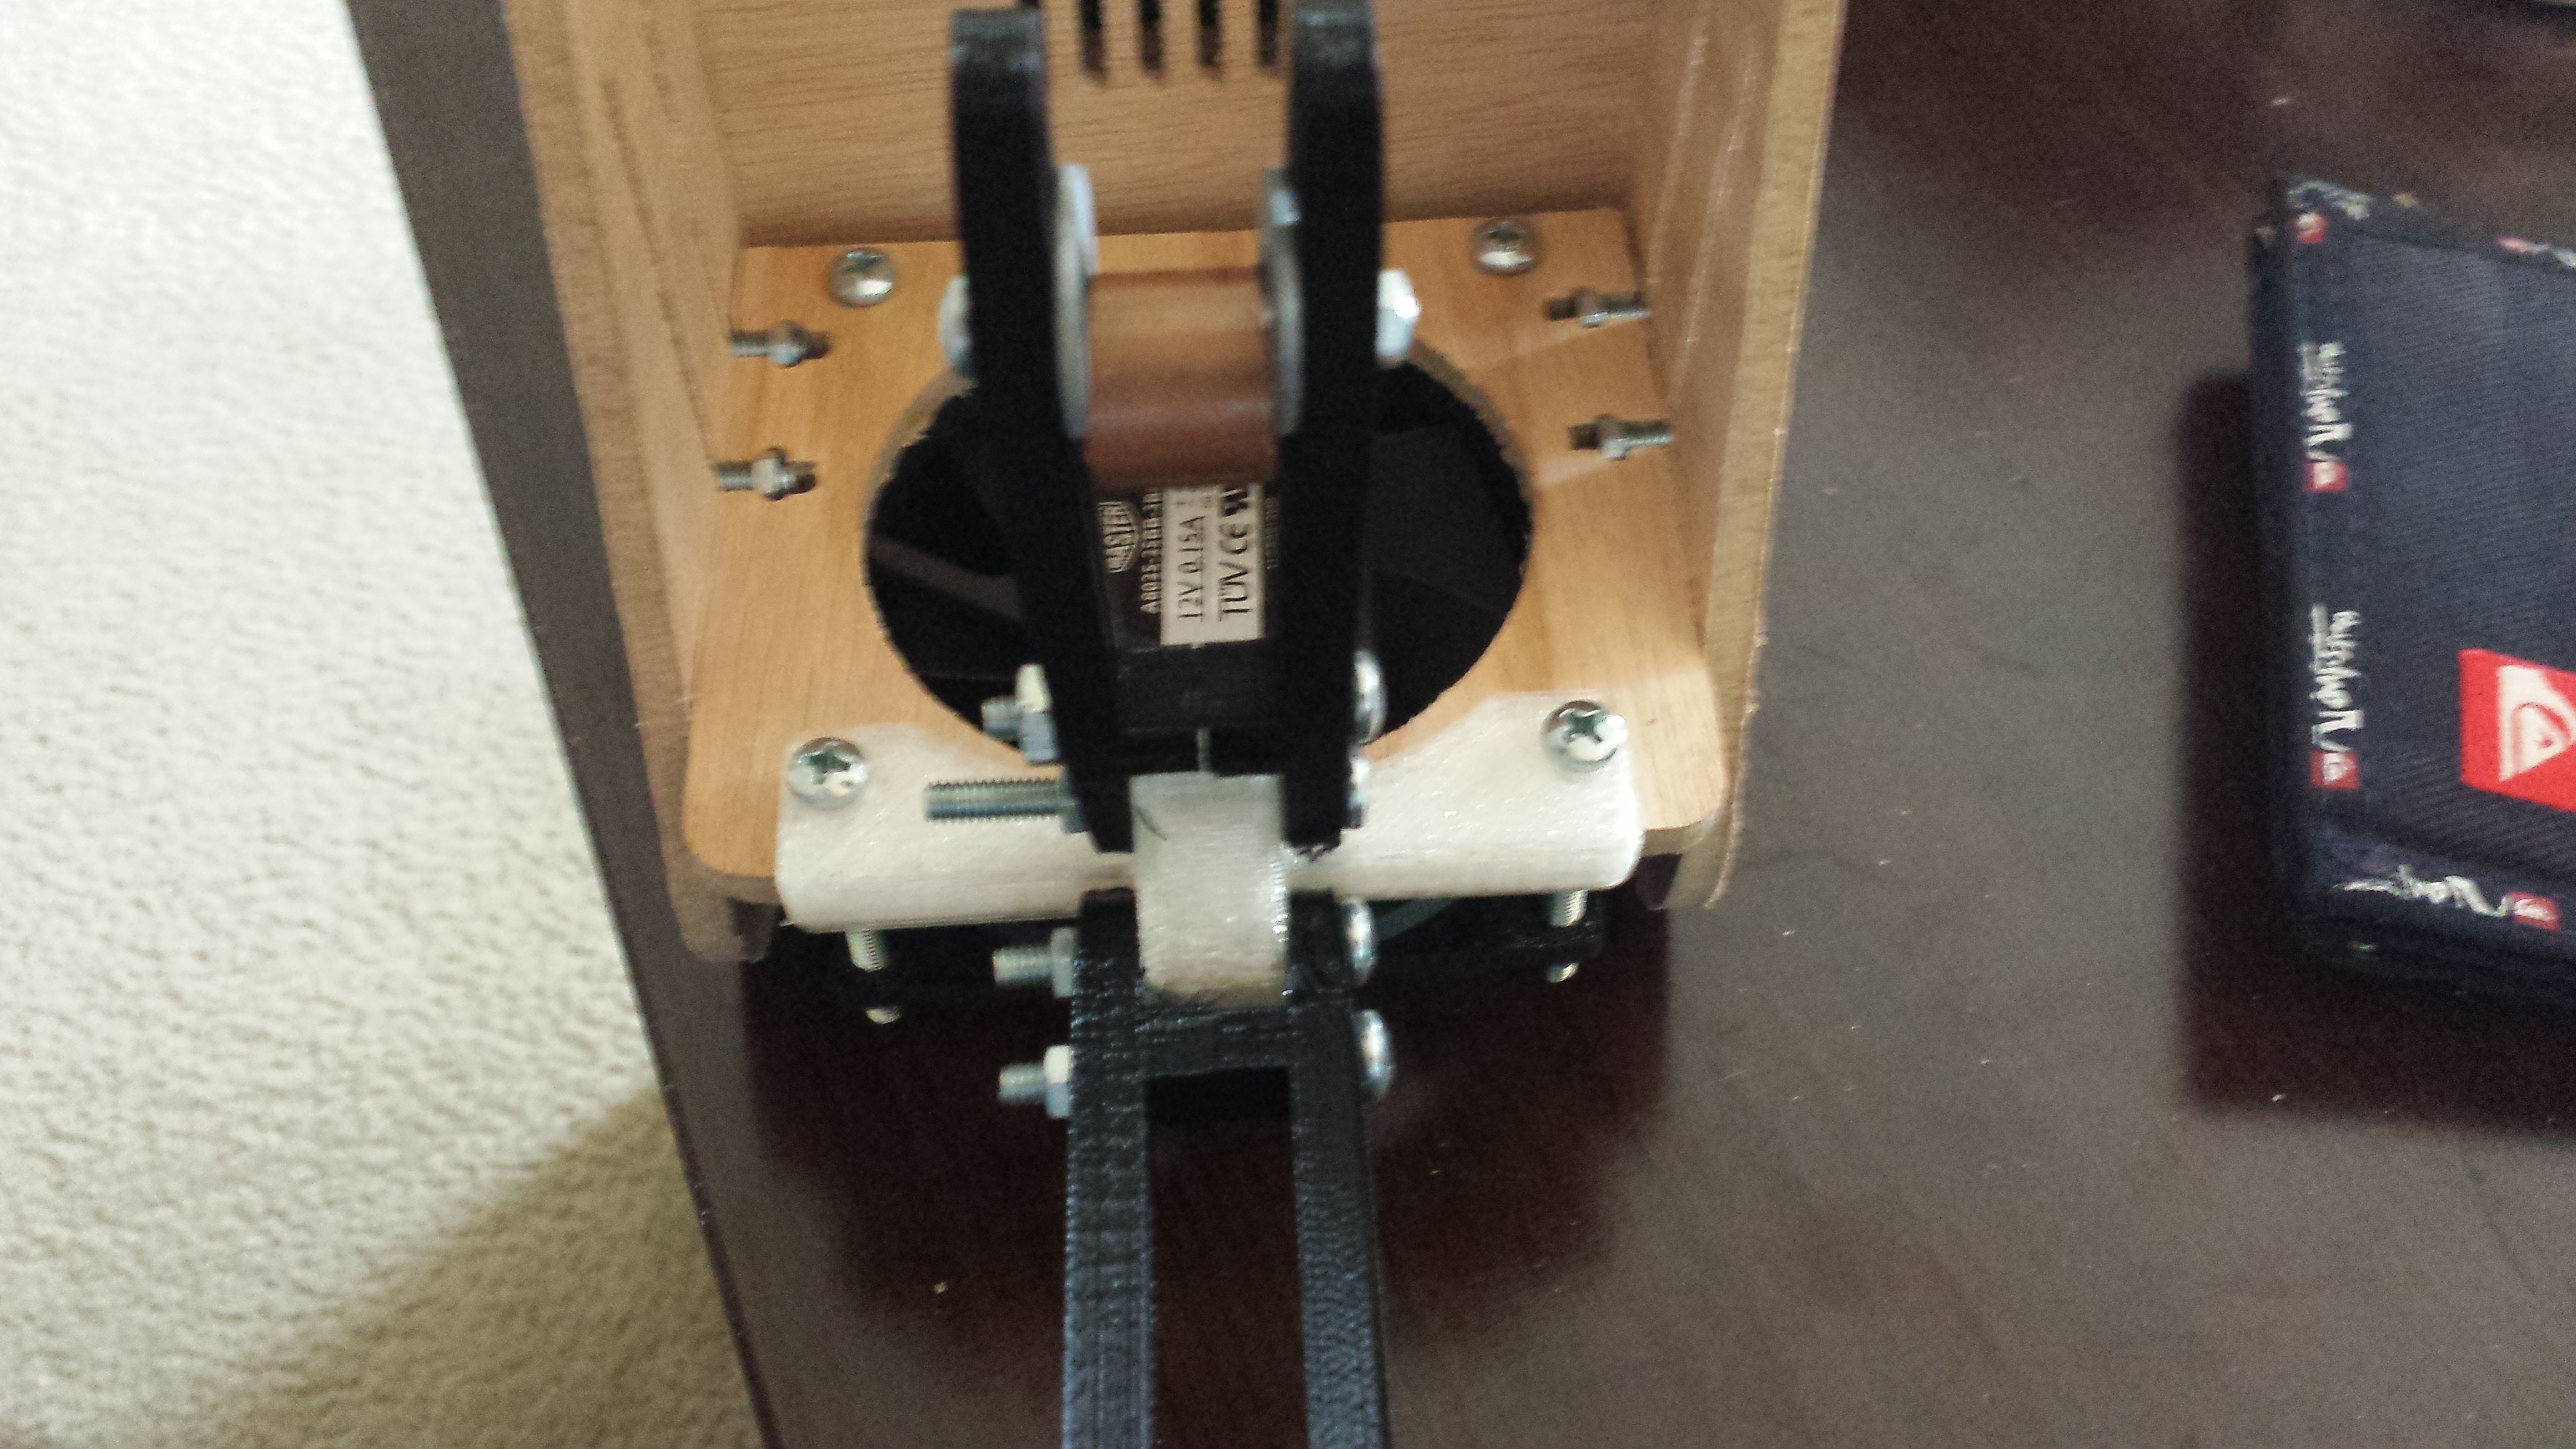
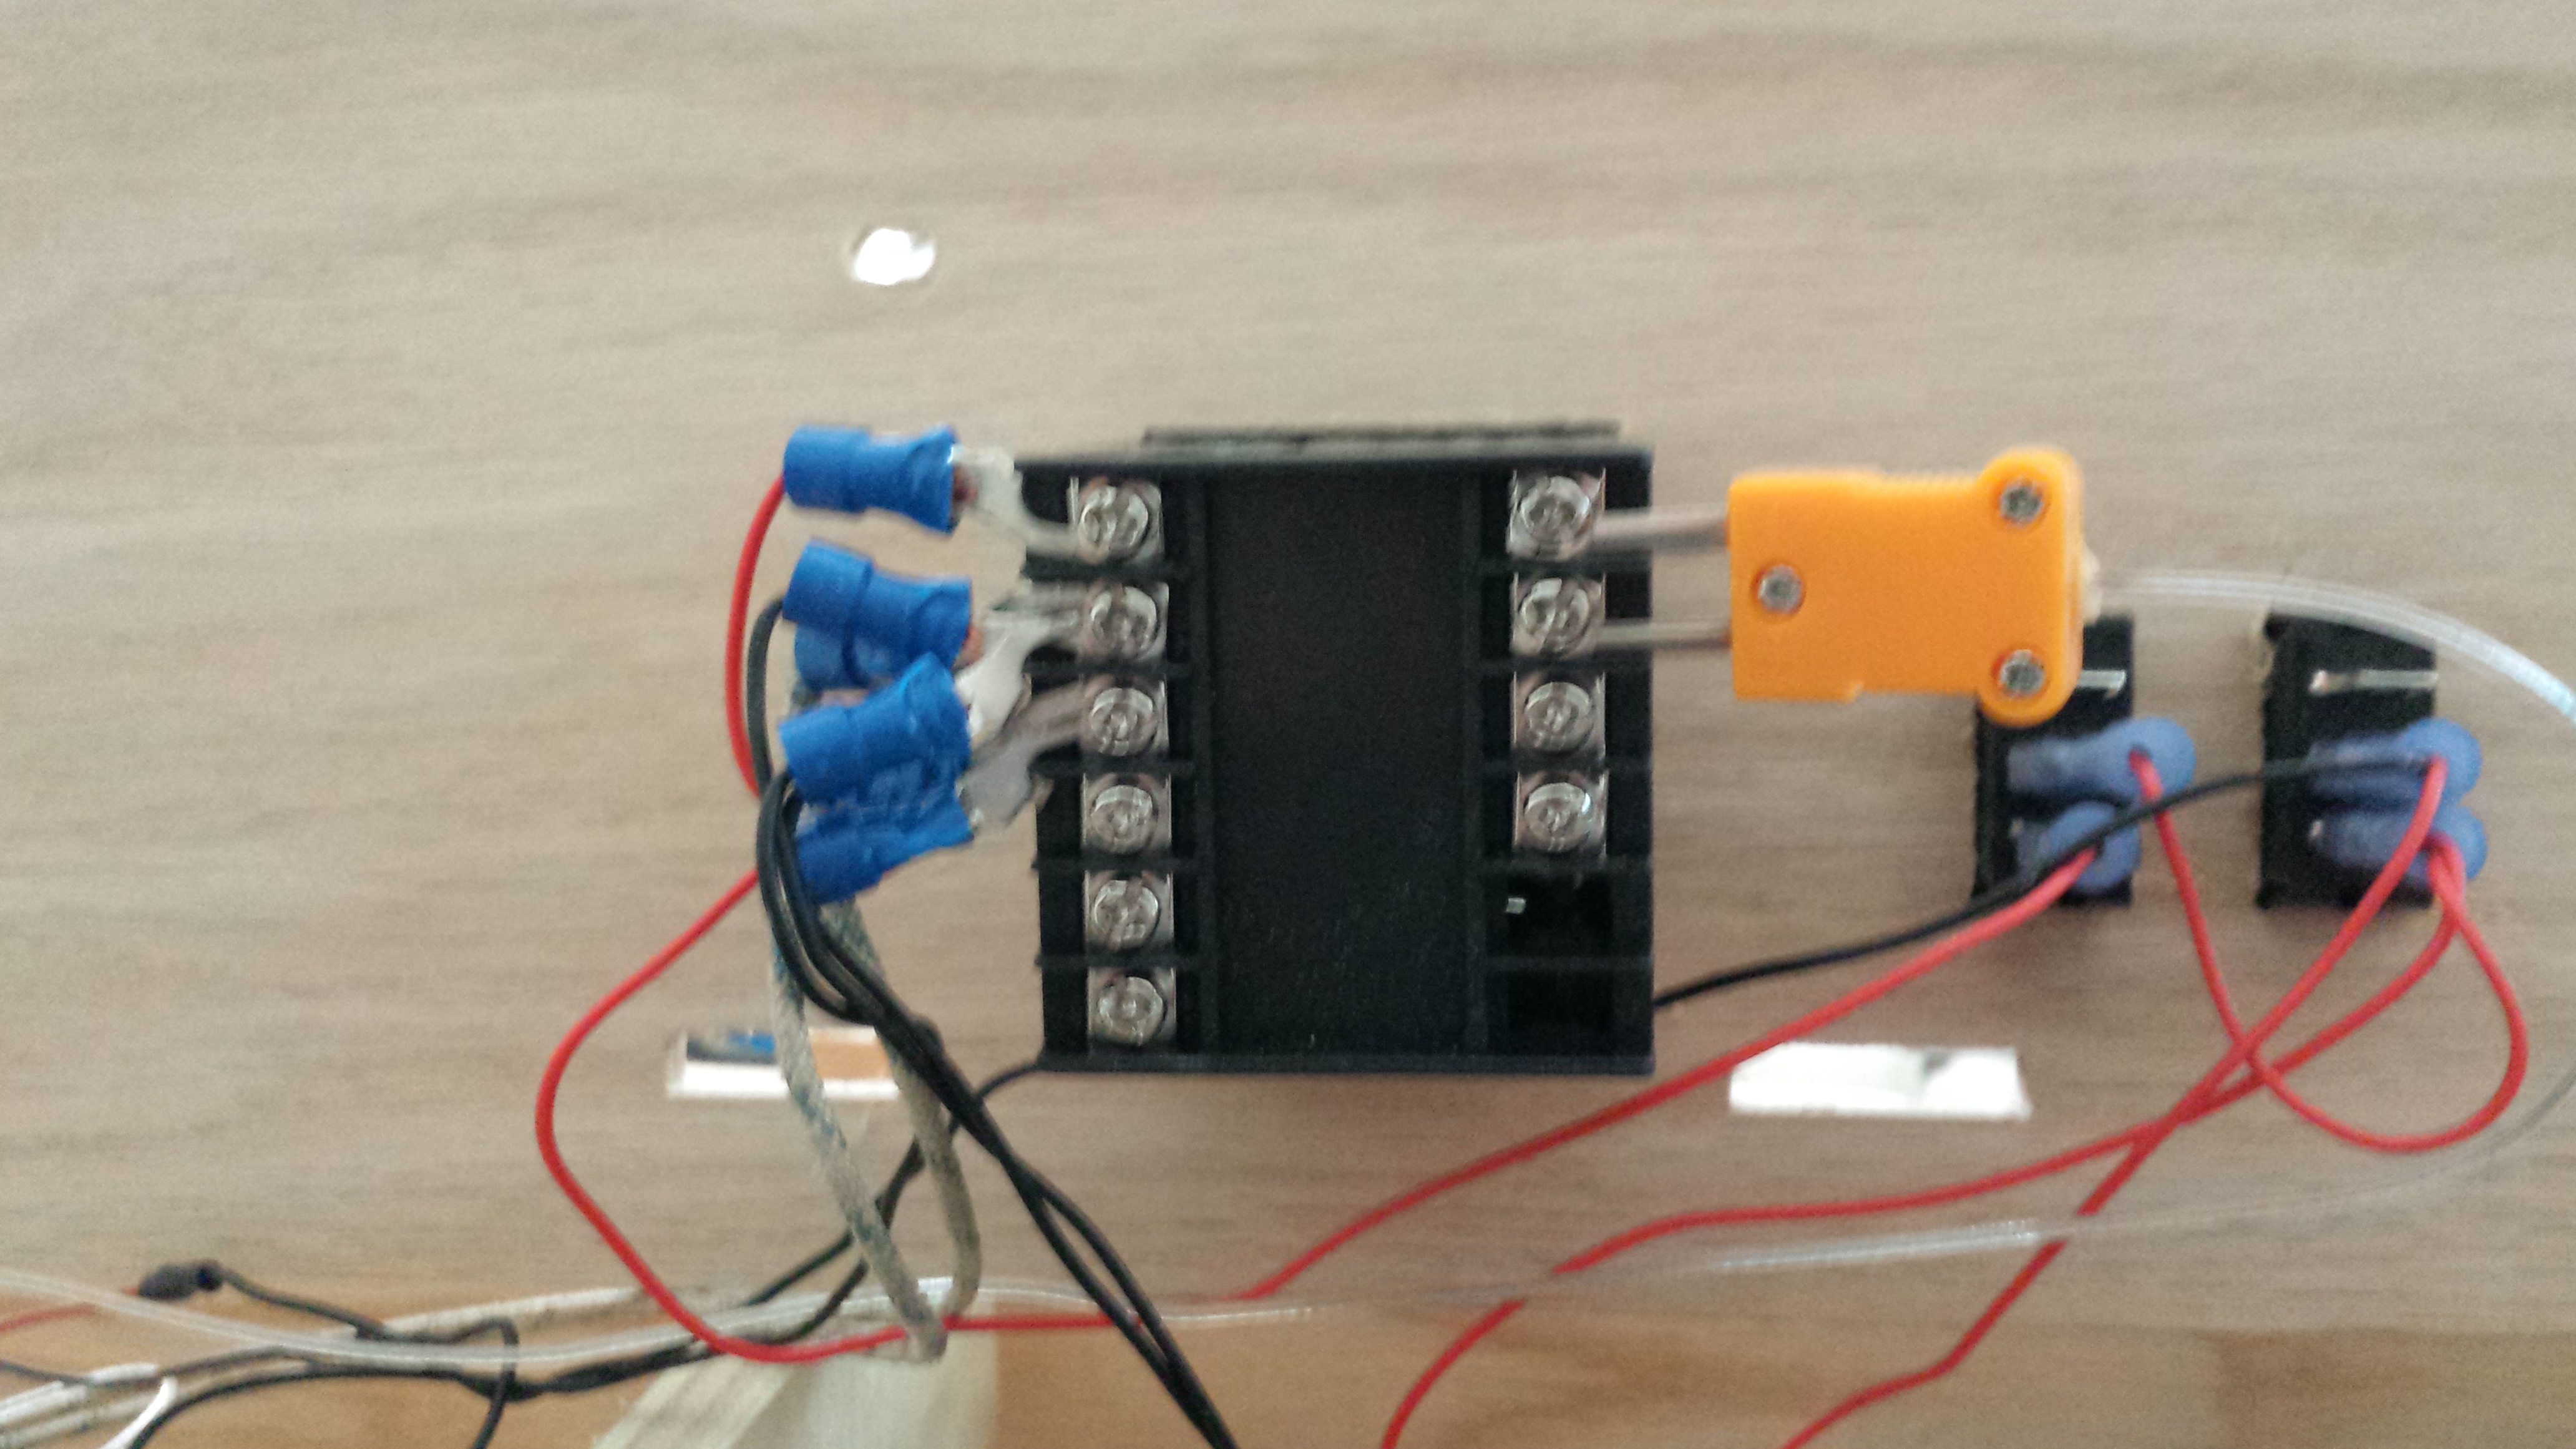
I think that I am going to have no choice setting up a filament puller similar to http://solidoodletips.wordpress.com/2013/05/07/filament-winder-intro he is using an optical sensor to gauge the speed at which the filament is being extruded to change the speed of the puller and spooler.  This all seems like a lot of trouble but for now it is definitely worth it since making my own filament will reduce the price to 1/3 of the current price.  I think that I may try to improve on the design by making the setup in a more vertical configuration since I have limited bench space.  I also think that a wheel directly in front of the filistruder, something that has a high thermal mass like a big steel wheel, will help cool the filament in a much more consistent manor.

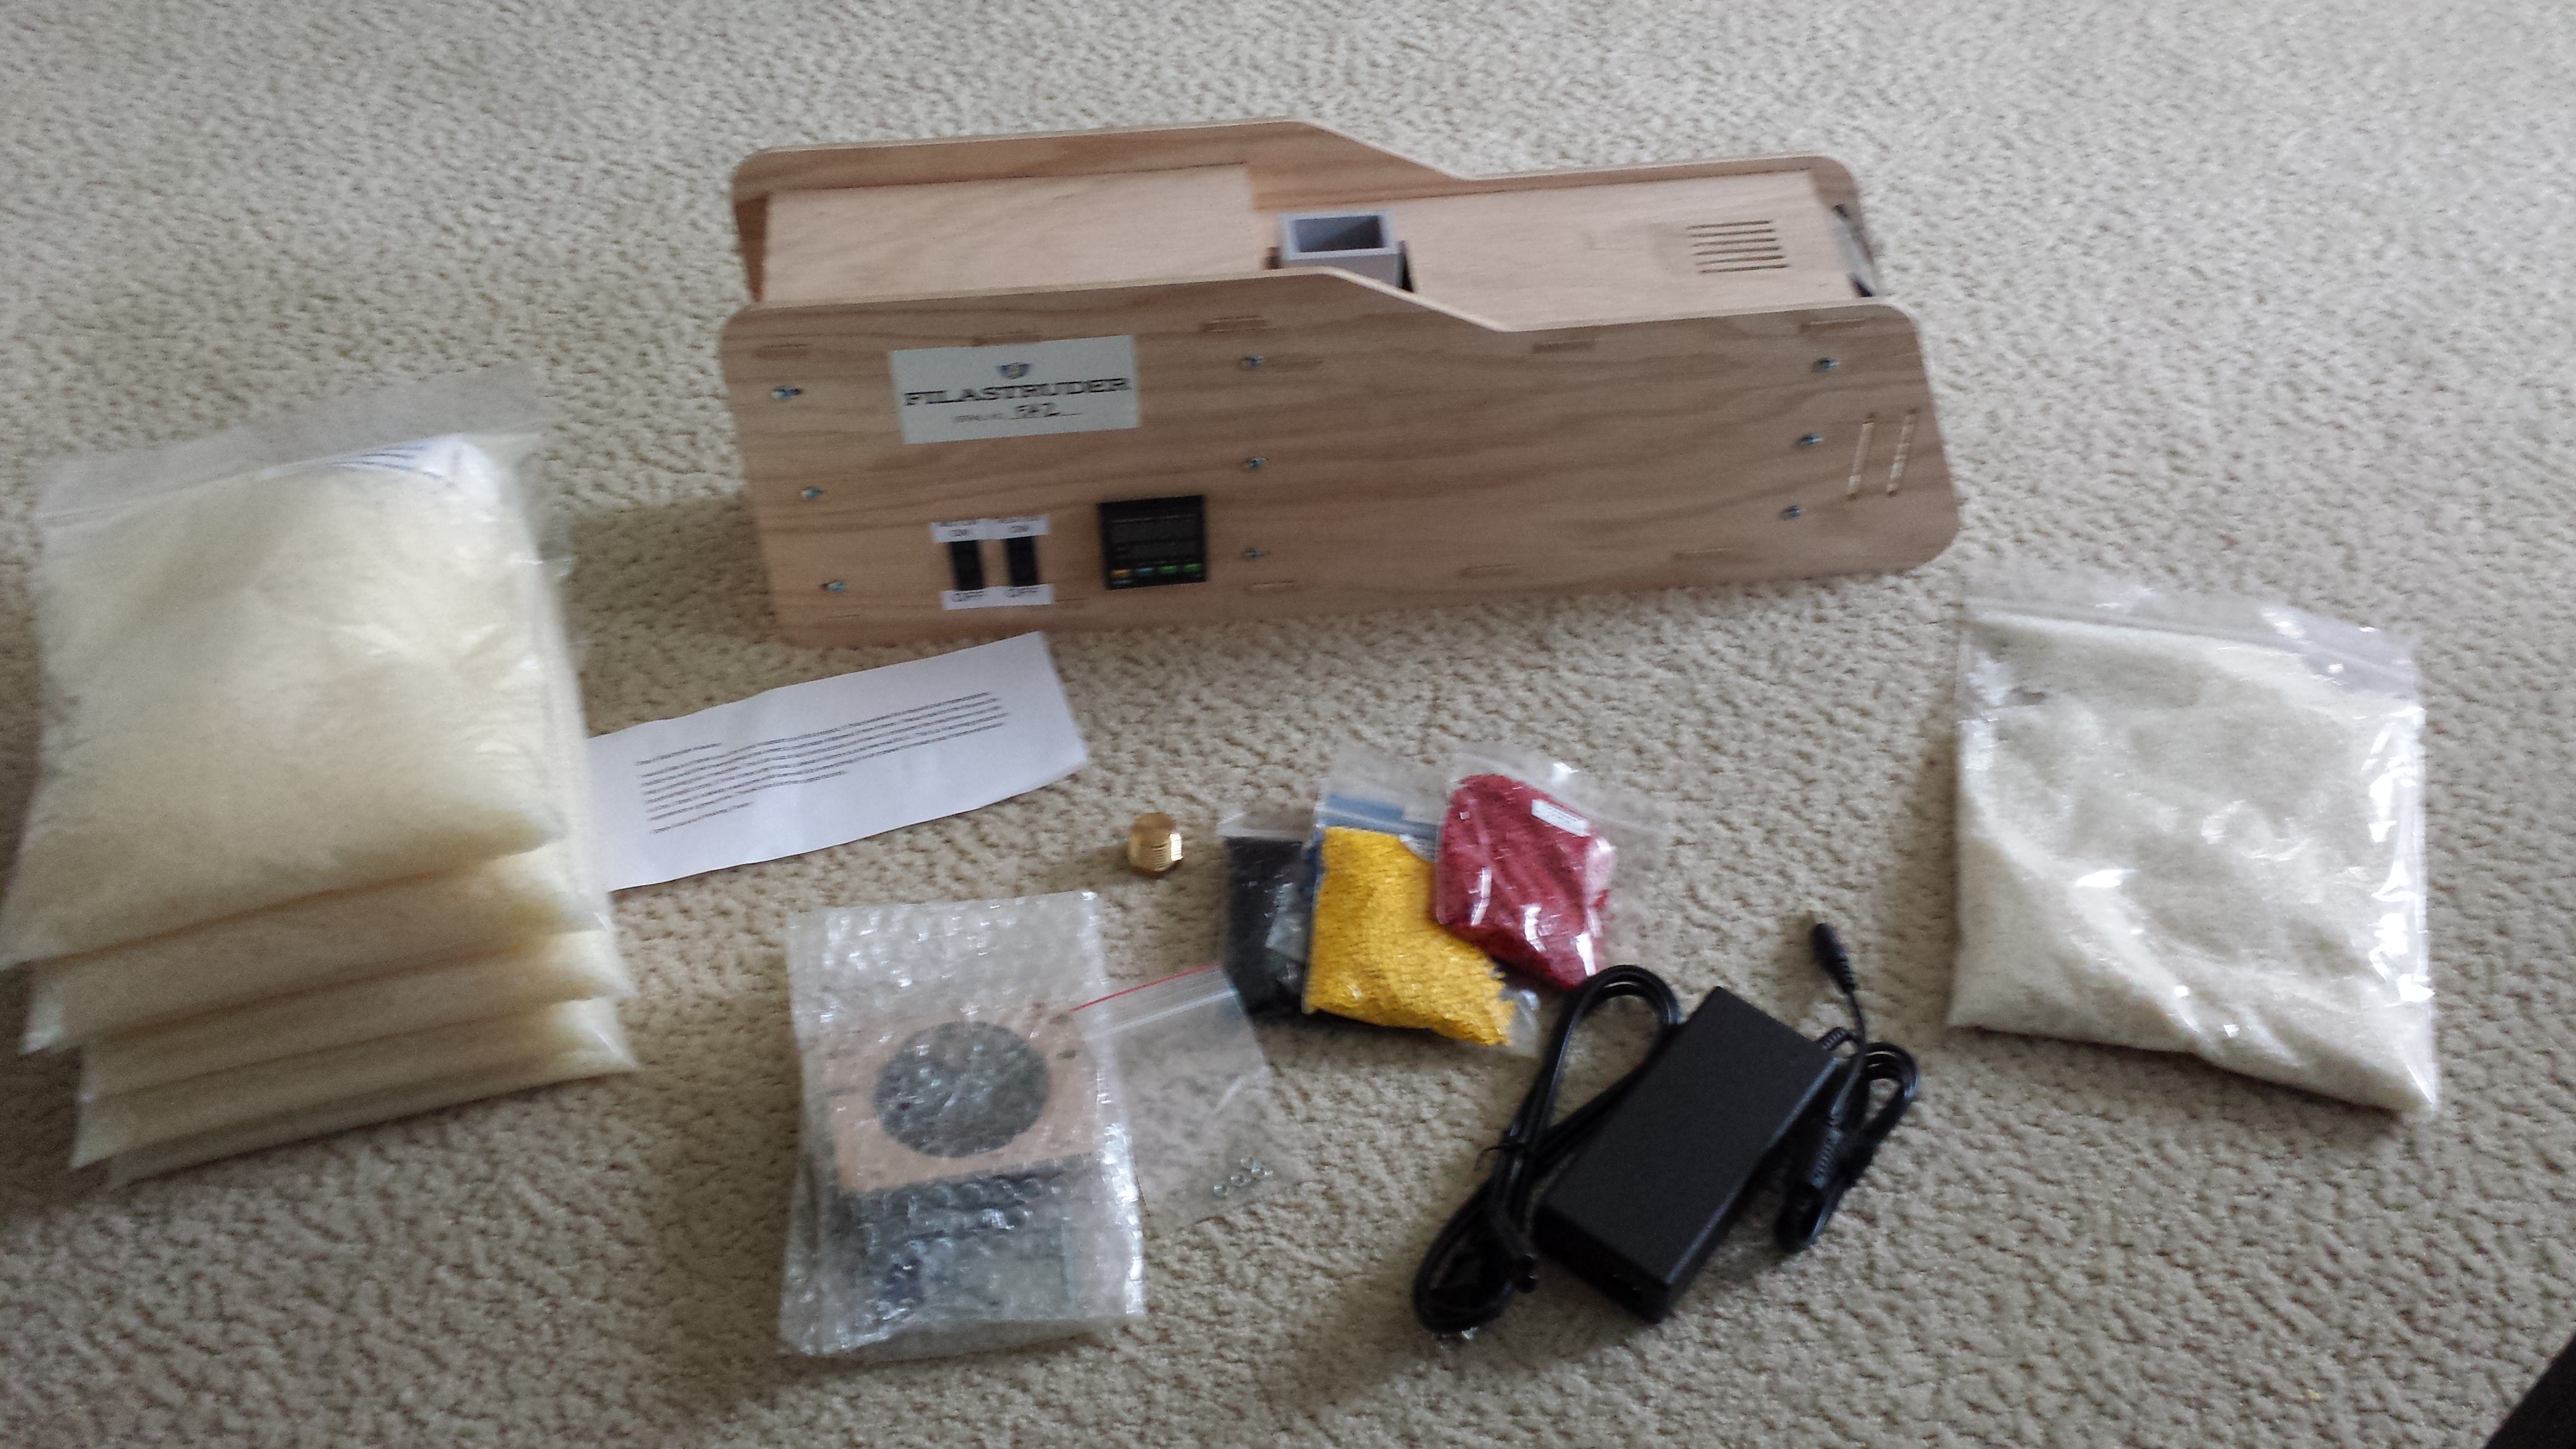
Ultimately I knew going in to this that this is not a consumer ready product but there is a lot of potential.  The developers are actively working on improvement even while they are over run with activity in shipping out all the kickstarter rewards.  So far the concept seems to be quite sound and I think that with some additions, making useable cheap filament should not bee too far away.

Summay of the last few weeks

Boo on me it’s been almost three weeks since my last post.  If anyone is listening; Sorry!  I have had a lot going on in the last few weeks here is a summary.

Raspberry Pi cases:

I got an order for 6 raspberry pi cases in several colors that have been keeping me (and my printer) busy recently.  A friend of mine is going to the http://www.kansasfest.org/ and they will be doing something with raspberry pis.  He posted in the forums if anyone wants a printed pi case for $8 and he got an order for 6.20130719_192527

Filistruder:

I was able to print a hopper and a replacement part for one that broken when I was assembling.  The hopper is actually an upgraded one that I found on the thingiverse and it is very nice.  I am so far very happy with the design and it fits perfectly.  I still have yet to extrude any filament but I hope to soon.  I will post my results once I get it going.20130702_115629 20130702_092106 20130702_090128

Free upgrade Replicator 2 filament extruder:

I finally received the free upgrade for the Replicator 2 filament extruder after waiting nearly 8 weeks (they said it would be 6). http://store.makerbot.com/extruder-upgrade.html?utm_source=MakerBot+Customers&utm_campaign=43f102128a-Replicator_2_Extruder_Upgrade_5_14_2013&utm_medium=email&utm_term=0_2a6be7f082-43f102128a-40781742920130718_175053

The installation was quite easy and it is working great.  I have printed 3 pi cases with the new parts and everything is working fine so far.

More work from makexyz:

I got a few more orders from makexyz.  This seems to be working out fine.  I have made a few buck from these jobs but nothing to write home about.  I never really thought I would make the big buck doing this and I only expected to supplement the cost of the printer.  Any money I can get back for my investment is fine by me.  Plus I enjoy doing the work (not so much the shipping and what not).20130630_182208 20130712_094139

3D printing presentation on youtube:

It’s true I am on youtube http://www.youtube.com/watch?v=rndjCKFOLX4.  I have gone 8 years without it happening (to my knowledge) but now I am out there.  One of the members of unallocated space took video of my presentation and posted it on youtube.  The audio is not spectacular but he did a great job integrating the slides into the video.  Everyone said that they enjoyed the presentation.  I hope they are not just being nice and someone got something useful out of it, I certainly had fun doing it.  Check it out if you are interested.

KIFA 3D printing presentation:

I will be giving my presentation on 3D printing again to the Kent Island Federation of Arts at the KI Library on Sep 25, 6:30 PM – 8:30 PM.  I am not sure if this is open to the public or not I will try to post back once I figure this out.

Wow this is a long post but that’s what I get for not posting for three weeks.

Filastruder KickStarter – Update 1

I backed a Kickstarter for the Filastruder  back in March and I finally received it.

20130626_181419 20130626_181434 20130626_181451

I have been busy since I received it so I have yet to test it.  That actually turned out to be a good thing.  I received an e-mail from the author saying there was a miss-wiring when they assembled it and it would need to be fixed.  I scraped together a bit of time this weekend and was able to repair the miss-wiring but I was not able to test the unit.  Couple other issues that I had are as follows:

  • I was able to fix the wiring as described by the e-mail from the author.  No issues
  • When I open the box I notice right away one of the leads to the thermocouple was disconnected.  I was able to reconnect it.20130630_145921
  • The leads on pin 2 also popped off due to the motor negative being extra short and me jostling it round (I decided to replace the lead to make it longer).  I was not able to put all three leads back to pin 2 on due to the connector ends taking up too much space.  I ended up soldering all but the heater line together so that I only had two connections to shove on to the terminal. A followup from the author said they are fixing the connectors to use better ones.
  • The 80 mm fan was damaged in shipping.  One of the corners broke off (the piece was not in the box).  The fan is still usable as only one side of the corner was damaged.  See picture.20130630_143314
  • When putting the filament guide together the upper section of the 3D printed part that holds the vertical filament guide broke off.   See picture.  The author responded to my comments with a redesigned part that I will print as a replacement.20130630_143353

So far my impressions are good.  I like what they are doing and its encouraging that they are actively still working on it to resolve the problems.  This is after all a somewhat beta product and I would expect issues such as this.  So far the issues have been minor and have not prevented the use of the thing (only my lack of time).

I will post and update once I get some time to power the thing on and make some filament.  The prospects of this happening this week look bleak since the 4th of July is coming up.

This is what a 3D printers is made for

I was recently over my parent’s house and my mom informed me she has purchased two toothbrush holders that stick on the back side of a medicine cabinet door.  She paid $3.99 each plus $2 for shipping.  This is obviously just silly.  I told her to send them back.

It took me about 20 mins to design and 1h 20min to print.

20130615_175903 20130615_175925 20130616_095400

More success with MakeXYZ.com

Haven’t posted in a while but I have been busy.   I have been working on my presentation for the intro for 3D printing and I am almost done with those.  I will post the files once I get the done.

I made another successful order from http://www.makexyz.com/.  This time it was for two custom cookie cutters. I designed them myself based on supplied photos.  They came out great.  I am thinking that a custom cookie cutter might be a quick and easy demonstration for the 3D printing presentation.

I have another order in the works to print a Mendel.   This is fantastic I was looking forward to when I printed another printer with my printer (would this be considered 3D printer reproduction?).

Any way enjoy the cookie cutters.

Step 1 is to sketch the design out.  As you can see once I had one I just duplicated it and scaled to make 4 designs.  Outer most and inner most define the flange around the top of the cutter for stability and a flat area to press on. the inner two define the cutter.

cookie2-3d-sketch cookie1-3d-sketch

Step 2 extrude the design to the appropriate height: cookie1-3d cookie2-3d

Now print:

20130607_203759

As a side note I use netfabb studio (http://www.netfabb.com/) to calculate the volume here is what that looks like:

cookie1 cookie2

Intro to 3D printing and 3D design Fri, June 21, 7pm – 10pm @Unallocated Space

The local hackerspace Unallocated Space forums asked if anyone was willing to give a presentation on 3D printing and I accepted.  Like all the events there it will be free to the public (donations accepted).  If you like what I am doing here come by and listen to what I have to say. Here are the details of the event.

Event: Introduction to 3D printing and 3D design

When:Fri, June 21, 7pm – 10pm

Where:Unallocated Space (map)

Description: This will be an introduction to 3D printing and 3D design. I will give a brief overview of 3D printers, printer technology and printing services. Most of the presentation will be on the uses of the free software Autodesk 123D design. I will demonstrate how to get started with generating a 3D model that can be created with a 3D printer. This presentation will focus mostly on technical drawing (since I am not an artist). Time permitting we will walk through the design of an actual object. I will bring along my Makerbot 2 for visual reference and hopefully some instant 3D gratification.

Agenda:

  • What is 3D printing
  • 3D printers
  • Getting started 3D printing
  • Introduction to Autodesk 123D design
  • Simple object design walk-through
  • Demonstration of design of an object

About me: I have had a MakerBot 2 for about 6 months now and have been documenting my experiences here http://3dprintmd.com/print . I have experimented with quite a few free 3d design programs and found Autodesk 123d design to have all the features needed and it is the easiest to use. I have had some success in providing 3D printing as a service through makexyz.com and directly selling designed and printer objects. I would consider myself a 3D printer enthusiast (not quite an expert yet). My professional experience is as an IT consultant specializing as a windows, high availability, data protection and virtualization SME. I have been an electronics hobbyist for the last 10-15 years.

Suggested items (not required):

RGB to Component Case for Sale $15 (plus shipping)

As a follow-up to an earlier post:

http://www.3dprintmd.com/print/printed-case-for-vga-to-component/

A friend posted comments in a forum that he frequents asking if anyone is interested in a case that we designed to hold a Analog RGB to component adapter that he has (http://tulip-house.ddo.jp/digital/ANALOG_RGB_COMPONENT/english.html) and at least one person has bought one.  This prompted me to do some updates to the design to make it better.  We decided to charge $15 (plus shipping) for your choice of colors that I currently have on hand (Clear (natural), Green, Yellow, Translucent Blue, Orange, Red).

Until I find a better method, post a comment here if you are interested.  Now available on my store http://www.3dprintmd.com/print/3d-printed-items-for-sale/.  Here are some pictures of the slightly updated design this one is in translucent blue.

2013-05-14_07-08-41_395

2013-05-14_07-08-57_436 2013-05-14_07-09-15_195 2013-05-14_07-09-45_457

3D Printing Service Open for Business http://www.makexyz.com/printer/michael_mcco

I have some excellent news I would like to share.  When I started this blog my intent was to share my 3D printer and printing experiences and I am happy to announce that the sharing of the printer has started.  I saw an article on http://www.3ders.org/ for http://www.makexyz.com/ which is a service where you can list your printer so that people can search their local area for people with a 3D printer that is willing to print objects for a marginal fee. So I listed my printer:

http://www.makexyz.com/printer/michael_mcco

This past weekend I got and completed my first job from this site.  It was quite easy to use and only required minimal effort.  Here is how it works.  The user goes to the http://www.makexyz.com/ site and searches their area for a 3D printer.  They then upload a STL file to the site and select the color print and quality.  The invoice is then sent to the printer (me) to accept the order.  The order is charged by the cubic cm (I have my Makerbot 2 listed at $.25/cm³) and I can accept it as is or modify the invoice and send it back.  In this case the print needed support material so I had to slightly modify the price to account for this.  I send back the invoice; the user accepts it and I print it.  The user has the choice to have it shipped or they can ask for a pickup.

Hopefully this will make sharing my printer with people around me even easier.  Here is the first job as it was printing:

2013-05-11_09-03-22_124 2013-05-11_09-14-36_634 2013-05-11_09-29-06_951 2013-05-11_09-29-11_904 2013-05-11_09-50-07_935 2013-05-11_10-32-09_67 2013-05-11_10-55-03_175 2013-05-11_11-12-32_483 2013-05-11_11-27-06_191

PCB Etching – Update 5

Another successful PCB Etch. As predicted this one is the best one yet. The top and bottom alignment is excellent, the traces are crisp and barely any pitting in the copper pours. I learned from the past and followed my own reminders of past mistakes and it came out great. Here are a few things we did different this time.

  • Open etch container. I was using a zip lock bag and      found that this did not work all that well. It did minimize the amount of      FeCl that is needed but it left bubbles on the board and did not have even      coverage. This time I used a wire and made a loop on both ends to hold the      board and dipped it in a shallow plastic container.
  • Since I was using a zip lock before I was placing the      whole zip lock with the board and FeCl in it into warm water to speed up      the etching. I was not able to do this this time with the open etch tank.      In the future it might be a good idea to figure out a way to heat the      liquid. It took about 30-35 mins of etching with unheated FeCl
  • I am still not exactly sure on how many passes it takes      through the laminator for a full transfer. I can say however that due to a      failed transfer 5 is not enough and 20 is enough.

Here are some pictures of the success:

Top

Top

Bottom

Bottom

Bottom- Populated

Bottom- Populated

Top - Populated

Top – Populated